

"For me, [...] a single photo [...] should tell a different story to every person who looks at it."
Josef Kudelka
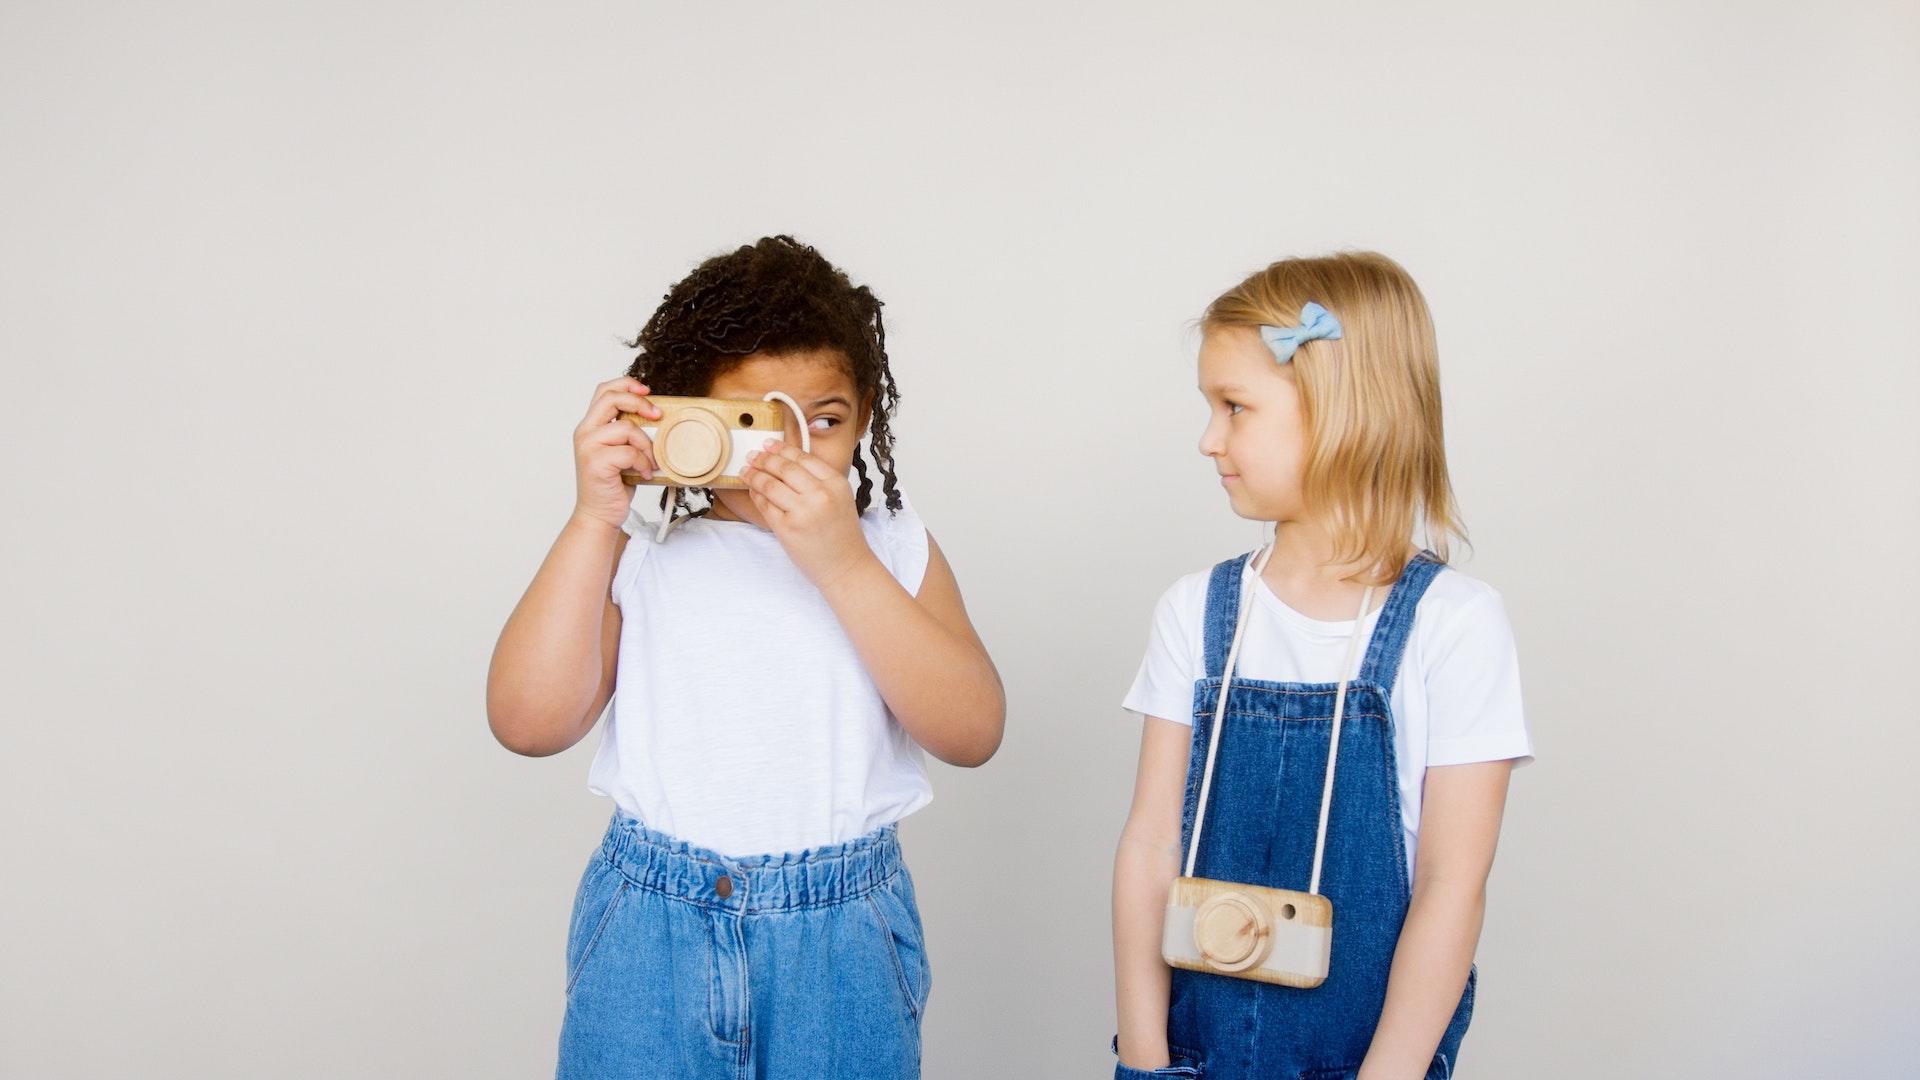
In our times, all of us have depressed the shutter on our camera at least once. These days, it's more like we tap the button on our smartphone's camera application to capture an important moment at least once. But it's more likely that we've captured dozens - nay, hundreds! - of shots. We may then print and frame them, or store them in our phone's memory.
Never before has photography been so accessible to so many around the world. You are surely a member of that privileged group, right? But when you open your camera app and prepare to shoot, are you sure you're following proper technique?
Capturing an image and affixing it to a physical or digital base is a marvel of discovery. The commonplace act of taking a picture conceals centuries of history and scientific experimentation. Alongside that flows decades of research into photographic artistry. These studies define the rules that render our snapshots aesthetically pleasing and laden with meaning.
What are photographic art fundamentals? What 'rules' dictate good photography? Superprof presents a new Superguide that explores the universe of photographic art to learn all there is to know about it.
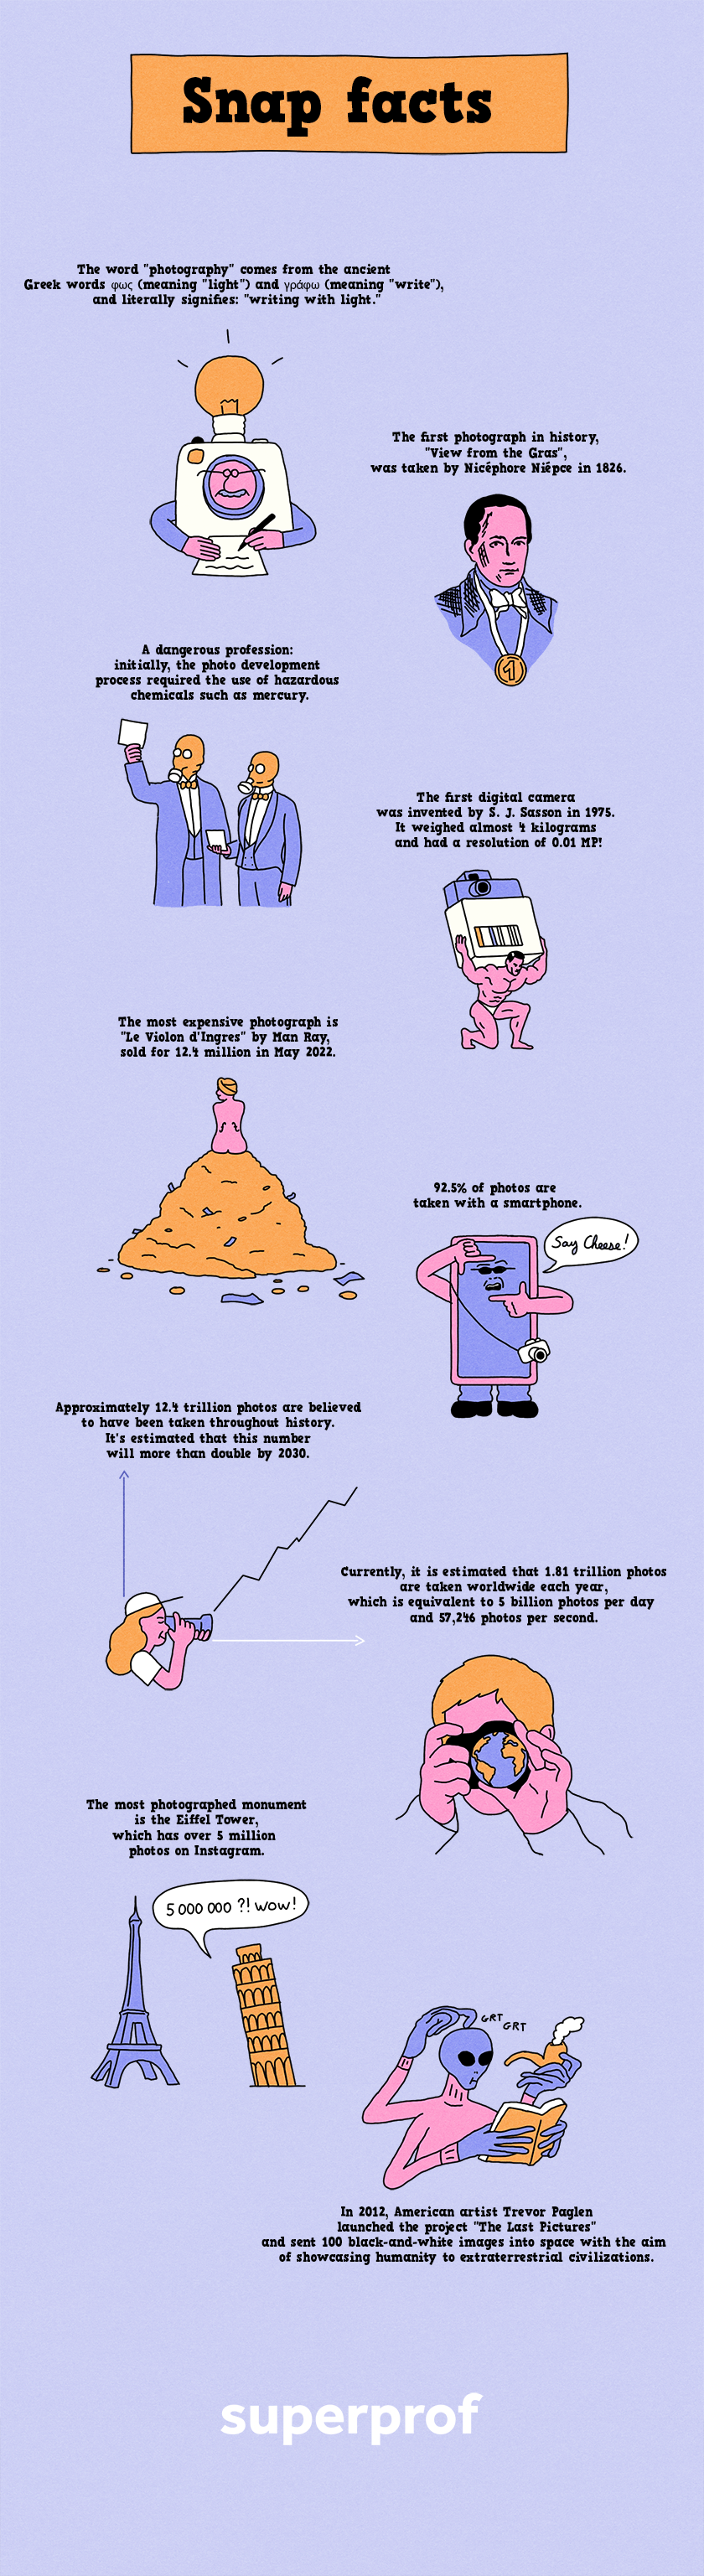
Before we get into the thick of things, let us tease your curiosity with a few photography facts you may not know?:


To Start: What Is Photography?
When taking an interest in something, we must first define its parameters are precisely as possible. So let's examine, for a moment, the two 'photography' definitions in Collins Dictionary:
1.
noun: the process of recording images on sensitized material by the action of light, X-rays, etc, and the chemical processing of this material to produce a print, slide, or cine film
2.
noun: the art, practice, or occupation of taking and printing photographs, making cine films, etc.
These definitions indicate a double meaning, namely, the act of capturing an image and the result of such capture. They further imply the artistic practices and techniques that guide the process of capturing images.
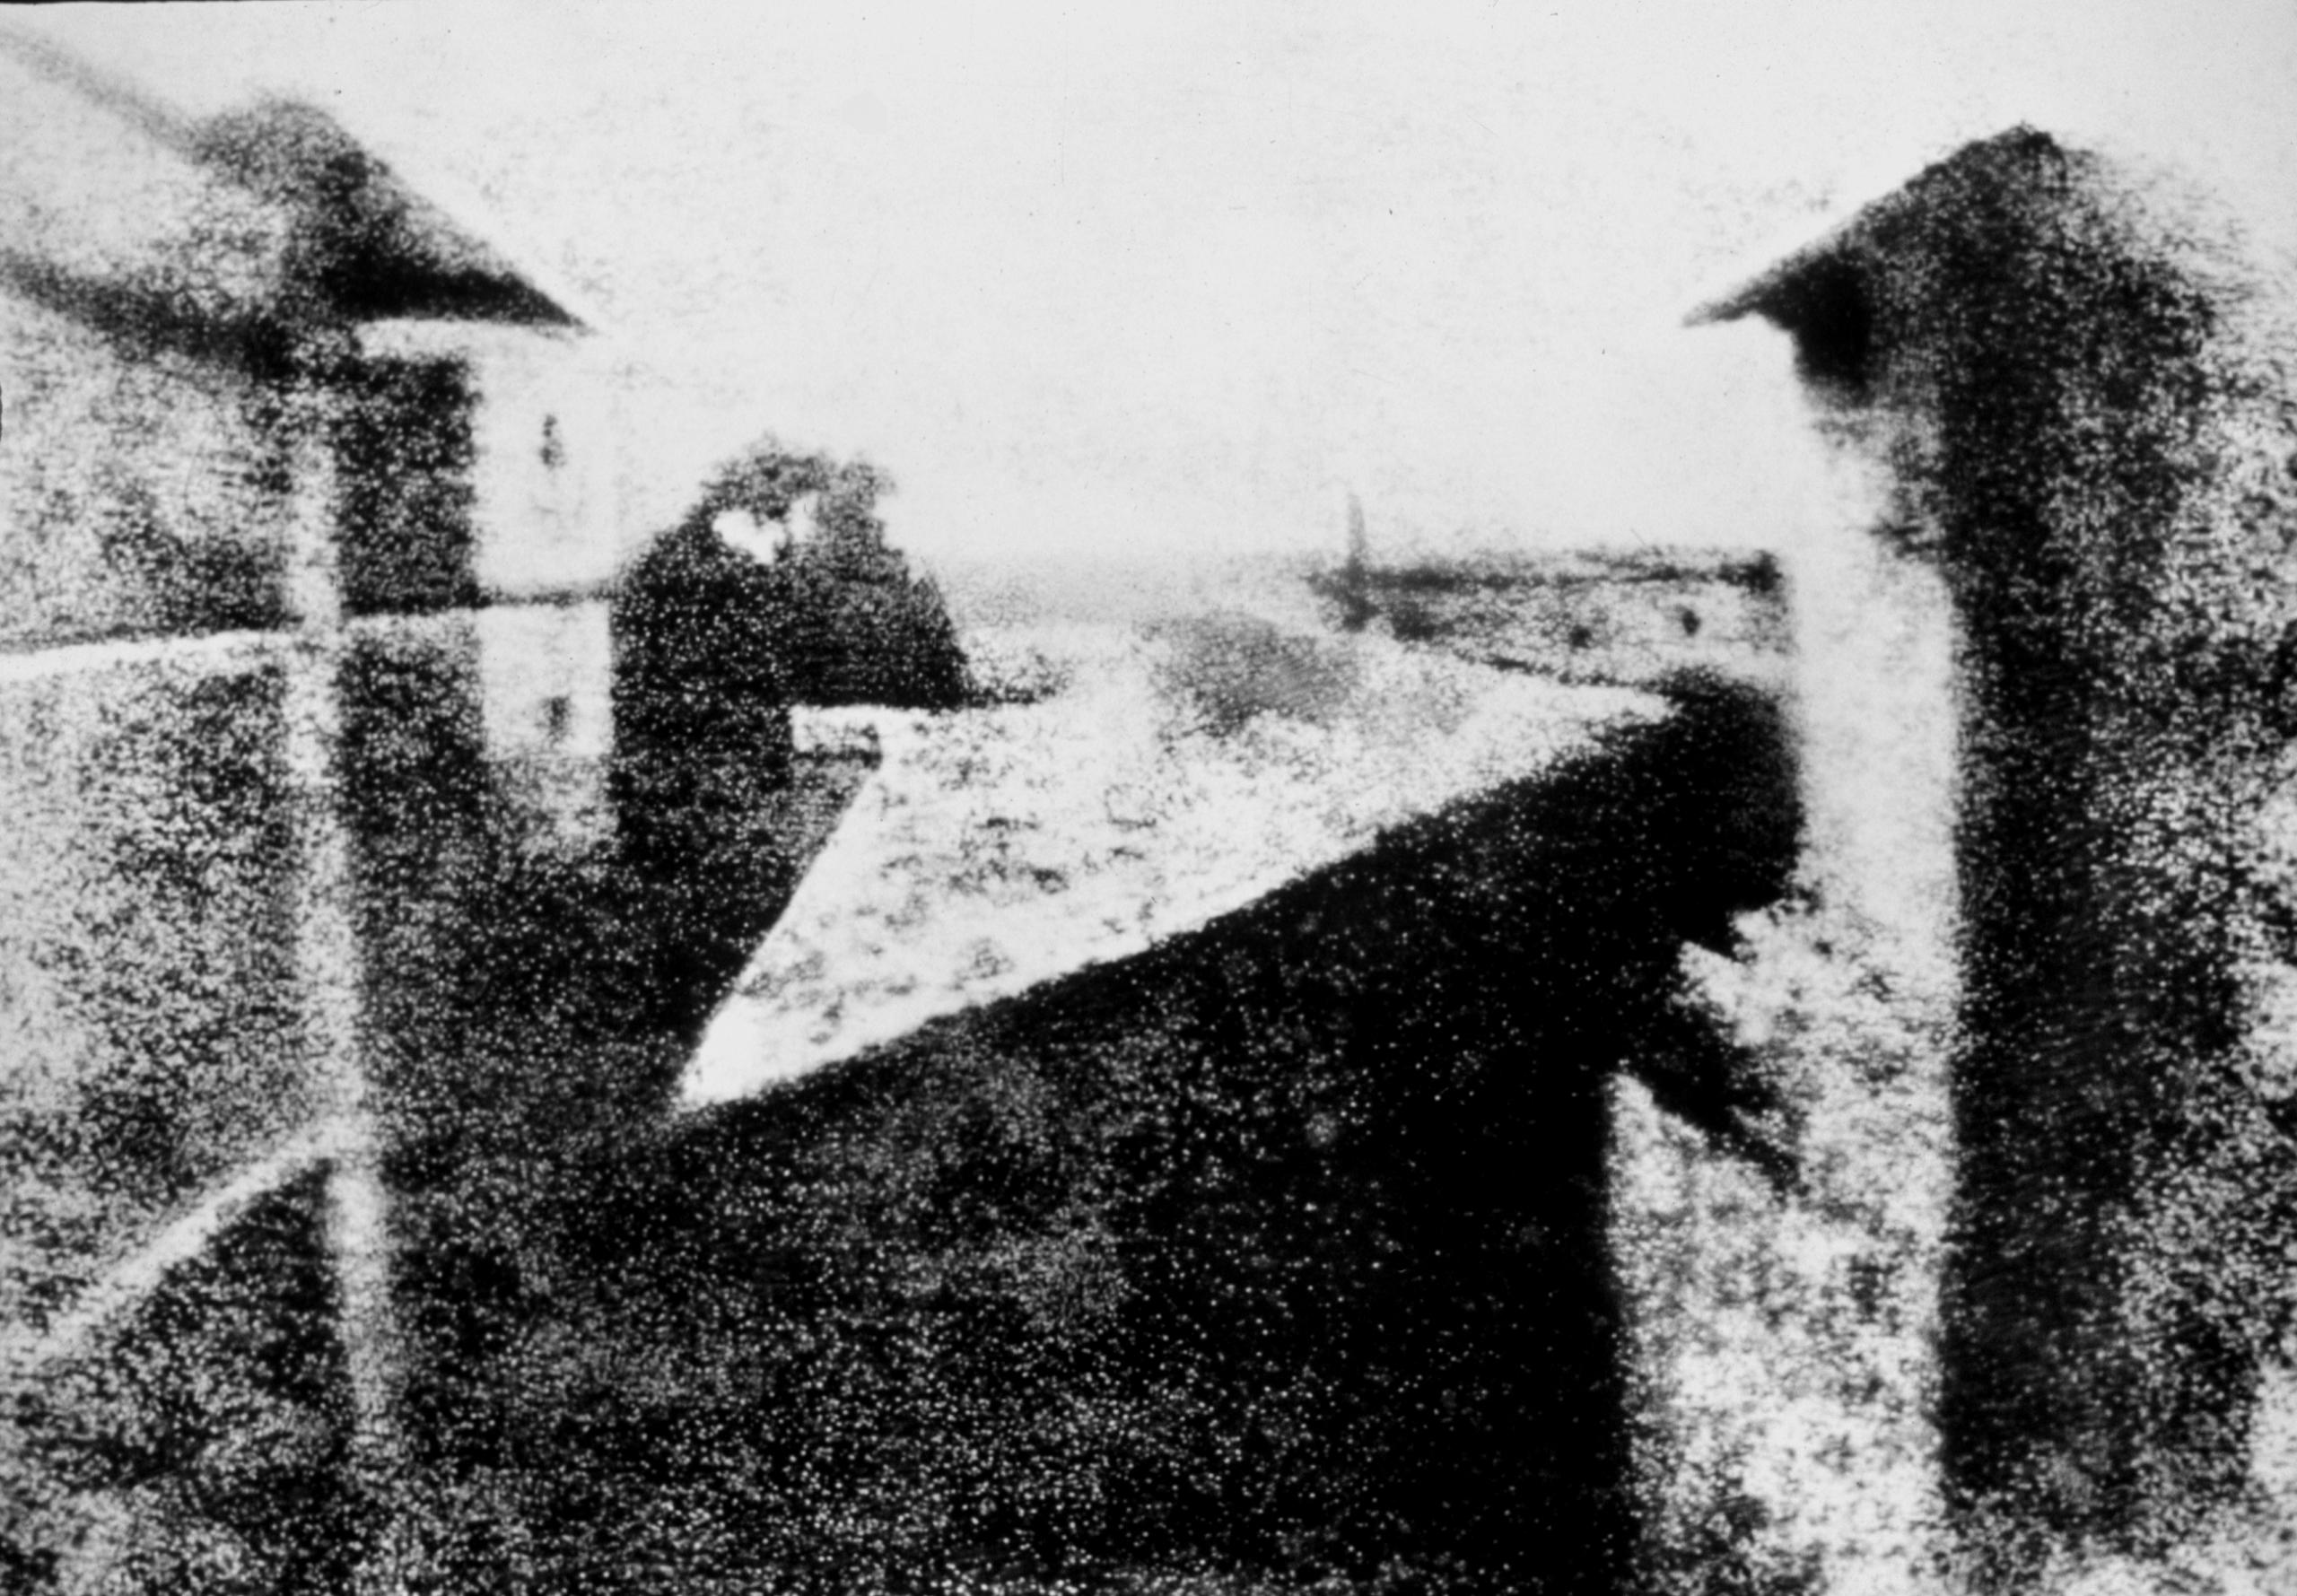
From the technical perspective, photography is a process that evolved over time. We generally accept 1826 as photography's birth year. That's when a French engineer named Nicéphore Niépce took history's first photograph, "View from the Window at Le Gras" (Point de vue du Gras). Still, centuries of science and experimentation precedes even this early photographic feat.
You can learn more about how the art and science of photography evolved from that first grainy image to 20th Century advances. Simply plug into
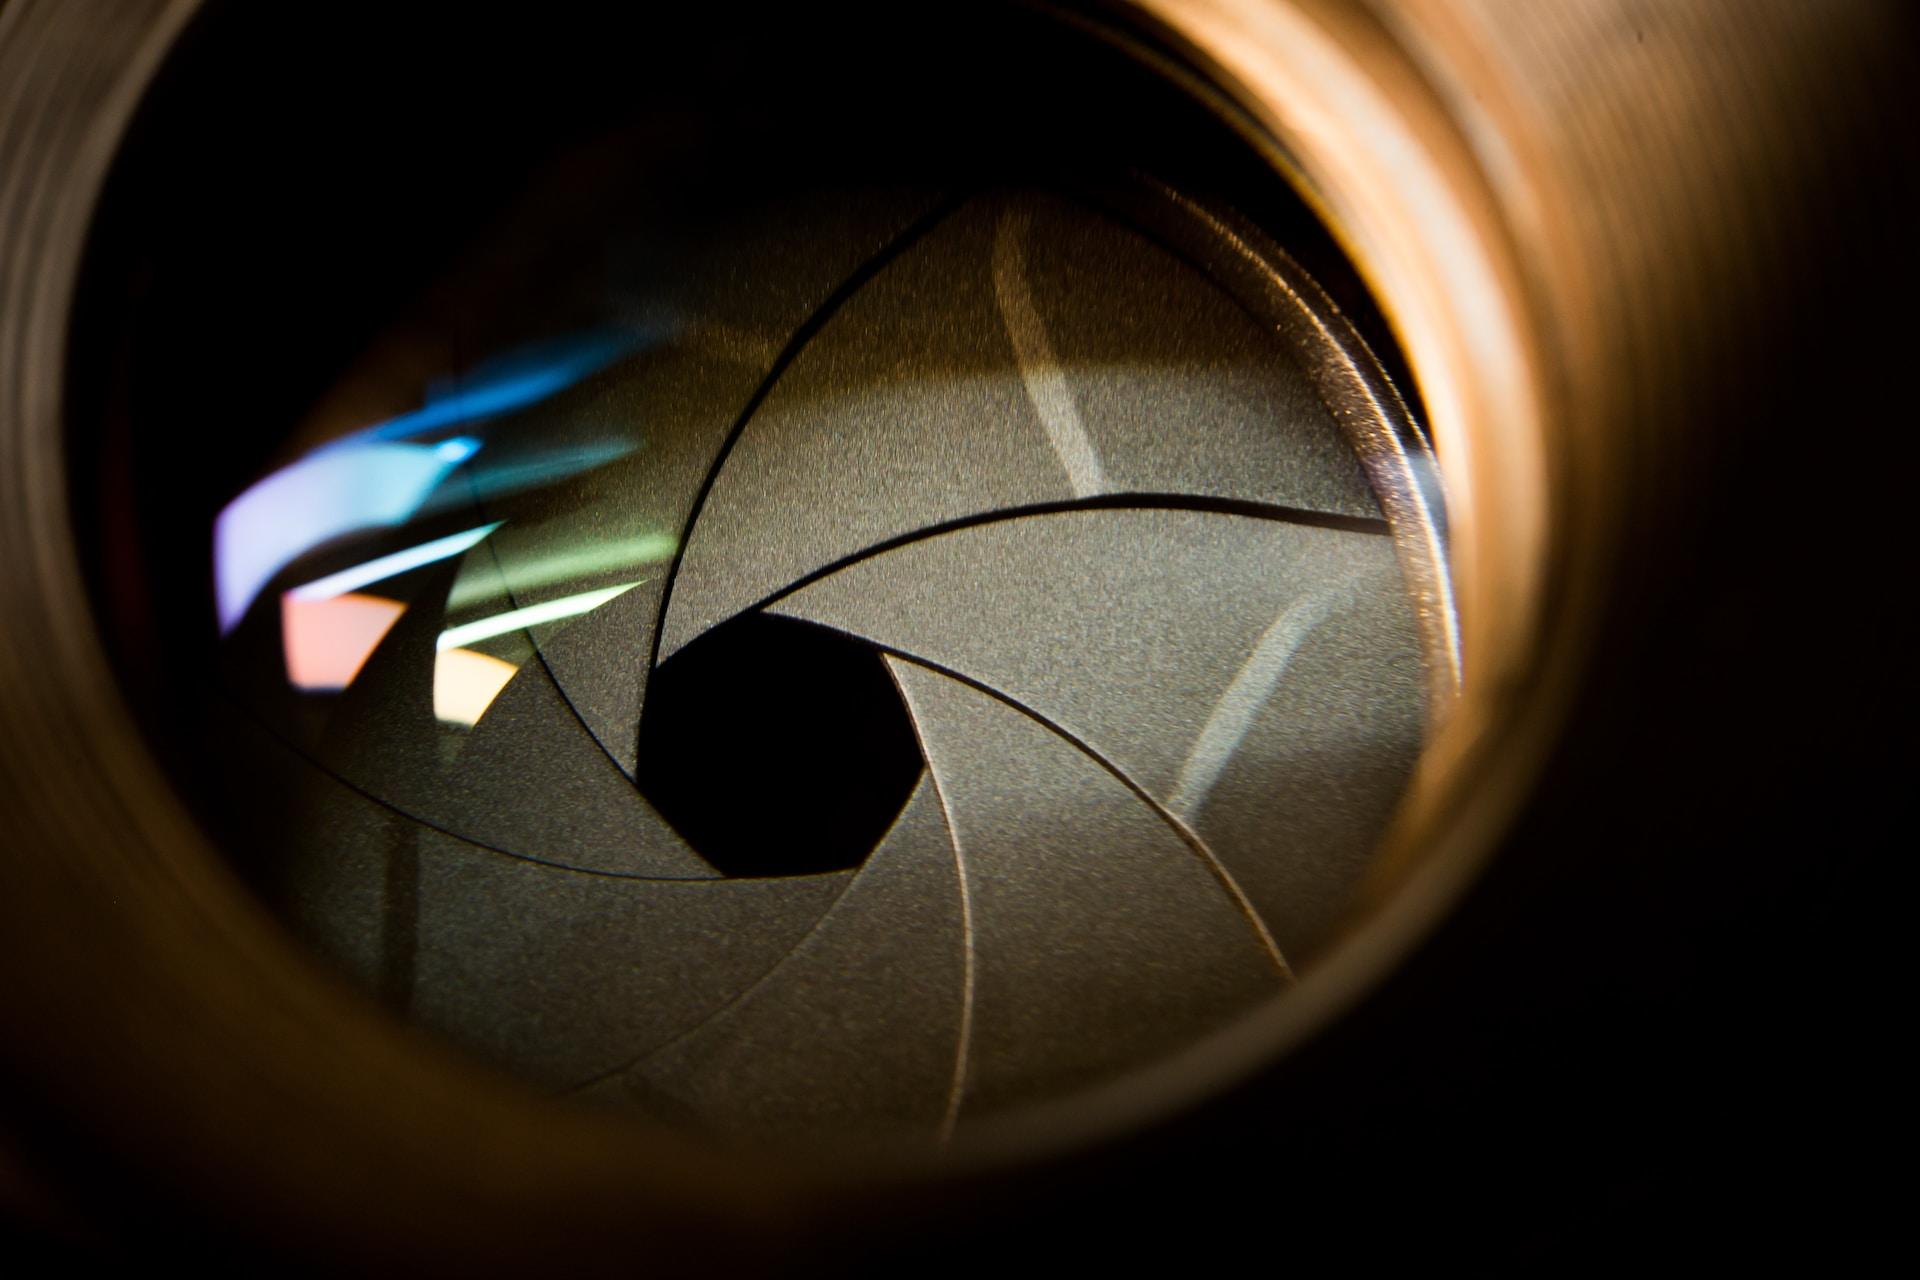
Now, back to our topic: what is a camera and how does it work? This device is essentially a closed box with a small opening that lets in light for a specific amount of time. This opening is controlled by a component called a "shutter", which opens and closes to regulate how much light reaches the film or capturing medium.
In film cameras, the camera's lenses filter the light an object or subject reflects and directs it to the film, which reacts chemically to record the image. Digital camera's lenses direct the light towards the capturing device, which converts the image to electrical signals. That is the essence of the photographic process, spelt out in a few words.
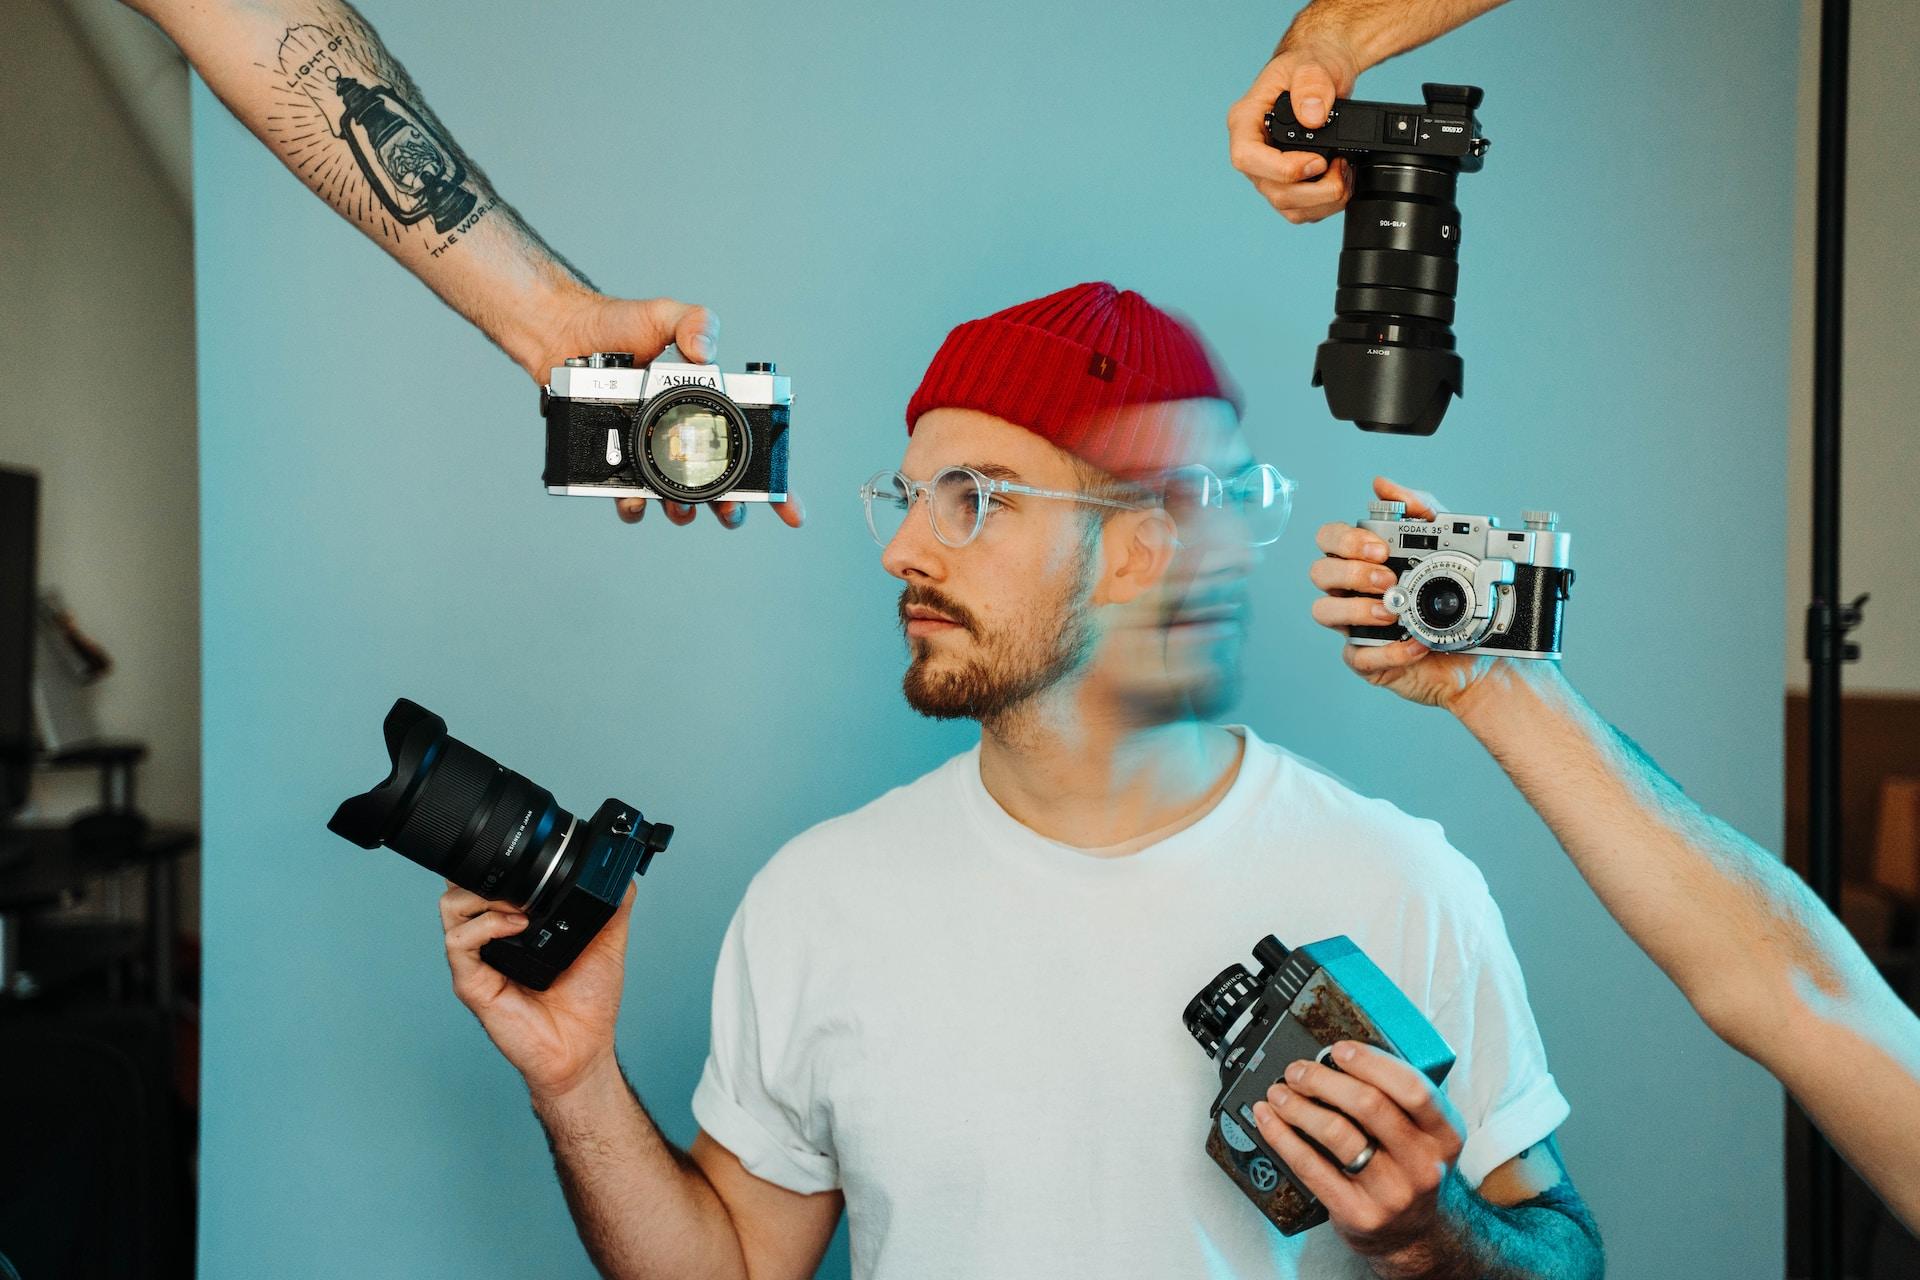
The Types of Cameras Available
As noted above, not all cameras function exactly the same. In this article, we set aside analog cameras to focus on digital photography. Today, three main types of camera meet most photography needs:
Reflex or DSLR (Digital Single Lens Reflex):
This camera type features interchangeable lenses. Its name derives from its single mirror, inclined at 45 degrees. This mirror allows the user to look through the camera's optical viewfinder to frame their shot. The DSLR is photographers' preferred camera despite the gap between mirrored and mirrorless cameras growing ever smaller.
Price: from $350 to just under $2500. For acceptable-quality images, it's best to budget at least $600.
Mirrorless:
A category of digital camera without a mirror between the lens and the capturing device. Hence, its 'mirrorless' designation.
Price: from $795 to over $5000. You probably won't need to a top-of-the-line model unless you're a professional photographer. But by the same token you shouldn't settle for the lowest-priced model.
Compacts:
These are non-modular (fixed-lens) devices. They are often smaller than their more elaborate counterparts but may include similar components.
Price: less than $60 for the most economic models, to over $1800 for more professional setups.
You may also opt for a Bridge camera which, as its name suggests, 'bridges' the difference between reflex and compact cameras. This type of camera met a measure of success in the early 2000s but because of its weak diffusion, its popularity waned. Today, you'll find fewer than 10 models on the market. This brief mention is as far as we'll go on Bridge cameras.
Reflex/Mirrorless cameras hold an important distinction that sets them apart from compact camera models. The first two types of cameras permit lens changes. You cannot change the lens on compact cameras as they are fixed to the camera body. Still, compacts have an advantage in that they're lighter and easier to carry around.
The best camera for you depends on your needs. If you aspire to become a professional - or even an amateur photographer, you will need a Reflex/Mirrorless. These cameras produce crisp quality images suitable to your purposes. On the other hand, if you want something small, light and easy to use - maybe for holiday snaps, a compact camera will do just fine.
Capture the Light: The Basics of Photographic Technique
Now, we dive into the heart of the matter with an in-depth look at photographic technique. We'll focus especially on key concepts like the exposure triangle and white balance.
The Exposure Triangle
To make this information as concise as possible, we need to reduce the art of photography to a purely technical perspective. Now, we can state that when taking a picture, you must take three fundamental aspects into account. The aperture, the exposure time and the International Standardisation Organisation (ISO) values. We commonly refer to these three elements as the exposure triangle because they determine how much light the camera's optical system will capture.
Most cameras available on the market today can automatically regulate these three values according to the environment and available light. But many models allow the photographer semi-automatic control wherein they define one value and the camera adjusts the other two. The photographer may also set all three values manually. This practice is risky; it demands a certain level of expertise. But it offers more precision and greater liberty to create the photographic art you want, in particular special effects.
Aperture Opening
The shutter is a ring with retractable 'leaves' mounted inside camera's lens assembly. The greater the aperture of the leaves, the more light passes through for capture and vice versa. The smaller the aperture, the less light passes through.
The values expressing the shutter's opening are designated F. Note that the number attached to the F doesn't correspond to the aperture's diameter. It expresses the aperture's focal length - how strongly the lens focuses the light.
Shutter Aperture Values
Standard values indicating shutter apertures are as follows:
f/1 - f/1.4 - f/2 - f/2.8 - f/4 - f/5.6 - f/8 - f/11 - f/16 - f/22 - f/32, ect...
Moving from one F-value to the next (or previous), in the above scale the intensity of light that reaches the capturing medium doubles (or halves).
Before things get much more complicated, suffice to say that because these values are fractions, they invert rather than multiply. In the scale above, f/1 represents a full aperture opening while f/32 indicates maximum closure of the aperture.
Finally, it's important to remember that the aperture also determines the depth of field; the zone wherein the objects are in clear focus. The depth of field in inversely proportional to the shutter's aperture. With an f/1 setting, the camera will capture the maximum amount of light but the background will be out of focus. Conversely, with a f/32 setting, you will need plenty of strong light; this setting is mainly used on bright, sunny days. All of the photograph's elements will be crisply in focus.
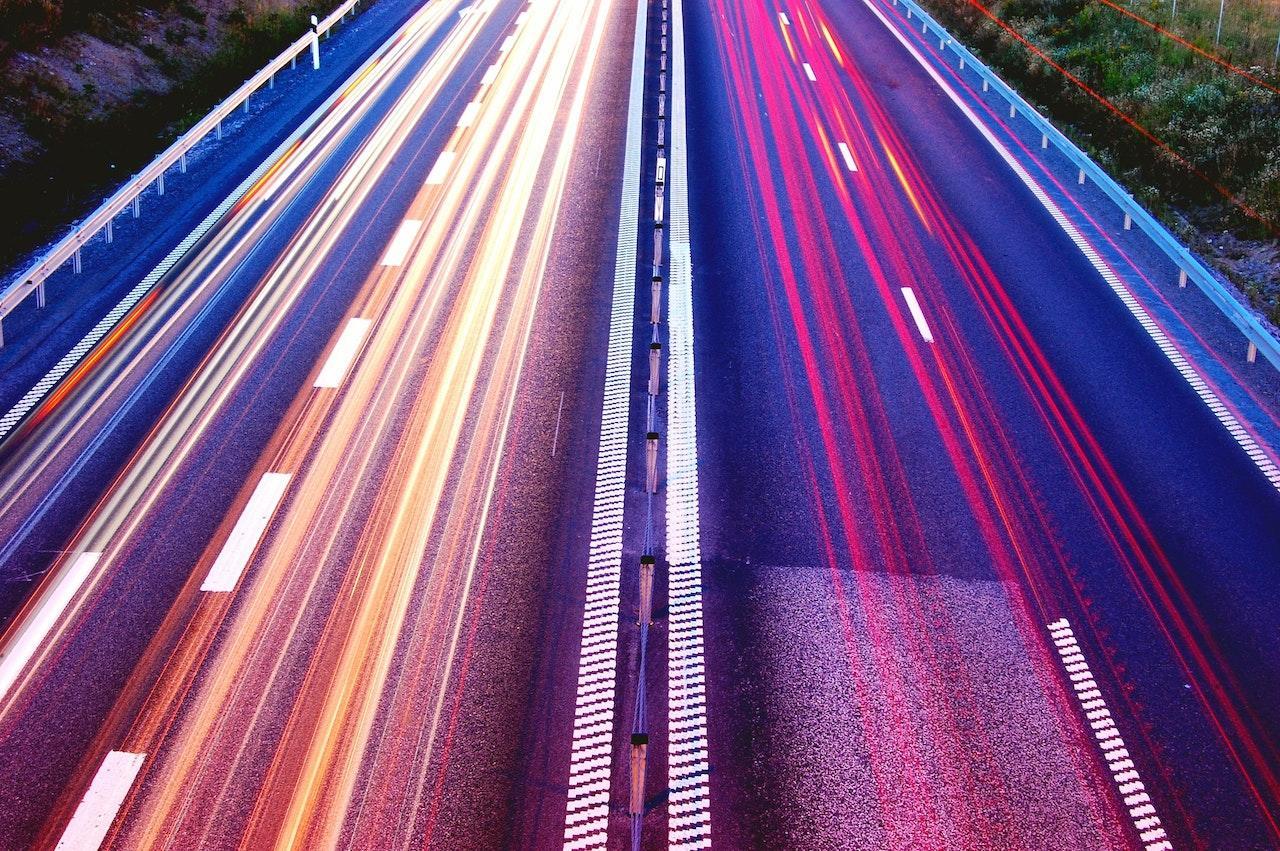
Exposure Time
The exposure time is the time that the shutter remains open and capturing light. It is the second technical element that determines a photo's exposure.
Cameras typically display times of less than one second in fractions, or simply by the fraction's denominator. For instance, 1/2000 - or more simply 2000 indicates a time of two millionths of a second. Conversely, whole numbers indicate exposure settings equal to or greater than one second. As an example, you would select "1" for a one-second exposure.
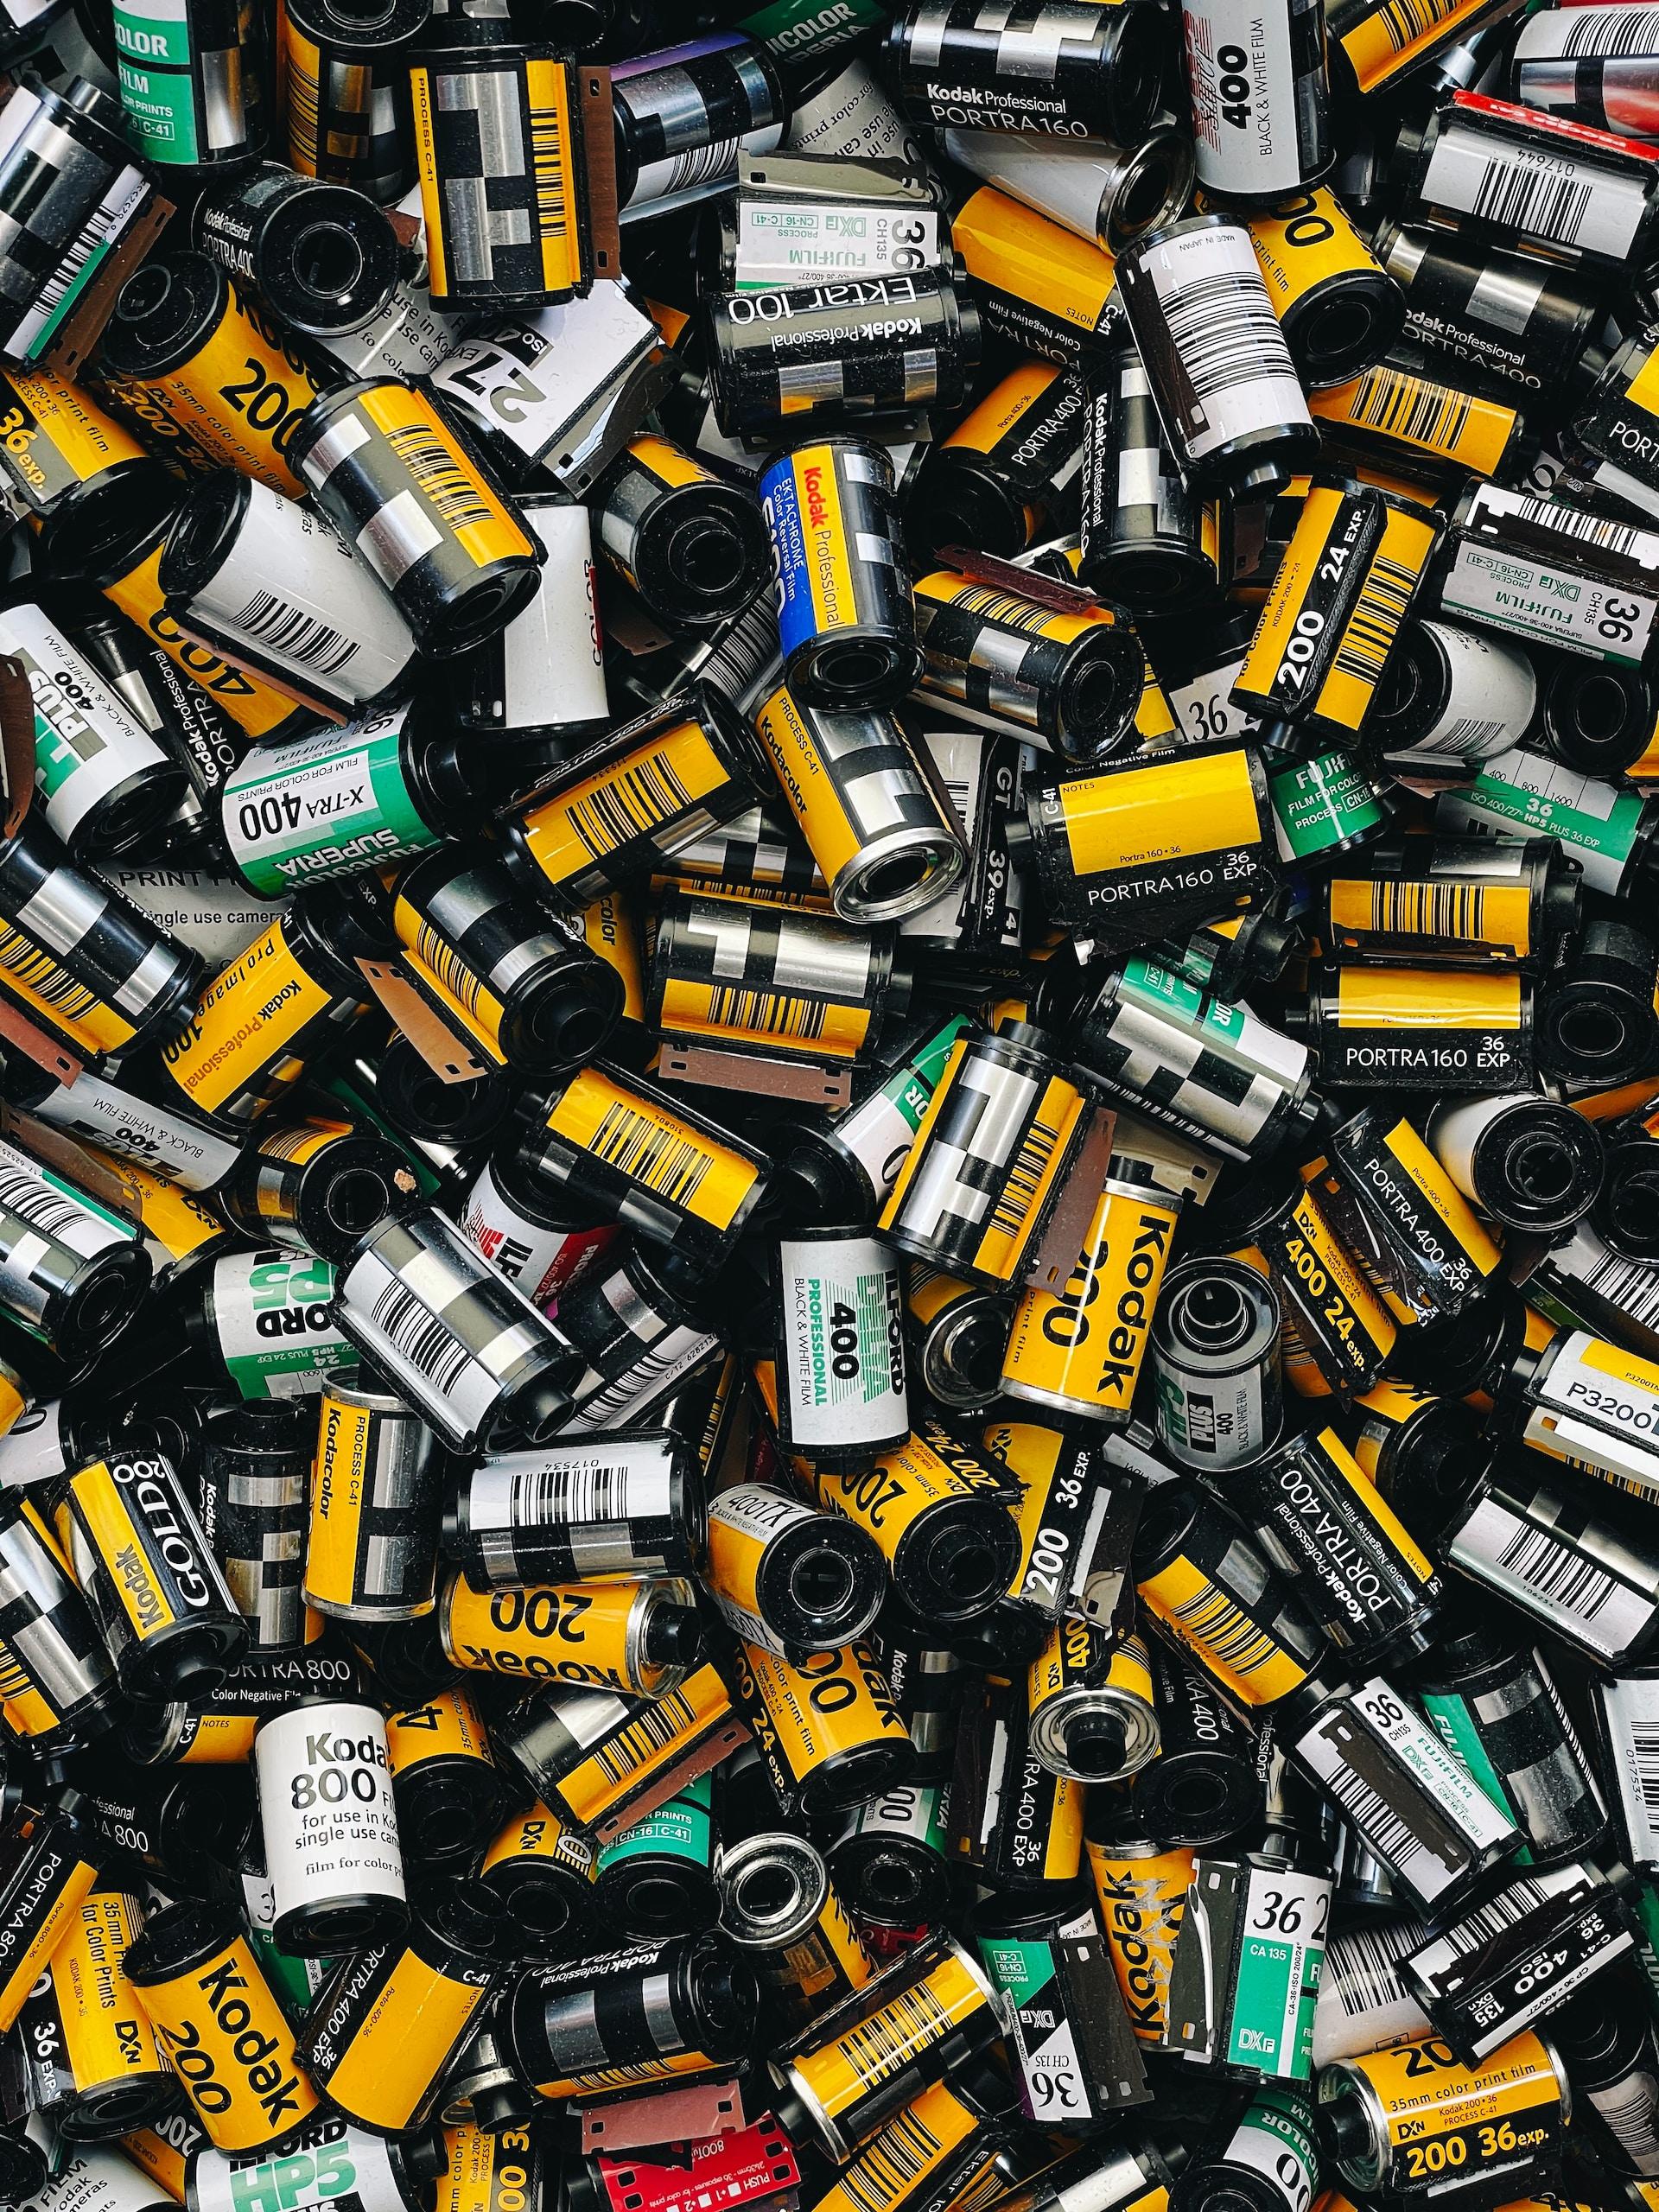
ISO Values: the Degree of Camera Sensitivity
This value initially referenced photographic film's sensitivity to light. Different types of film presented different levels of sensitivity, reflected in multiplying values: ISO 100, ISO 200, ISO 400 and so on. Altering these values was impossible. Once the photographer loaded a roll of film, all of the snaps would have the same ISO sensitivity.
Things changed with the advent of digital photography. Most of the cameras on the market today allow the photographer to set the ISO value to their preferences, but only if the camera doesn't set the value on its own. As mentioned above, the higher the ISO value, the more light the camera will capture.
By now, you should understand that photography is an art based on compromise. You sacrifice a bit on other values when you adjust one to your preferences.
Increasing ISO sensitivity increases what's called 'photographic noise'. This noise may be a grainy, veiled appearance or spots. This effect isn't always undesirable. For instance, if you're shooting in black and white, a grainy patina can make your image appear vintage.
Light, Temperature and White Balance
You'll recall the etymology of 'photography' - that light is the primary ingredient of photographs. Without going too deeply into scientific detail, photographers must come to know light and learn how to use it judiciously if you want to take quality snapshots.
From a photographic perspective, we define two types of light:
- Natural light: by that we mean the sun, of course. Sunlight's intensity and nuances in natural light vary depending on latitude, time of day, meteorological conditions and even pollution levels. As photographers, we have no control over natural light, we can only study its effects and learn how to use it to our best advantage.
- Artificial Light: flash devices, light-emitting diodes (LED), illuminated signs and more. Artificial light may originate from diverse sources. The photographer may control some sources of artificial light, such as a flash attachment. Some artificial light sources, such as street lights, are out of the photographer's control.
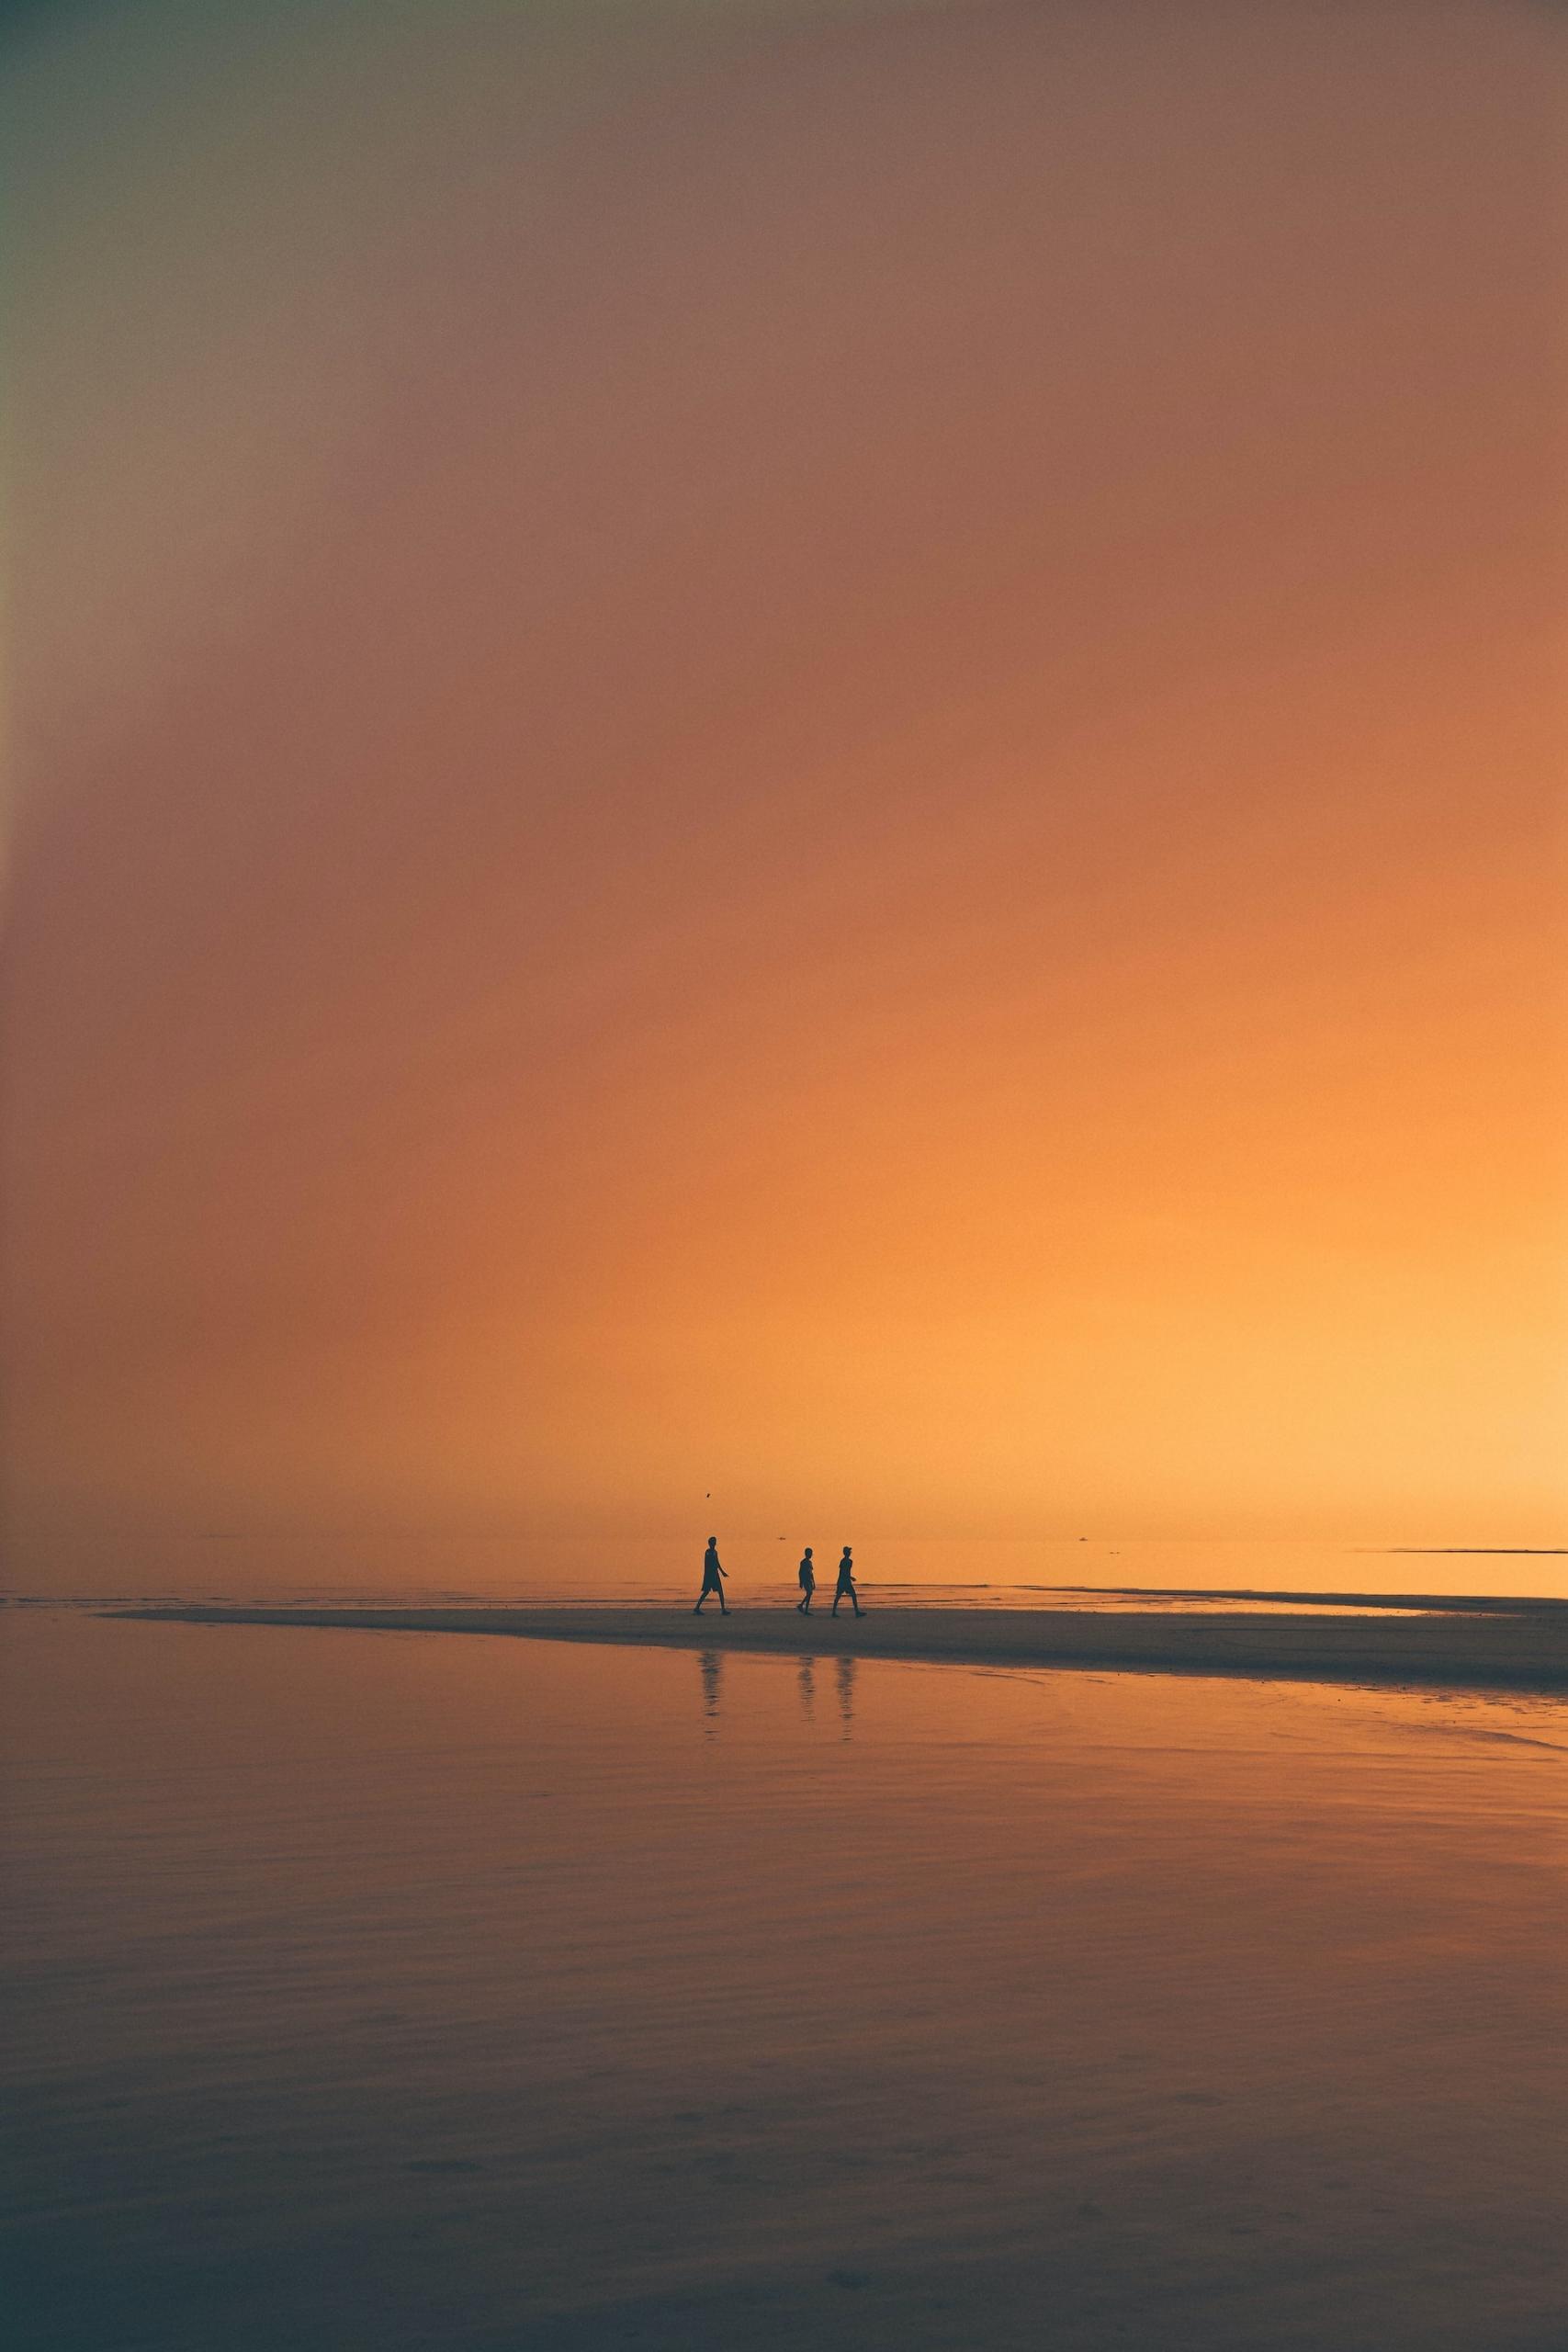
Artificial light and light from the sun varies continuously: its color defines the image's temperature. Light from the setting sun tends toward warm, orange-ish tones but dawn sunlight offers cooler tones.
The camera's white balance corrects images such that white objects remain white in the photograph regardless of the light's 'temperature'. Typically, digital cameras automatically adjust the whites. If the image doesn't turn out quite to our liking, we can always edit it in post-production.
Anyway, there are no magic formulas to mastering light. The only way to learn how to use light is to study it. Try taking pictures at all hours of the day and night. Note each aspect of the scene's lighting: the light's origin and direction, its intensity and temperature, and so on.
How to Take a Beautiful Picture
As with all art forms, we cannot reduce photography to a collection of rules. Still, fundamental principles that govern the aesthetics of photography gives us a solid base to start. Knowing these rules lets you break them as you discover your own style.
The Rule of Thirds and Composition
The rule of thirds is a principle of composition widely known and used in photography. But it's not only photographers that use this rule. Painters have been applying this same principle for centuries!
This simple rule provides that, as you frame your shot, you should divide the scene into horizontal and vertical thirds. This grid-like framing creates four points of intersection known as focal points. When you place the shot's main subject or key elements along these lines or focal points, you'll get a more balanced image that's more pleasing to the eye.
Often, beginner photographers tend to place their subject smack in the photo's center. This gives the image a flat, static appearance. The rule of thirds allows you to render dynamic images, regardless if you're shooting a pastoral scene or a portrait.
If you're shooting a landscape, for instance, avoid setting the horizon in the middle of the frame; align it one or two thirds the height of the frame to emphasise either Earth or sky, as your photo demands.
If you're photographing a person, try to align the rule of thirds' focal points with some element of your subject, maybe their eyes in close-up.
Applying the rule of thirds will give your images greater expressive force. But don't forget that rules are made to be broken. Some of history's most beautiful pictures do not follow this rule for image composition. As we've already mentioned, learning fundamental rules that govern photographic composition also gives you the privilege of knowingly transgressing against them. especially when you feel that a particular demands an unconventional framing to convey the meaning you attribute to it.
Telling a Story with Pictures
We label history's best photographs thus not just because they follow the rules but because they tell a story. Because they have something to say about what they show. Compared to painting and other visual media, photography is often thought of as a more 'objective' art. But the photographer's eye is never neutral; they always have a stake in the images they capture.
Many photos fascinate us because they raise questions. They compel us to think about what circumstances and conditions led to that particular moment. They invite us to speculate on what the picture actually represents and what happened in the moments after the image was captured.
When you take a picture, try to capture more than a moment. Ask yourself why this moment is picture-worthy. Examine what your image reveals that will remain a mystery to everyone who doesn't know the context that led to the image's capture. Enrich your photos with a touch of mystery and ingenious narrative to make them more intriguing to the viewers.
The Rules for Taking a Beautiful Photo
Let's summarize what we've covered so far. Keep these points in the back of your mind to improve your photos' quality:
To recap what we've seen so far, here are a few tips to keep in mind to improve the quality of your photos:
- Get to know your camera: study its functions and controls. Explore your lenses' capabilities; an essential step to taking better pictures. There is no secret formula to better photography; the only way to know your equipment is through lots of practice.
- Experiment with the exposure triangle: don't settle for taking pictures in 'automatic' mode. Experiment with your camera's semi-automatic and manual modes, too. For instance, if you're photographing a sporting event or a fast-moving subject, you'll come to interesting results when you manually set short exposure times. Let the camera set the aperture and ISO value accordingly.
- Don't neglect composition: If you have the chance, study your subject a bit before taking your shot. Try to compose your image to give it its most powerful effect. Keep the rule of thirds in mind to create more balanced, dynamic images.
- Play with the light: as mentioned above, light is the first element of photography. Experiment in variations of natural light, in sunny warmth of summer days as well as the soft, flat light of cloudy days. Try your hand at artificial light photography, too. Use sources such as lamps or flash attachments to create special effects.
- Tell a story: remember that the photographer's goal is to relate something through the images they capture. Try to seize the essence of your scene or subject: their expressions or gestures; emotions and actions. Before taking the picture, always ask yourself what about that scene or subject touched you so much that you were moved to capture it.
- Background is important: make sure your image's background complements the type of photography you wish to create. Assure yourself that it will not take too much focus from your main subject. Try to keep undesirable elements out of your frame or learn how to edit them out in post-production.
- Don't discount post-production: after capturing an image, you can use editing software such as Adobe Lightroom or Photoshop to adjust exposure, contrast, white balance and other parameters. Note that you shouldn't exaggerate your edits because you might end up with less-than-natural results. (We'll talk more about post-production towards the end of this article.)
- Practice, practice and more practice: like every other artisitic discipline, photography demands constant practice. Take many photos, explore new techniques and styles, learn from your mistakes and from your viewers' feedback. The more you exercise your photography skills, the more you will know the art of photography, and the better - and faster you'll develop your signature photographic style.
Photography Courses with Superprof
You can follow our advice to the letter but still have the feeling that your photos lack a certain something. Do you believe you could achieve better results with a few extra tips? Why not take photography lessons with a master of photographic art?
Anyone wishing to take photography lessons has several options. They might, for instance, take beginner courses through professional photography schools. These courses are typically very expensive and demand a large time commitment.
Private photography lessons with a personal Superprof tutor would be a much simpler solution.
Superprof photography courses
On Superprof, you'll find more than 2000 instructors ready to teach you photography fundamentals and their best-kept photography secrets. The average lesson price is $20/hour and 96% of our teachers offer their first hour of lessons free!
Once you activate your student pass, you may contact all of the photography tutors on the platform. You will have access to their profiles to see which areas of photography they specialize in. You can review their credentials and read about their professional experiences as well as their lesson delivery style.
When you take in-person courses, you get to decide what type of photography you'd like to learn. You may ask your teacher for detailed information and targeted advice. To sum up: if you want to learn photography like a pro, our private photography lessons are your best shot!
The Main Types of Photography
So far, we've disclosed general advice and the rules applicable to any type of photography. Now, let's go into detail about the principle types of photography. We'll go over tips to heed for those interested in portrait photography, landscape photography and more genres.
Portrait Photography
Masters of the genre: Julia Margaret Cameron, Steve McCurry, Annie Leibovitz, Richard Avedon, Yusuf Karsh, Arnold Newman, Pierre & Gilles, Lee Jeffries, Nirav Patel, Pamela Hanson.
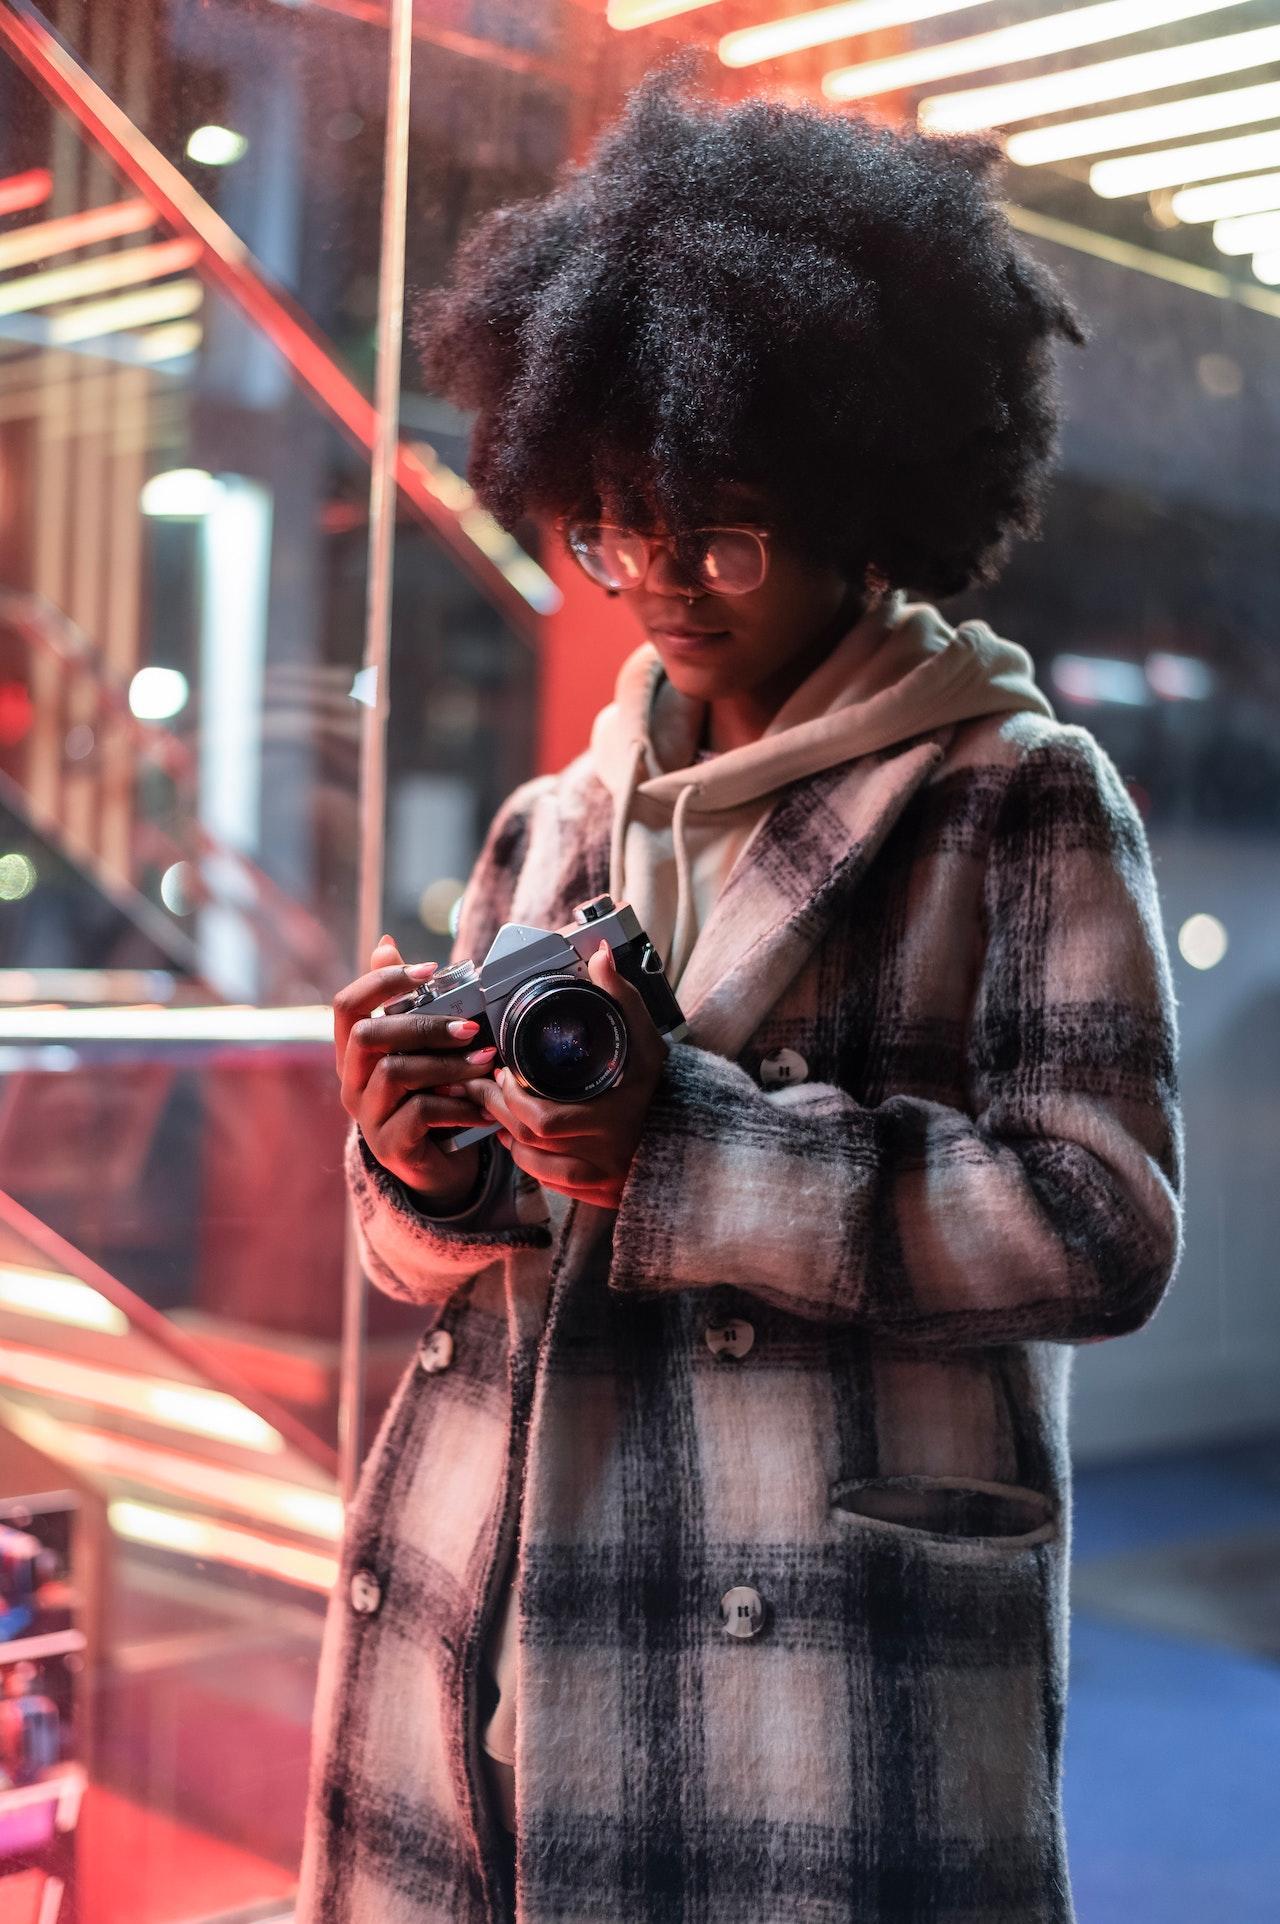
The main point to keep in mind as you realize a portrait is that you have a real person before you. So you should do everything you can to put them at ease and help them feel comfortable. Respect and communication are your absolute mandates.
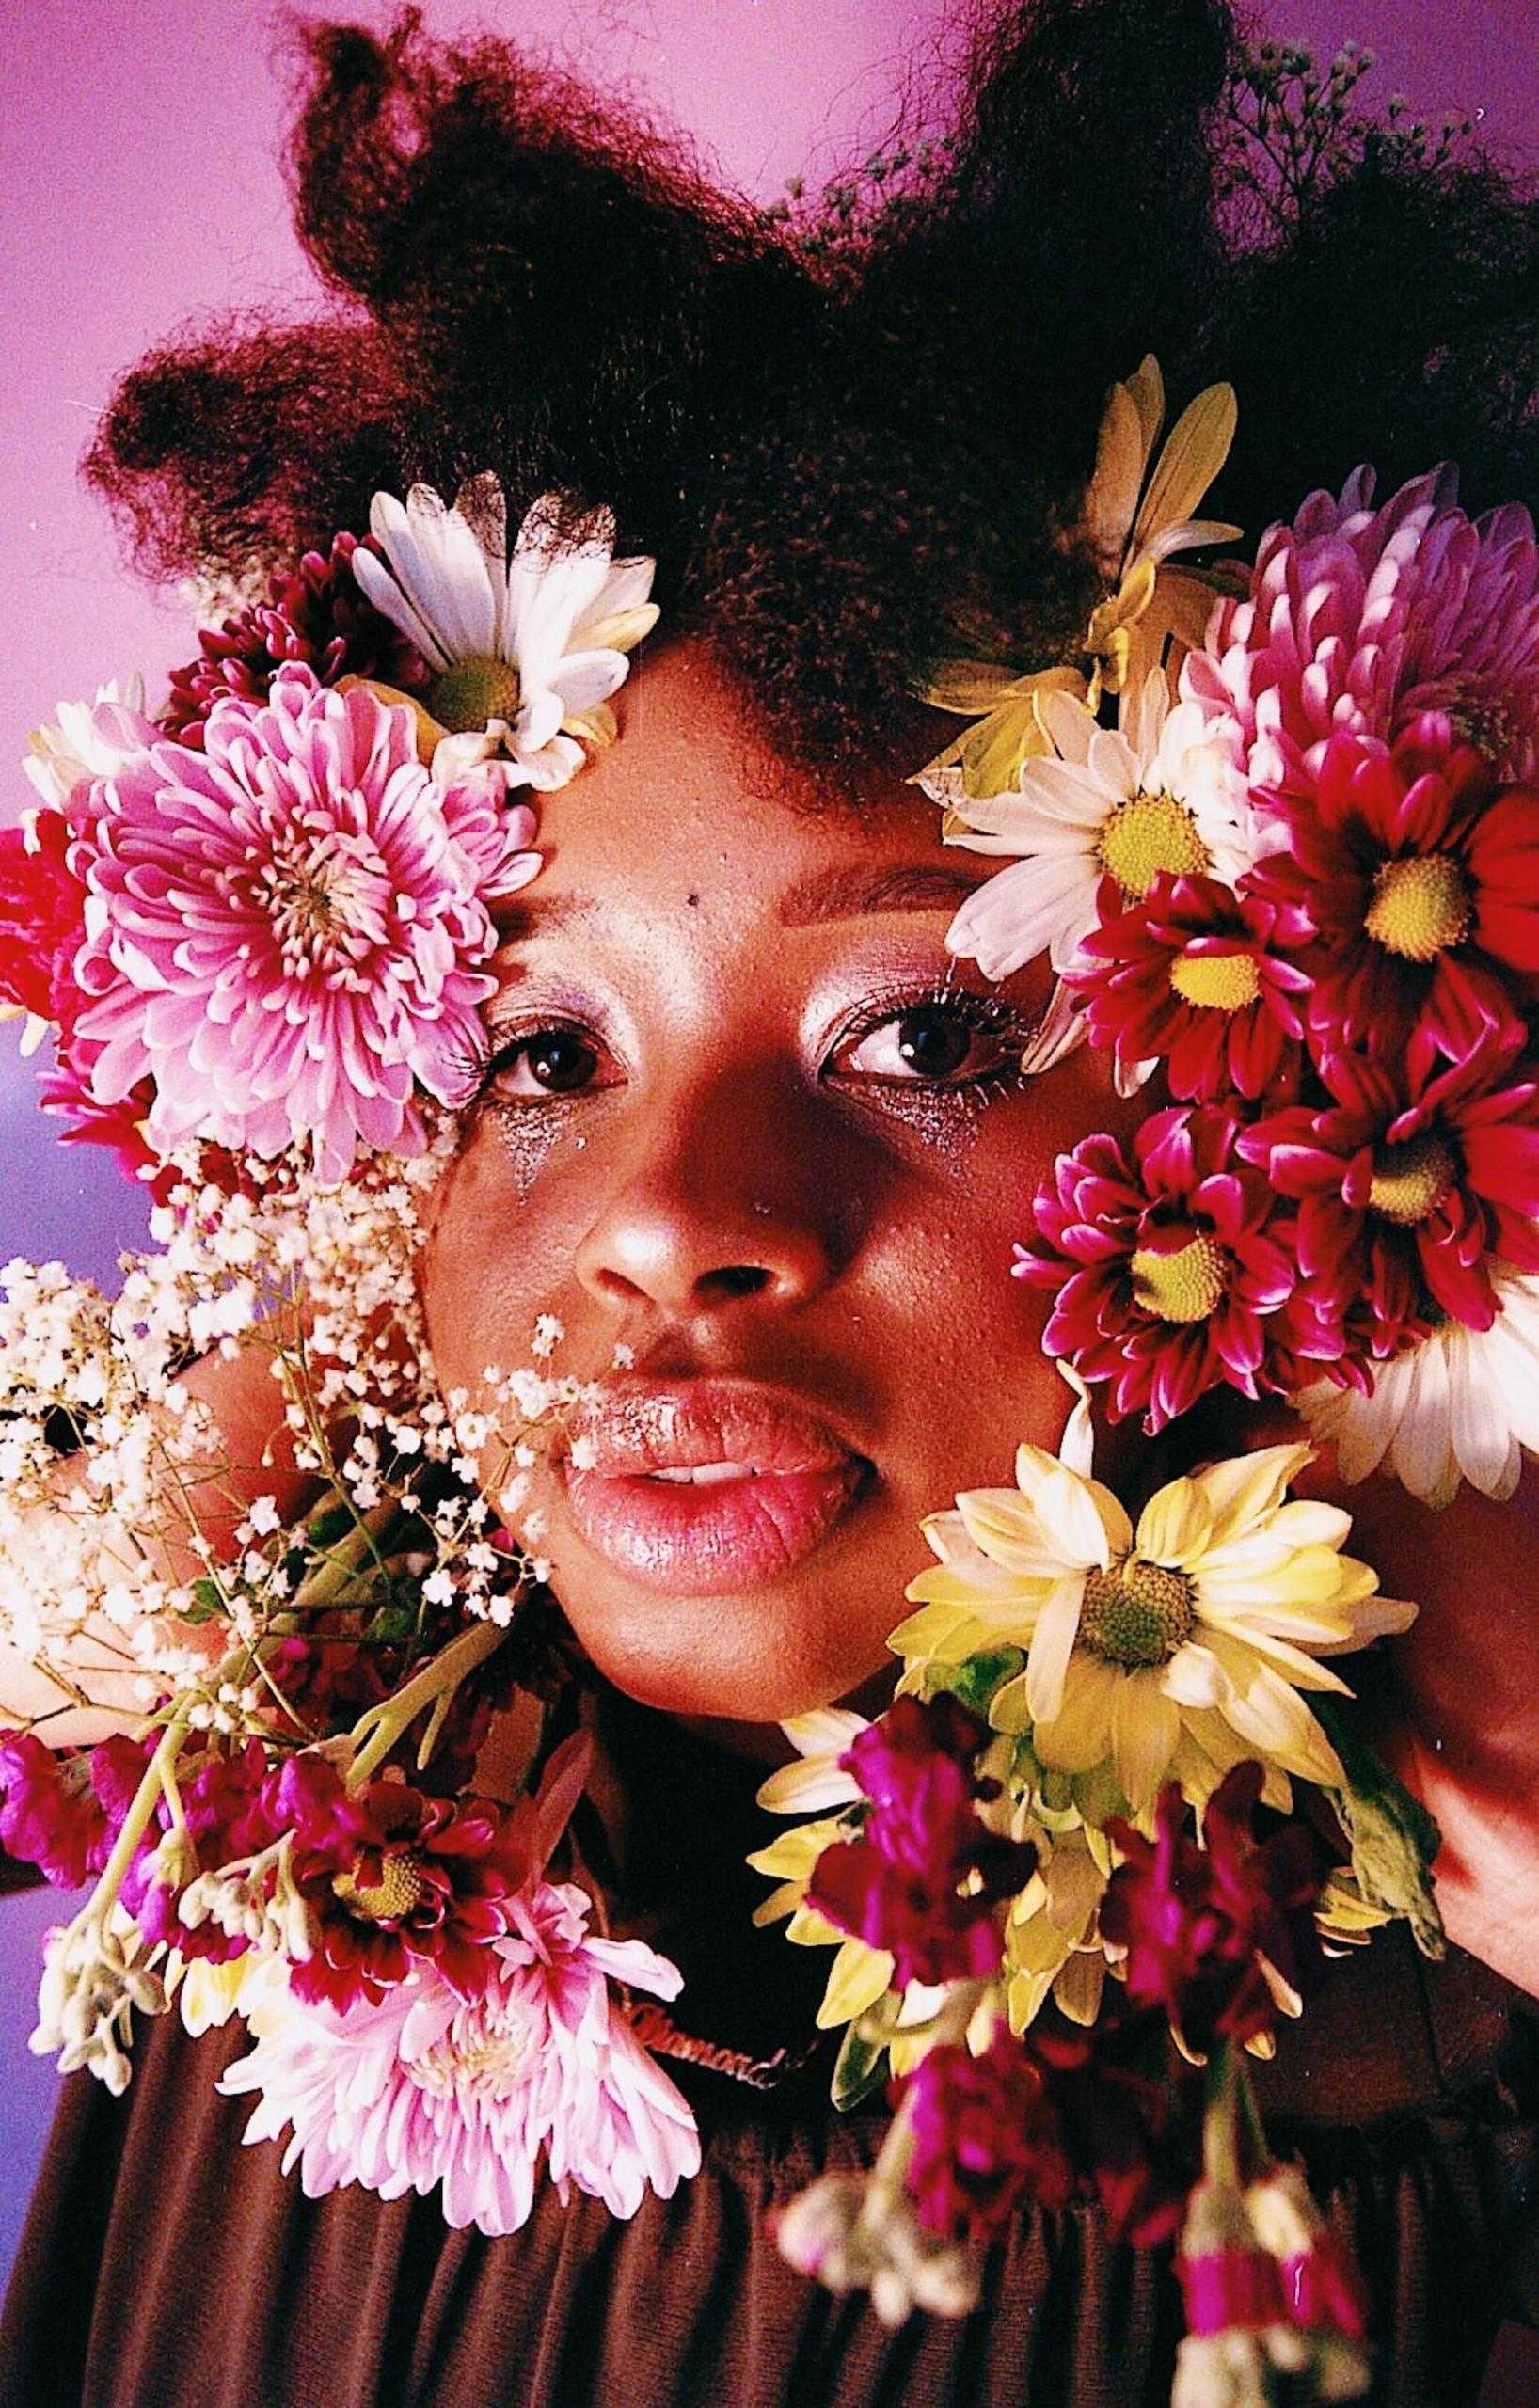
Where lighting is concerned, you should decide in advance whether to use natural light or if the portraits would come out better using light effects and flash in a studio. Natural light has a tendency to create softer, more flattering effects that convey as sense of intimacy and realism. By contrast, you might use artificial light more creatively to realize more original photos. There is no good or bad choice; it's all about what you want to communicate.
To capture your subject's most flattering likeness, try setting a large aperture (maybe f/1.4) and adjust exposure time and ISO values accordingly. This technique will give you a reduced depth of field where your subject is well in focus while the background and other elements are blurred.
You can see from a quick search on Google Images that master portrait photographers' works are all different from one to the next. Try to build a collection of reference photos and start experimenting. You can ask your friends and family to pose for you!
Photographing Objects and Animals
Masters of the genre: David LaChapelle, Lindsay Adler, Sharad Haksar, Erwin Olaf, Francesc Guillamet, Frans Lanting, Carl Warner, Jackie Alpers, Thomas Sharan, Markus Reugels : David LaChapelle, Lindsay Adler, Sharad Haksar, Erwin Olaf, Francesc Guillamet, Frans Lanting, Carl Warner, Jackie Alpers, Thomas Sharan, Markus Reugels
Still life photography is in some ways simpler than shooting portraits because you don't have to put your subject at ease. You don't have to get permission to take their picture, either. On the other hand, it's a lot more difficult to transmit emotions or tell a story with objects. Where animals are concerned, the situation is a bit different but depending on the animals you want to photograph, it could be a bit dangerous?.
We can divide this type of photography into several sub-categories, among which we find:
- Nature or still life: a compositional genre first explored in painting and popularized during the 17th Century before becoming a genre of photography. It involves staging inanimate objects such as fruits, flowers, domestic elements and other decorative elements. This type of photography gives the artist license to work on the details of composition, light and the texture of photographed objects.
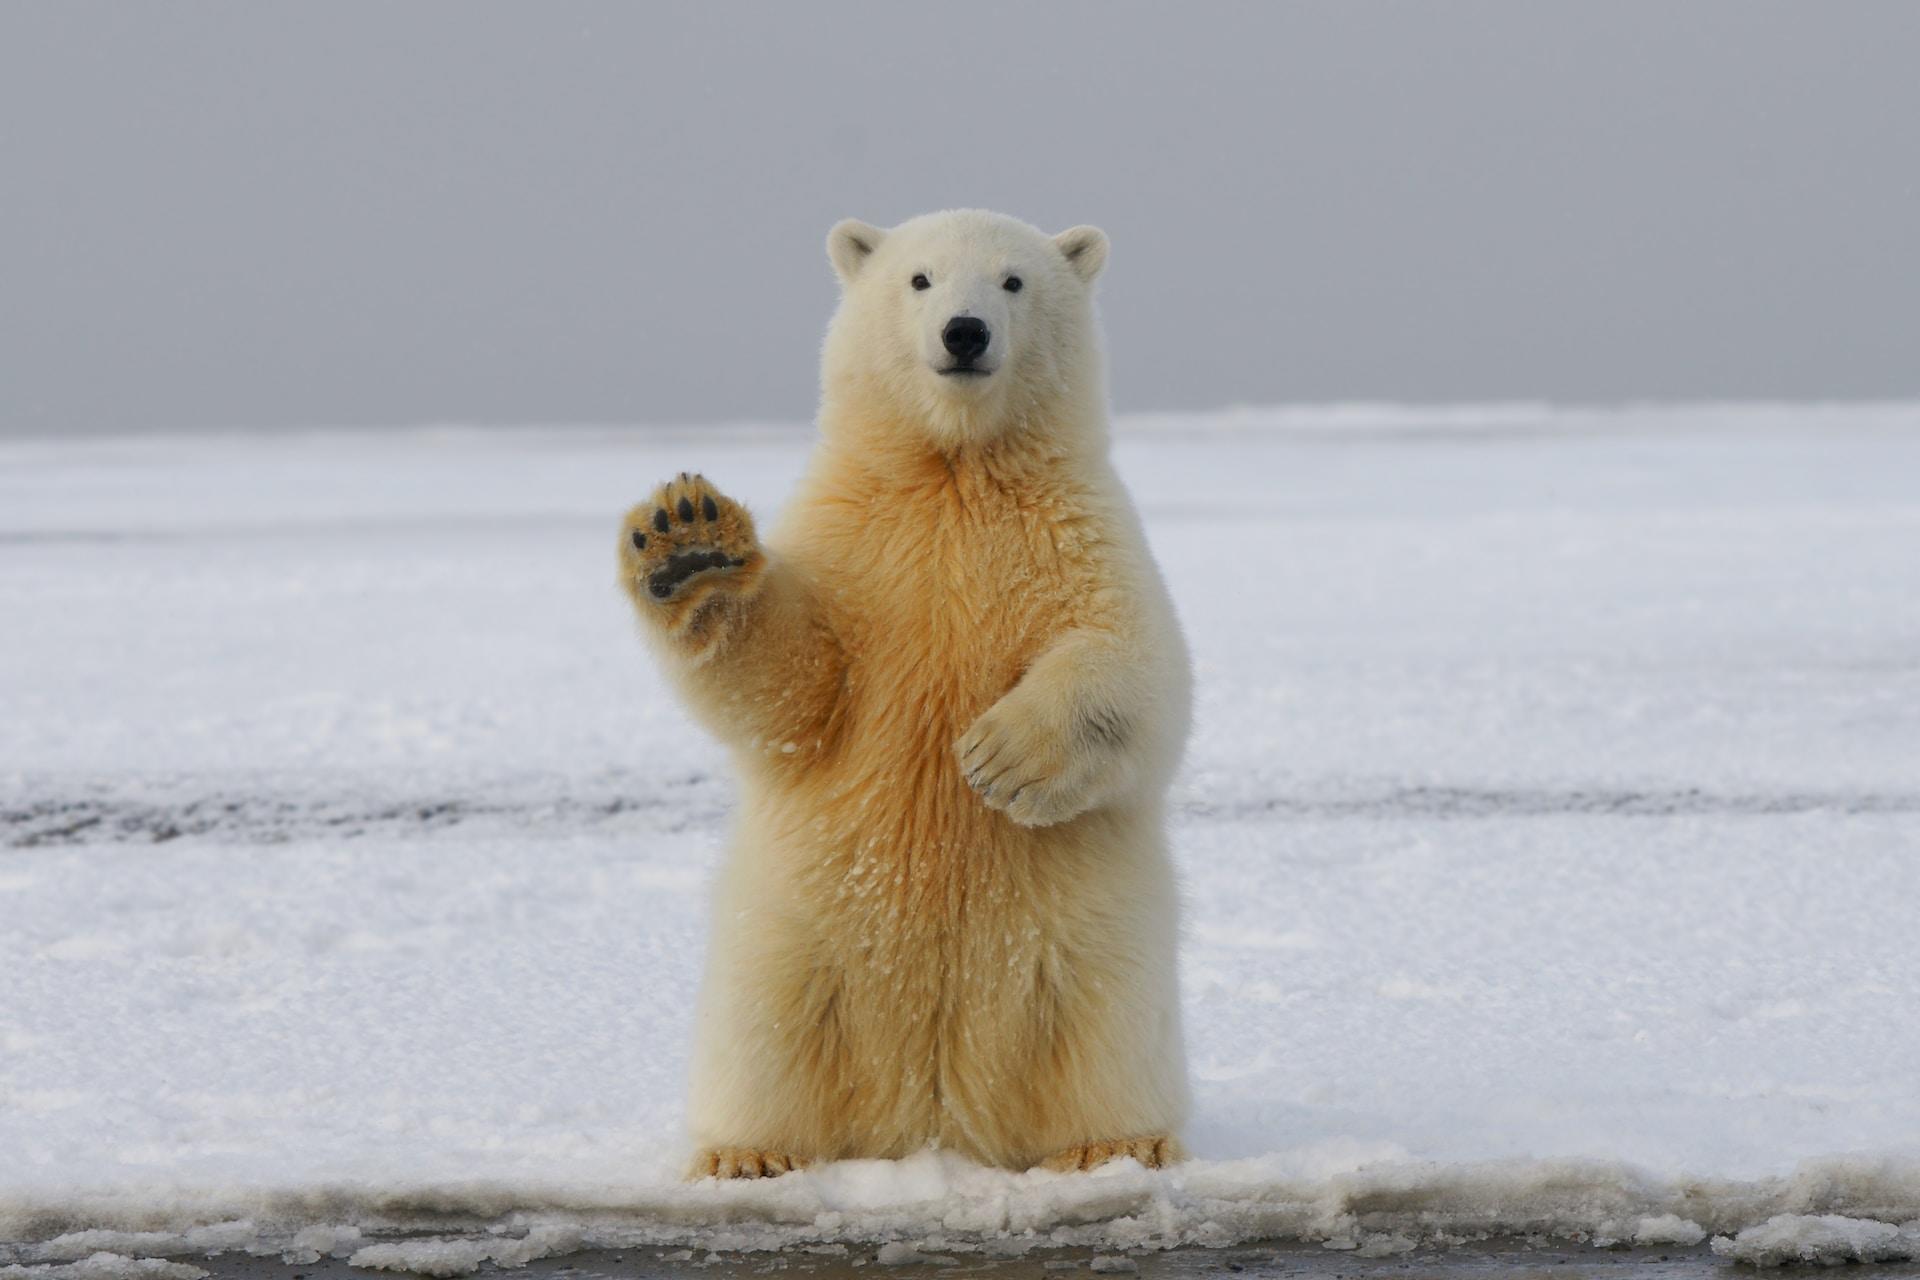
- Animal photography: the animal kingdom rules this photographic sub-genre. Animals are usually photographed in their natural habitats, not in a studio.
- Commercial photography: as the name suggests, this type of photography strives to emphasize the beauty and characteristics of a product to promote its sales. Catalogs, outdoor adverts and social media all feature commercial photography.
- Food photography: this is a subtype of commercial photography that centers around food. This type of photography is in high demand to promote restaurants or create recipe books. Photographers must think about composition and how to use their light to render the dishes as appetizing as possible.
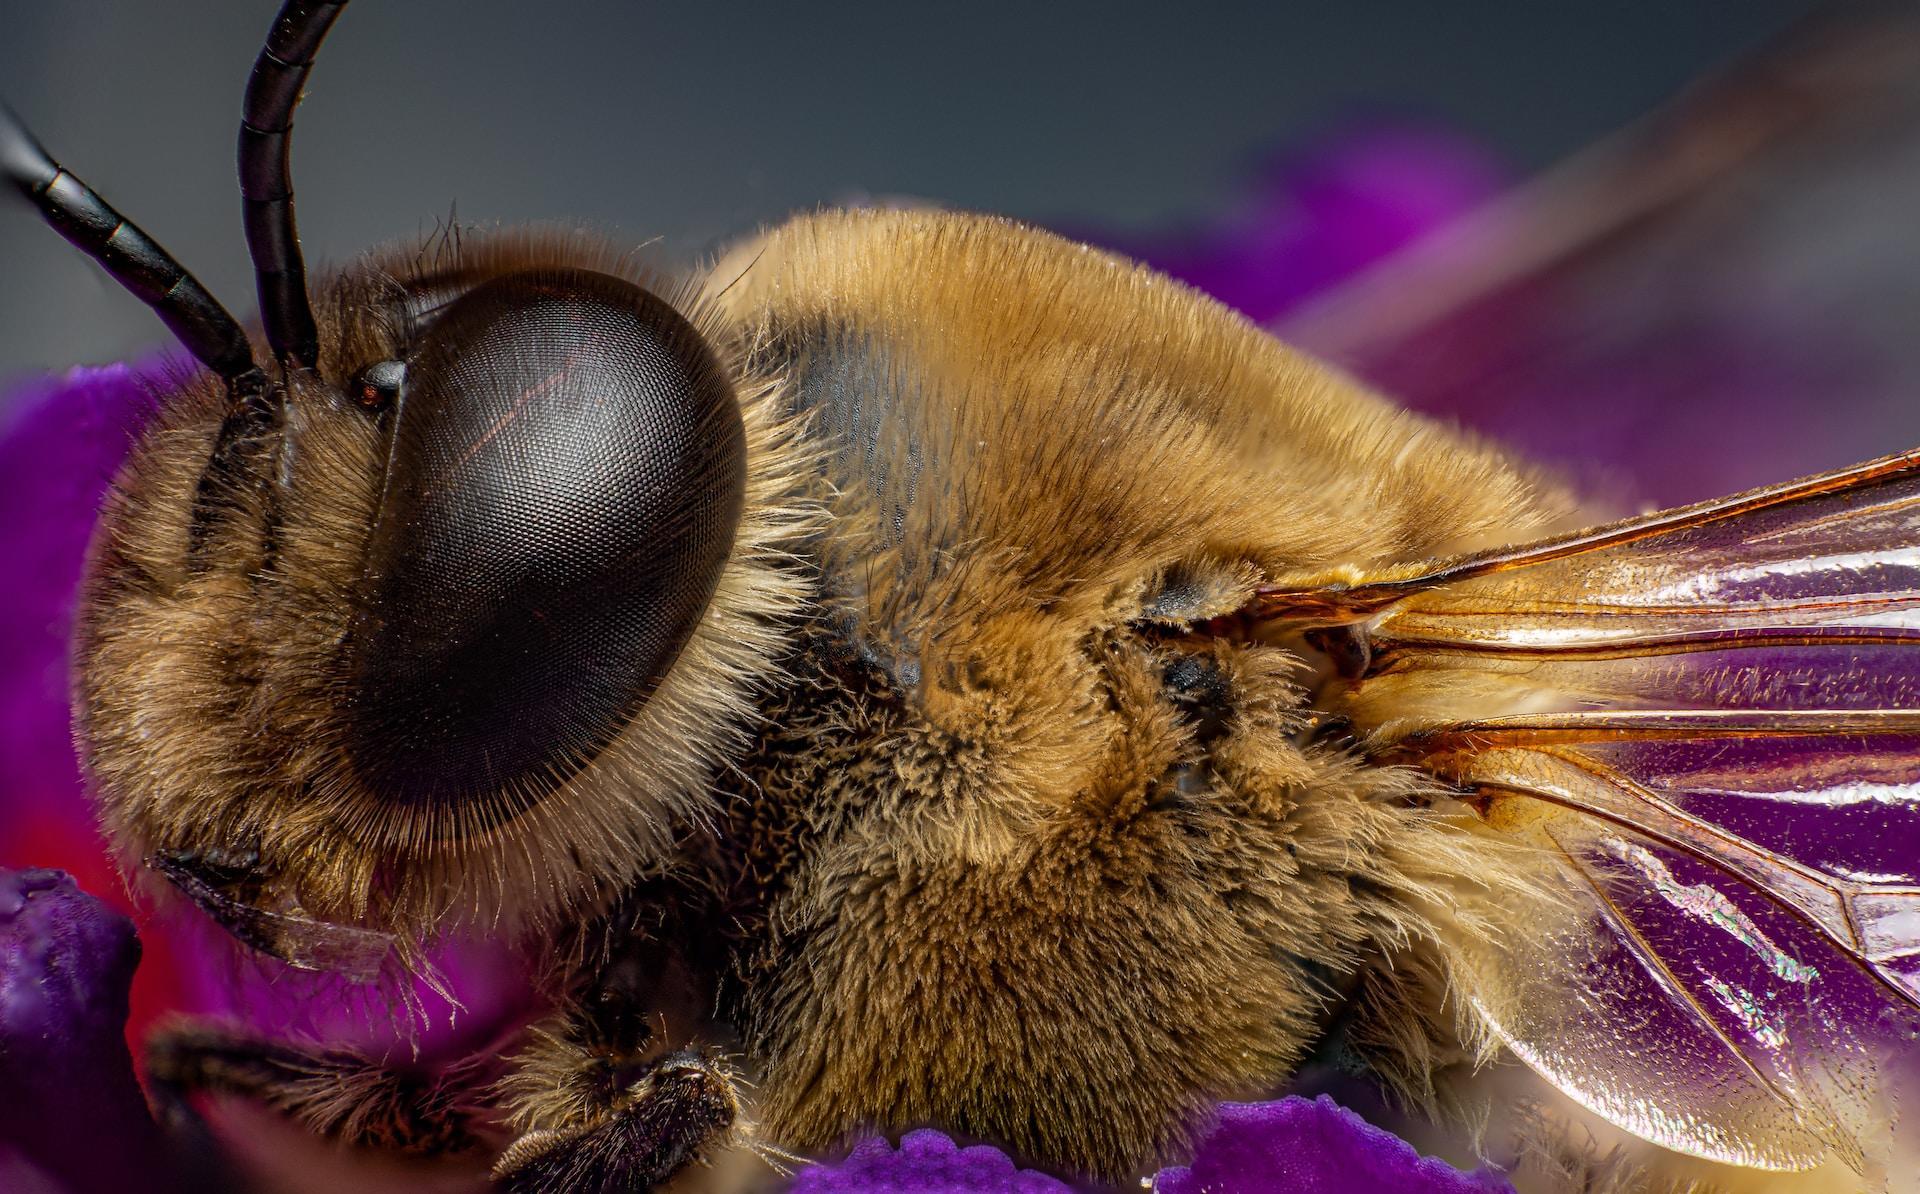
- Macrophotography: a photography sub-genre concentrated on the smallest subjects, such as flowers, insects or fine details. To practice this type of photography, you must have specialized equipment like macro lenses.
The works mentioned in these categories differ greatly from one to the next in terms of intention, technique, objectives and content. Studying and comparing them allows you to gain a more precise idea of these genres' similarities and differences to discover which one of them most fires your passion.
Landscape Photography: Capturing Nature or Urban Scenes
Masters of the genre: Alex Webb, Letizia Battaglia, Dando Moriyama, Henri Cartier-Bresson, Vivian Maier, Joel Meyerowitz, Diane Arbus, Elliott Erwitt, Fred Herzog, Gordon Parks.
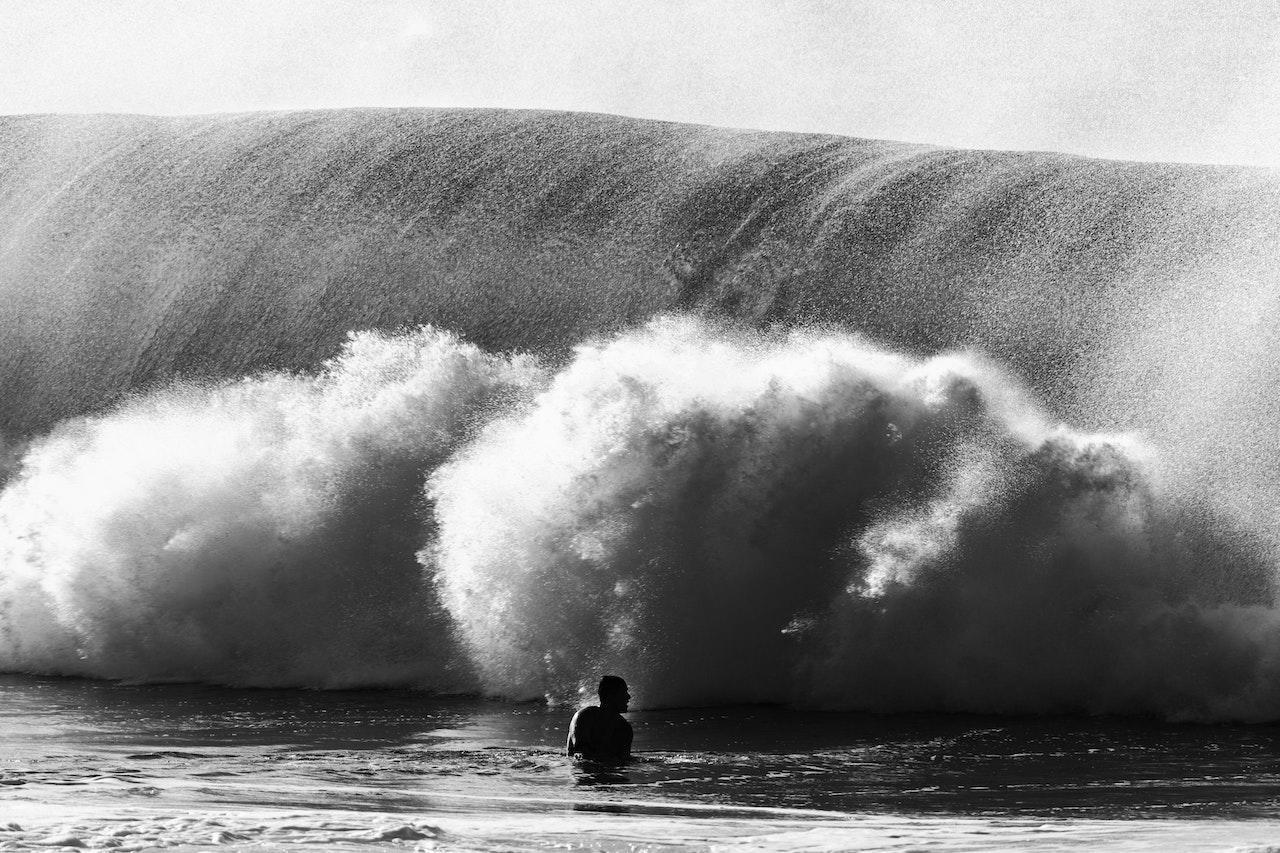
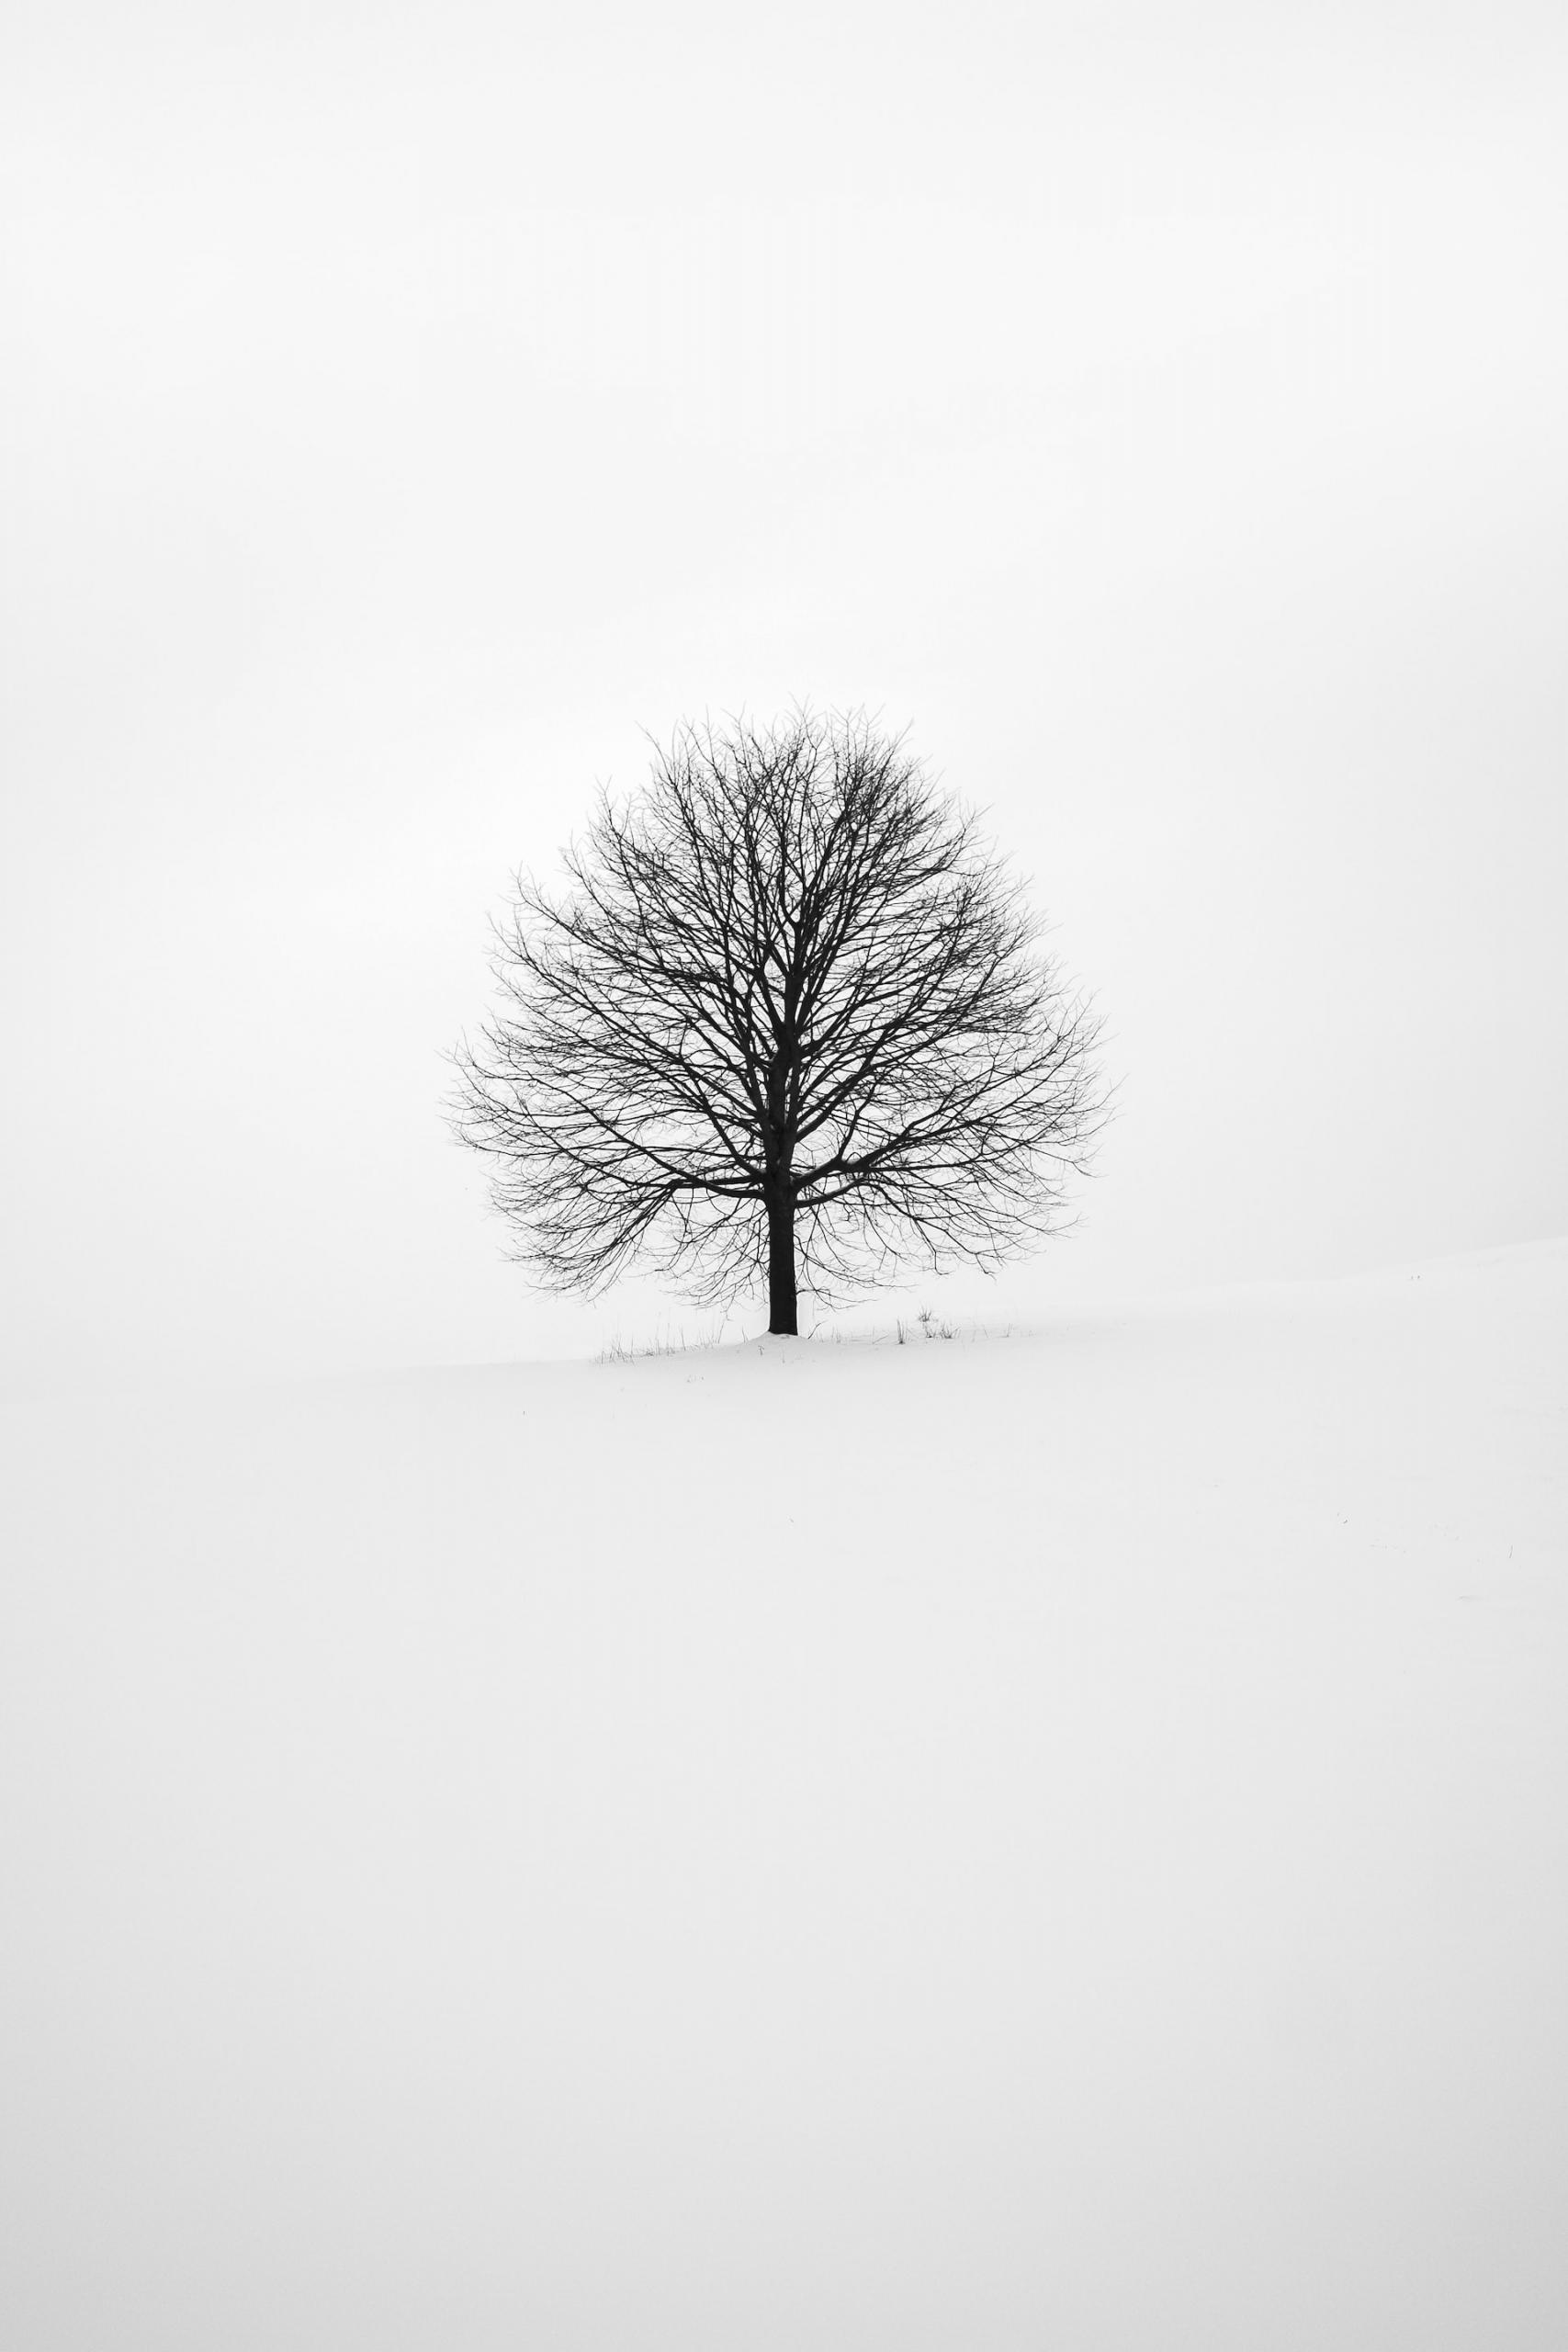
Landscape photography is another major photographic genre with many passionate adherents and artists. This type of photography aims to capture nature's beauty and grandeur. Mountains, oceans, deserts, forests and other natural settings form the heart of this type of photography.
Its complementary opposite is architectural or urban photography. As its name implies, it focuses more on artificial scenery and the grandeur of human effort. Or its horror, as is sometimes the case.
Though they deal with different subjects, these two genres of photography share many characteristics, above all from the technical perspective—the two call for great planning and particular attention to image composition.
Landscape and urban photographers study locations well in advance. They need to know how the light transforms them throughout the day to choose the most auspicious moment to bring all of the image's elements to life.
This type of photography tends to use a greater depth of field (and a greater aperture setting) to give crispness to all of the image's planes. It's also possible to play around with blurring effects to render some of the image's elements more sharply.
But what happens if you're an urban photographer? You don't only have architectural elements to contend with, you must also consider the residents.
Street Photography and Photo-reporting
Masters of the genre: Alex Webb, Letizia Battaglia, Dando Moriyama, Henri Cartier-Bresson, Vivian Maier, Joel Meyerowitz, Diane Arbus, Elliott Erwitt, Fred Herzog, Gordon Parks.
Street photography is a photographic genre that aims to capture fragments of actual life while transmitting an authentic sentiment to those who view these images.
Such pictures generally represent public spaces and urban areas such as roads, squares, markets and so on.
More than for any other genre, timing is crucial for street photography. The street photographer is an attentive observer, capable of seizing the details and instantaneously decisive in telling a story through images.
The essence of street photography is capturing the precise moment. Therefore, it's a good idea to use your camera's manual mode. Prioritize shutter speeds and let your camera manage the other exposure values.
When engaged in street photography, you must mind the laws of whichever country you find yourself in. It's not always legal to take pictures of people without their consent. There are even public places where photography is forbidden.
Is it legal to photograph random people on the street?
In the United States, photography laws are generally permissive, but you should know these caveats. You're fine as long as you photograph a subject visible from a public space. You may even photograph people if they're not engaged in a vulnerable or private situation. Breastfeeding mothers, intoxicated persons or somebody sleeping rough fall under that banner. In general, asking the person if you may take their picture is a good idea, especially if you plan to publish it - even on social media. Children's rights to privacy are more strongly enforced, so that you may find local restrictions on photographing children.
Besides the legal aspects, remember the human elements of photography. Having a license to photograph a person in a particular context doesn't mean it's right to do so without their consent. You might consider asking for permission for your street photography rule of thumb.
Now, to enrich your knowledge of street photography, we recommend two essential works:
- Bystander: A History of Street Photography - Compiled by Colin Westerbeck et Joel Meyerowitz
First published in 1994, many consider this book the street photography 'bible'. This book was updated in 2007 and again in 2017. The work retraces the history of street photography's heroes through text and images.
- Magnum Streetwise - Compiled by Stephen McLaren
Across the works, essays and anecdotes, this book presents a complete overview of every aspiring street photographer's joys and challenges. Master photographers such as Henri Cartier-Bresson and Robert Capa founded the illustrious Magnum Agency in 1947.
The Present and Future of Photography
Like all artistic disciplines, historical, social and technological events bear a strong influence on photography. Technological advances over the past few decades, in particular, have transformed how we see the world.
Indeed, the profusion of software applications to edit photos has overwhelmed this artistic discipline. - More recently, Artificial Intelligence (AI) emerged with full capabilities of creating and/or modifying images.
Photo Editing and Post Production
Some photography purists would like to associate photo editing with a decline in photographic art. But in reality, post-production is as old as photography itself. Consider that, in 1860. Photographer Matthew Brady retouched the portrait he took of American President Abraham Lincoln. He used chemical processes to increase the contrast and brightness to make the president's likeness more balanced and imposing.
The digital revolution and software like Adobe Photoshop, Lightroom and other applications elevated photography post-production to dizzying heights. Just think: as recently as 2012, to get your copy of Photoshop CS6, you had to pay nearly $1100! That's why they were strictly the purview of industry professionals. Today, everyone has access to Photoshop CC et Lightroom, and for a mere $13 a month, at that!
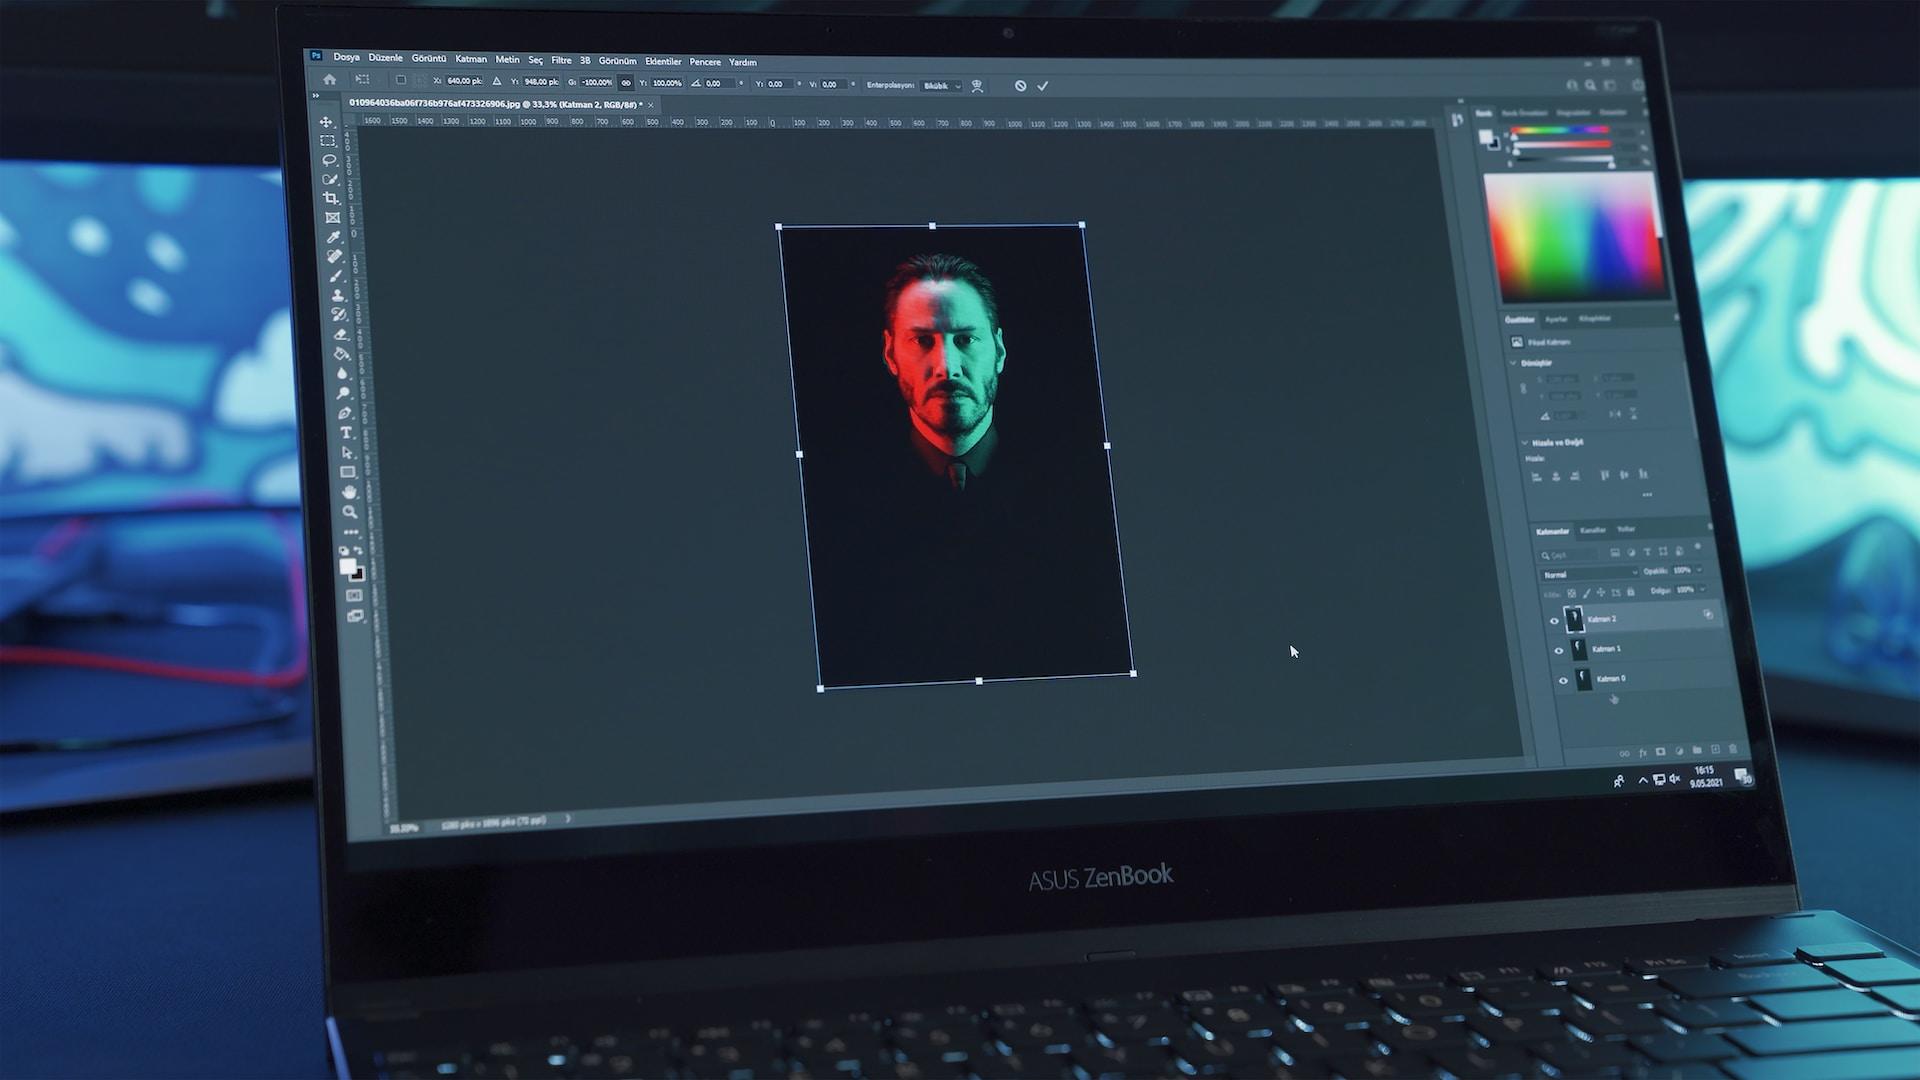
These programs give you access to a complete photo editing toolbox. Among other features, it allows you to reframe images, clean them up and make them sharper, blur certain parts of a picture, correct skin texture and modify body shapes.
Thanks to editing software, you can modify even a mediocre snap to make it more balanced and exciting.
If you're interested in photography, learning how to use editing software can help you give your pictures added value. But beware: abusing post-production can make your images appear fake and highlight shortcomings in your photographic skills.
Photography and Artificial Intelligence
These last few years - and especially over the previous few months, AI has generated a lot of talk.
To understand AI's impact on photography, we can cite MidJourney as an example. This is a 'text to image' algorithm capable of generating images from text-based instructions.
You must instruct the program "create a realistic image of this person dressed as a clown" to get a credible rendering. You can even make the instructions much more detailed and specific.
If we hold as accurate that these images are proper photographs, we must equally concede that MidJourney draws upon a vast database that comprises millions of digitized pictures. From this point, we grow ever closer to the moment when AI-generated images are no longer distinguishable from actual images.
Photoshop's Generative Fill is the latest big development in this domain; it's only been on the market for a few weeks.
It's a tool that allows users to add parts of images to a photograph by inserting backgrounds, objects, people and much more. This utility gives rise to much grander, more credible photos. The results are impressive; you must try it yourself to believe it!
We might entertain the idea that the art of photography - and thus, the photographer being completely replaced by AI as extreme and far from reality. In the same vein, we would submit that text generators like ChatGPT won't replace writers. But those assertions lead to the undeniable fact that the world of photography is undergoing a profound revolution. To continue working, photographers must as least take an interest in these ongoing changes.
AI will probably not steal work from photographers, but photographers skilled in digital resources might. Our advice is thus to stay up to date and continuously experiment with the latest technological innovations, independent of any artistic endeavor.
We now come to the end of our guide for aspiring photographers. We hope these lessons were to your liking and have furnished you with numerous ideas. Likewise, we hope you're now possessed of a desire to have a camera of your own (if you don't already have one) and to start taking pictures with full knowledge of your art. For comments and questions, feel free to write us in the section below!
Your Photography tutor is waiting for you on Superprof!
Want to give it a try?
Let our experts impress you!
Summarize with AI:
Did you like this article? Leave a rating!


