
A camera is a SAVE button for the mind’s eye.
Roger Kingston
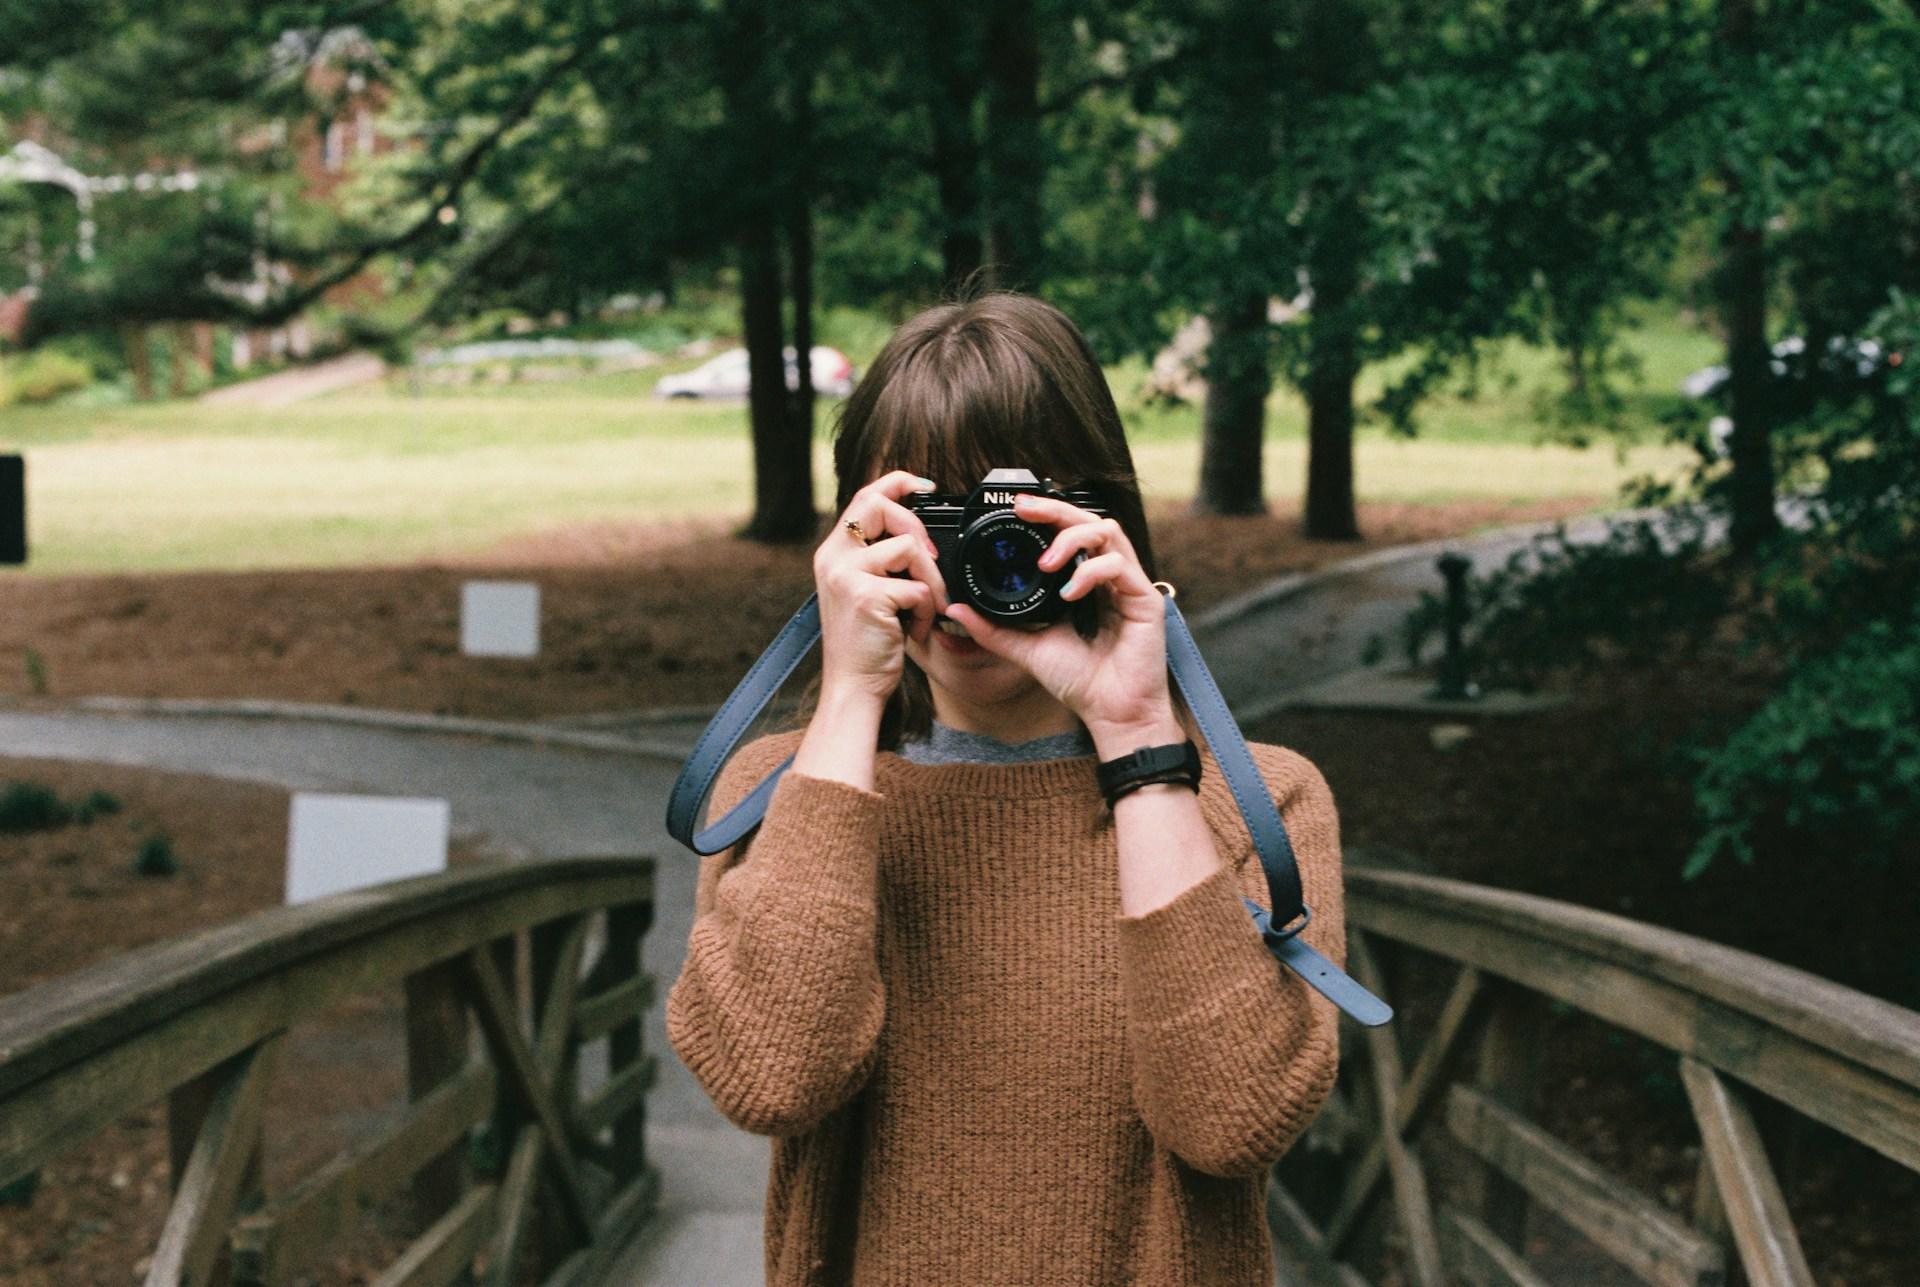
Welcome to the world of film photography, where each photo tells a story and every moment is captured with depth and character! In our modern times, film photography offers a refreshing alternative, inviting beginners to explore its tactile and immersive experience. This beginner's guide is here to help you navigate using a film camera with confidence and creativity. Before we get started, how does film photography work?
Film photography relies on light-sensitive film and traditional processes, encouraging photographers to slow down and shoot each photo with focus and detail. This guide will start by introducing you to the basic components of a film camera, then move on to essential skills like exposure and composition.
You'll learn how to control exposure using aperture, shutter speed, and ISO, ensuring well-balanced and amazing film photos. We'll also explore composition techniques to create visually engaging images. Additionally, we'll dive into the different types of film stocks, each offering unique qualities to enhance your creativity.
By the end of this guide, you'll feel equipped to pick up a film camera and start capturing images that resonate with depth and emotion! Now, let's start discovering the world of film photography together!


Understanding the Basics of Film Photography
Before diving into the world of film photography, it's essential to grasp the fundamental principles that underpin this art form. We'll explore the core concepts of film photography, including the role of light-sensitive film, the mechanics of a film camera, and the chemical processes for your photo development.
The significance of light-sensitive film in film photography will be important to grasp. Unlike digital cameras that capture images electronically, film cameras rely on the interaction of light with a photosensitive emulsion coated on a film strip or sheet. This emulsion reacts to light exposure, creating a latent image that must be developed by using a chemical processes to produce a visible photograph.
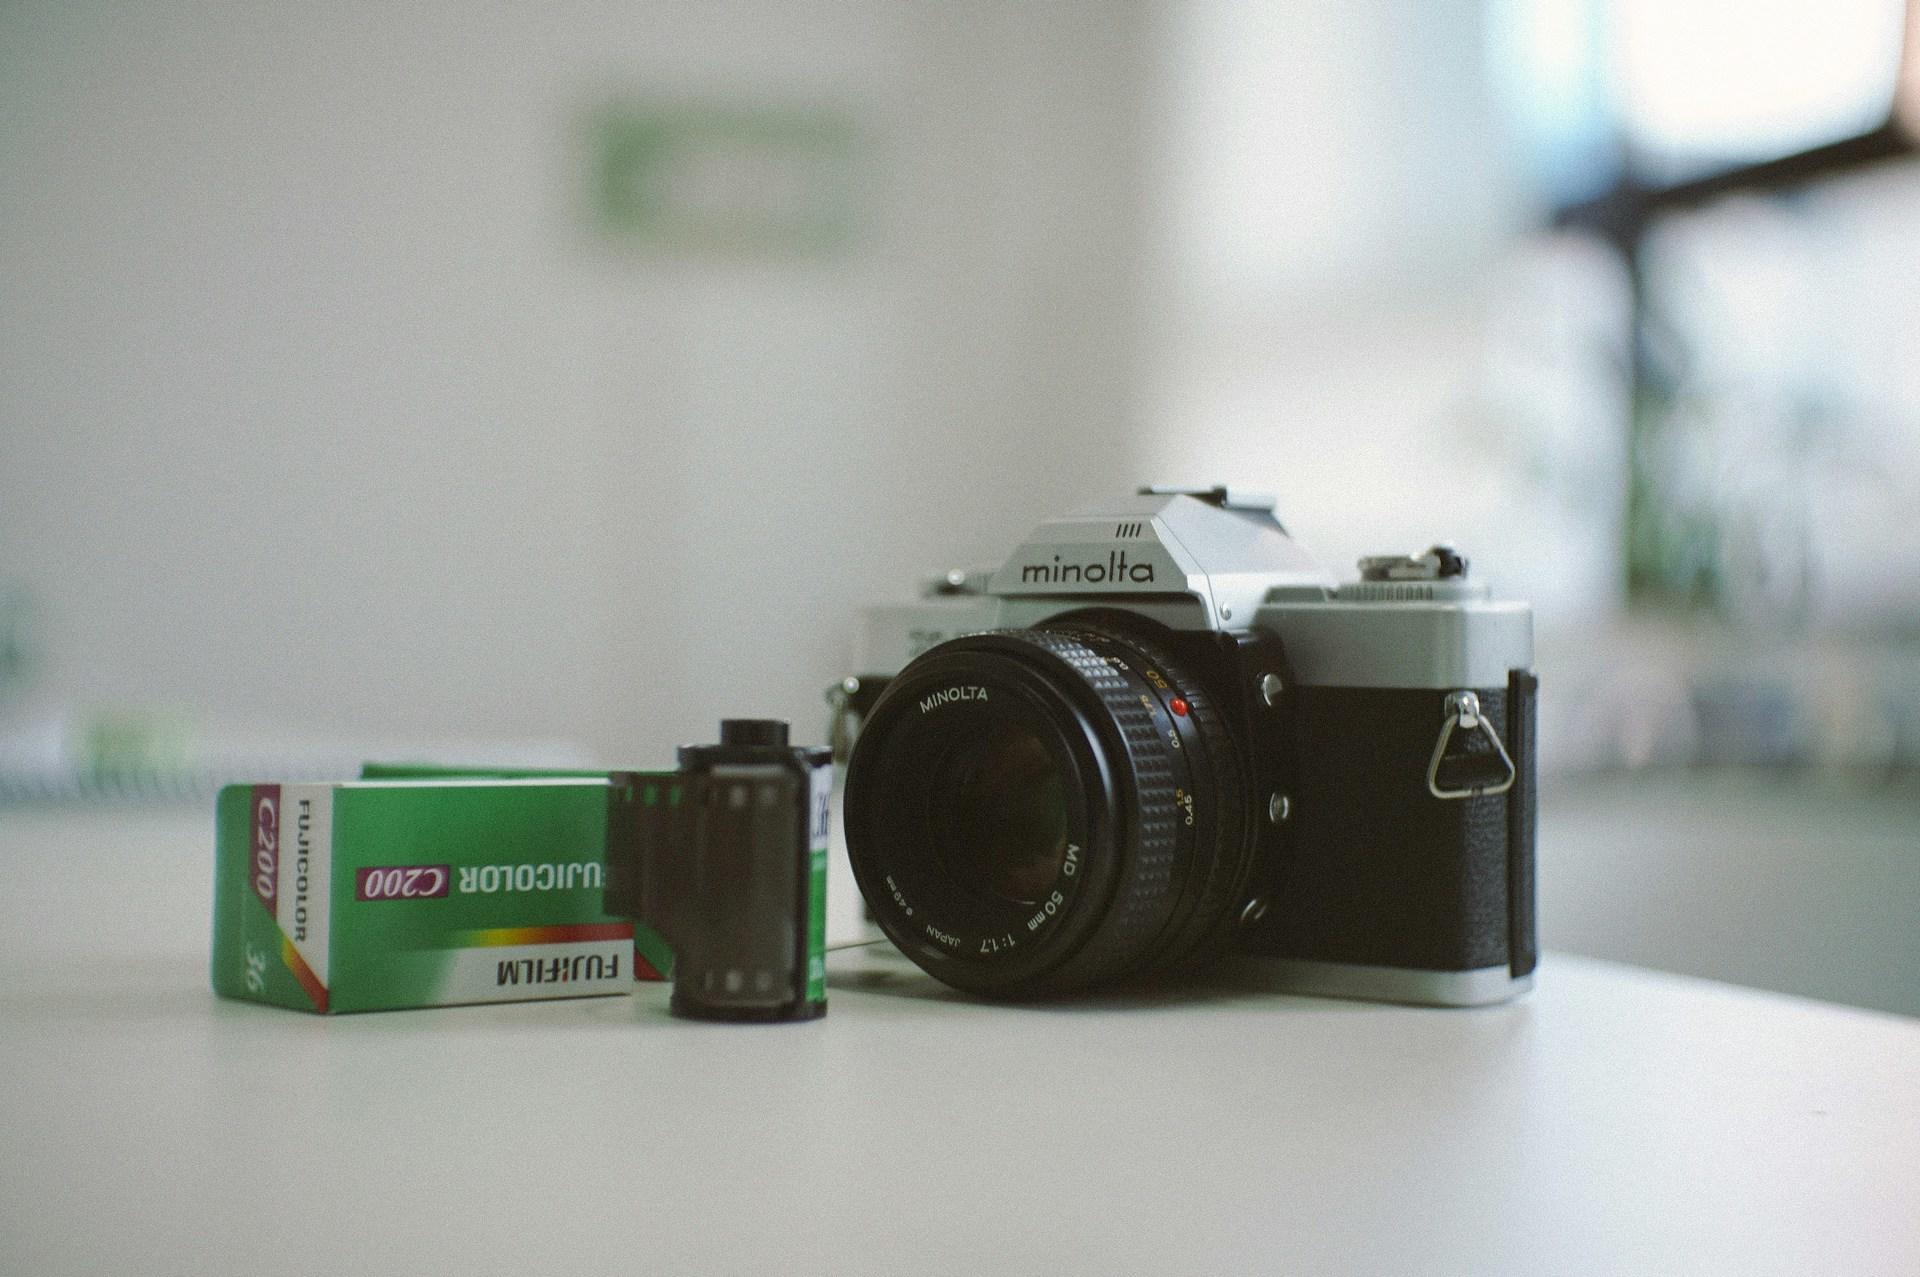
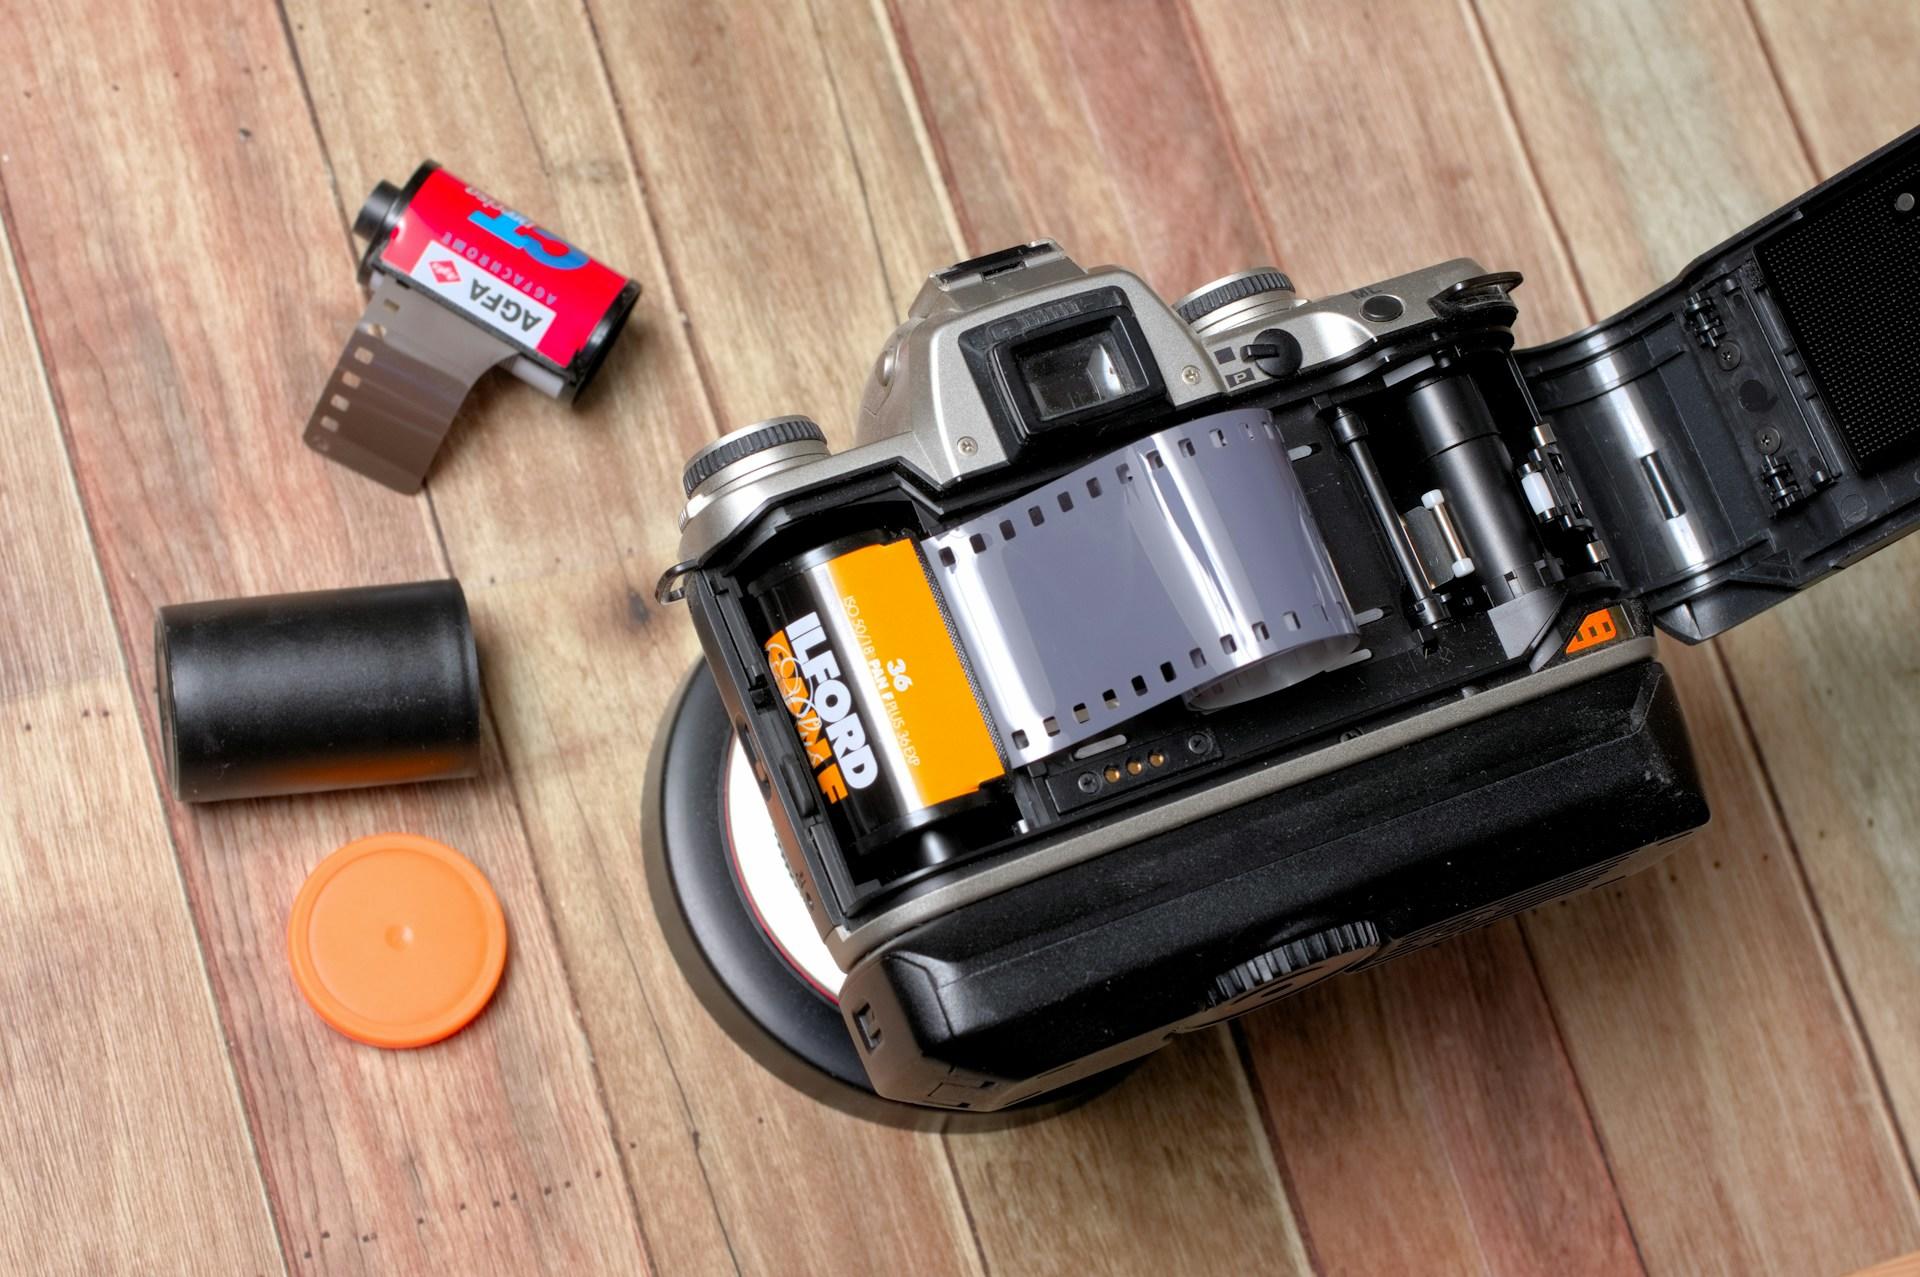
The mechanics of a film camera and understanding its essential components and functions are also key. From the lens and aperture to the shutter mechanism and film advance, each part of the camera plays a very important role in capturing and preserving images on film. Understanding how these components work together will provide beginners with a solid foundation for using a film camera effectively.
Lastly, understanding the significance of traditional chemical processes in film photography is the last step. Developing film involves a series of steps, including developing, stopping, fixing, and washing, each crucial for bringing out the latent image and preserving it on the film base. While digital photography offers instant results, film photography rewards patience and craftsmanship, with each step in the development process contributing to the final outcome. Here we go!
Mastering Exposure and Metering Techniques
Exposure is a fundamental aspect of photography, regardless of whether you're shooting with a digital or film camera. So let's focus on mastering exposure and metering techniques specific to film photography, including understanding the exposure triangle, using light meters, and controlling exposure manually.
The exposure triangle, which includes the comprising aperture, shutter speed, and ISO, forms the basis of exposure control in photography. Adjusting these three factors allows photographers to achieve the desired balance of light and shadow in their images. Beginners must understand how changes in aperture affect depth of field, how shutter speed influences motion blur, and how ISO sensitivity impacts image noise.
In addition to the exposure triangle, mastering exposure in film photography requires an understanding of light metering techniques. While some film cameras feature built-in light meters, others may require the use of handheld light meters or manual exposure controls. Learning to interpret light meter readings and make exposure adjustments accordingly is essential for achieving well-exposed photographs.
Unlike digital cameras that offer automatic exposure modes, film cameras often require photographers to set exposure parameters manually. While this may seem daunting at first, manual exposure control offers greater creative freedom and control over the final outcome, allowing photographers to tailor exposure settings to suit their artistic vision.
Exploring Composition and Framing Techniques
Composition plays a central role in photography, influencing the visual impact and storytelling of an image. Let's explore composition and framing techniques specific to film photography, including the rule of thirds, leading lines, framing, and perspective.

The rule of thirds is a fundamental principle of composition that divides the frame into thirds horizontally and vertically, creating nine equal sections. Properly placing key elements of interest can enhance the balance and visual appeal of an image. Leading lines are another powerful compositional tool that guides the viewer's eye through the frame, leading to a focal point or subject of interest. Whether natural or man-made, leading lines add depth and dimension to an image, creating a sense of movement.
Framing involves using elements within the scene to frame the subject, drawing attention to the focal point and adding context or visual interest to the composition. By carefully considering the placement of foreground and background elements, photographers can create dynamic and engaging images that invite the viewer into the scene!
Finally, perspective refers to the vantage point or viewpoint from which a photograph is taken. Experimenting with different perspectives, such as low-angle or high-angle shots, can alter the perception of scale and depth in an image, therefore enhancing visual appeal.
Choosing the Right Film Stock
Film stock selection shapes the aesthetic and mood of your photographs. Let's take a look at the different types of film stocks, including black and white, color negative, and color reversal (slide) film, and discuss their characteristics and when to use them.
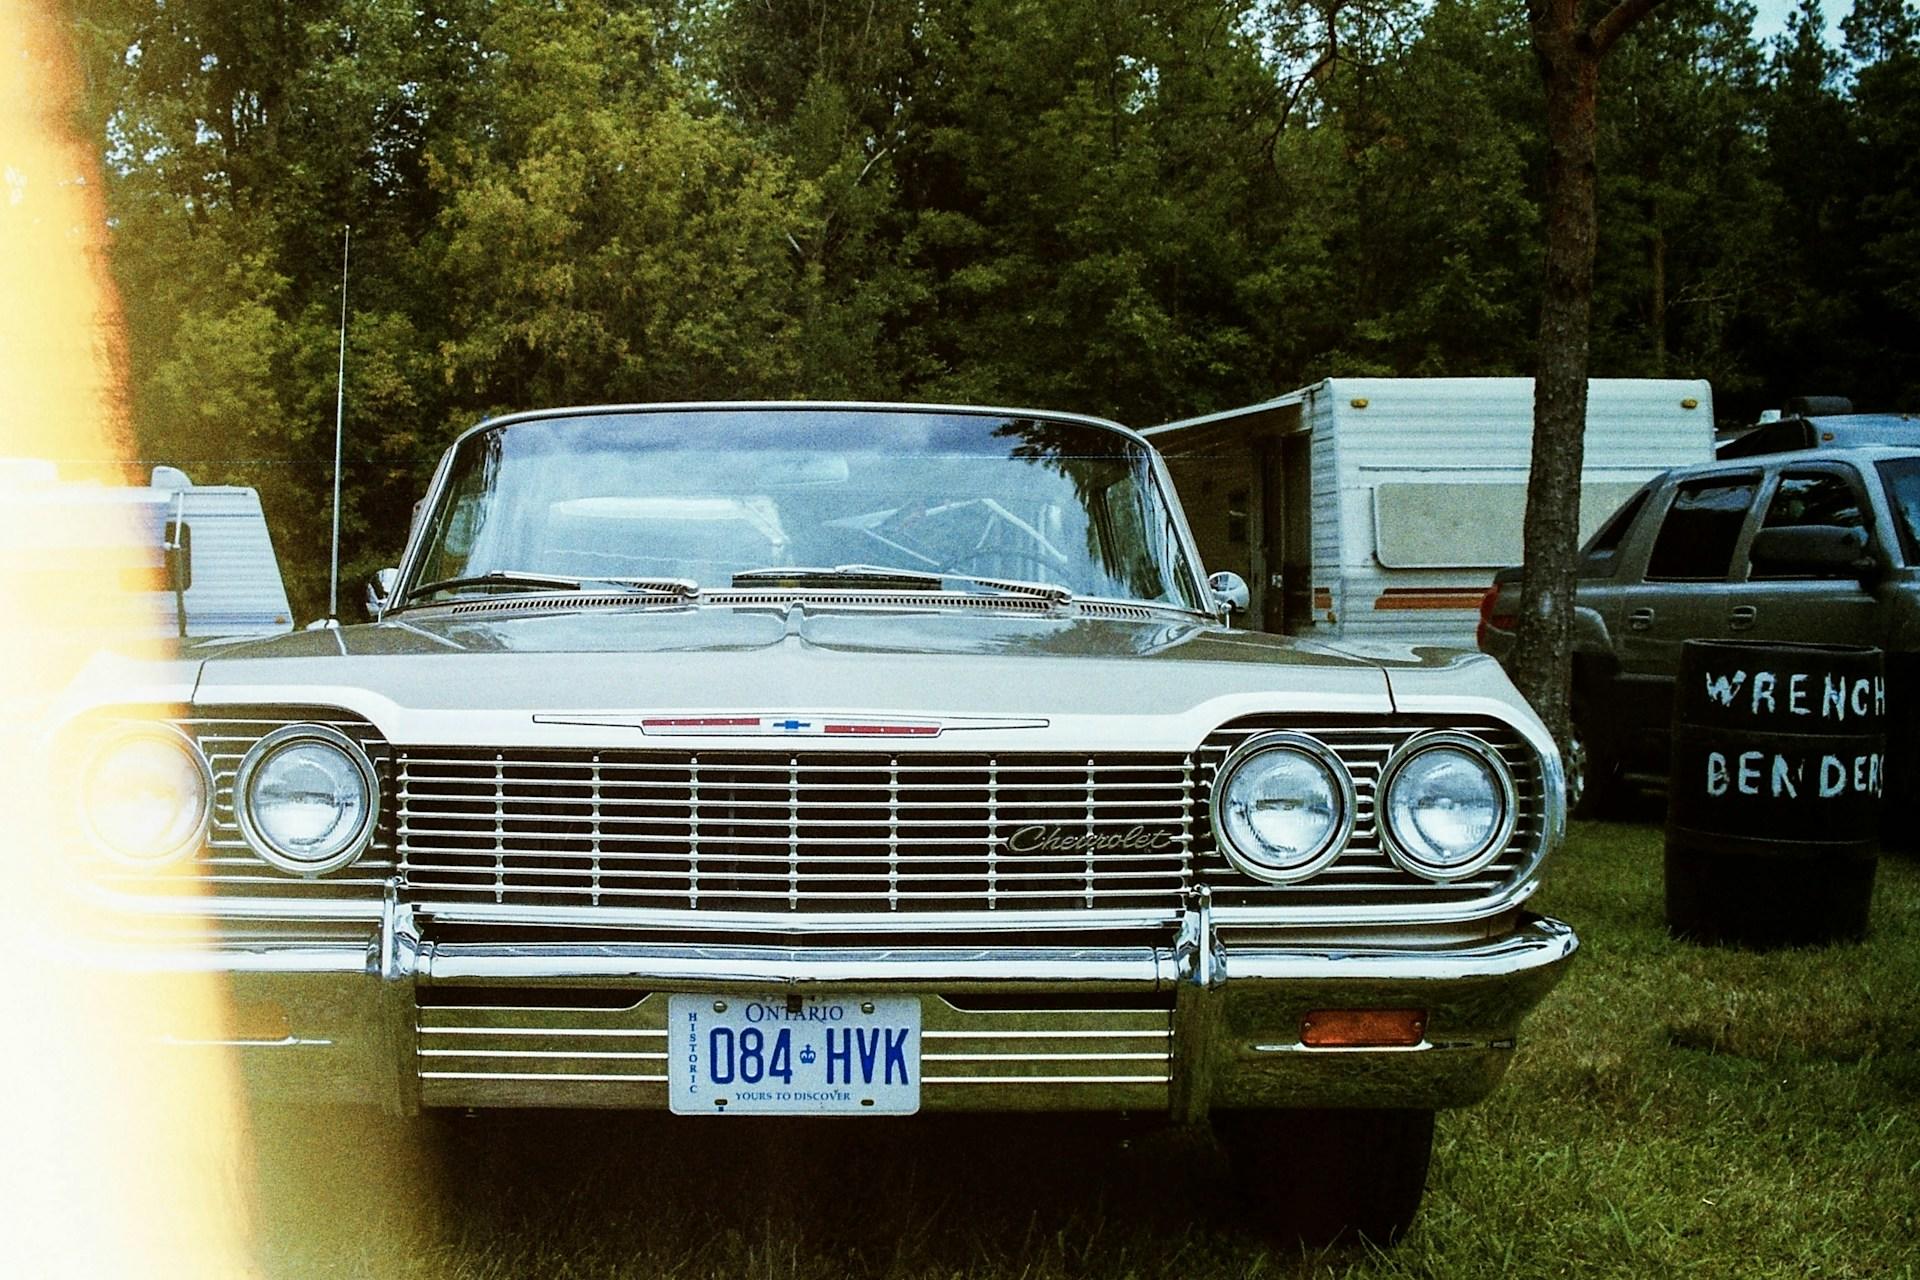
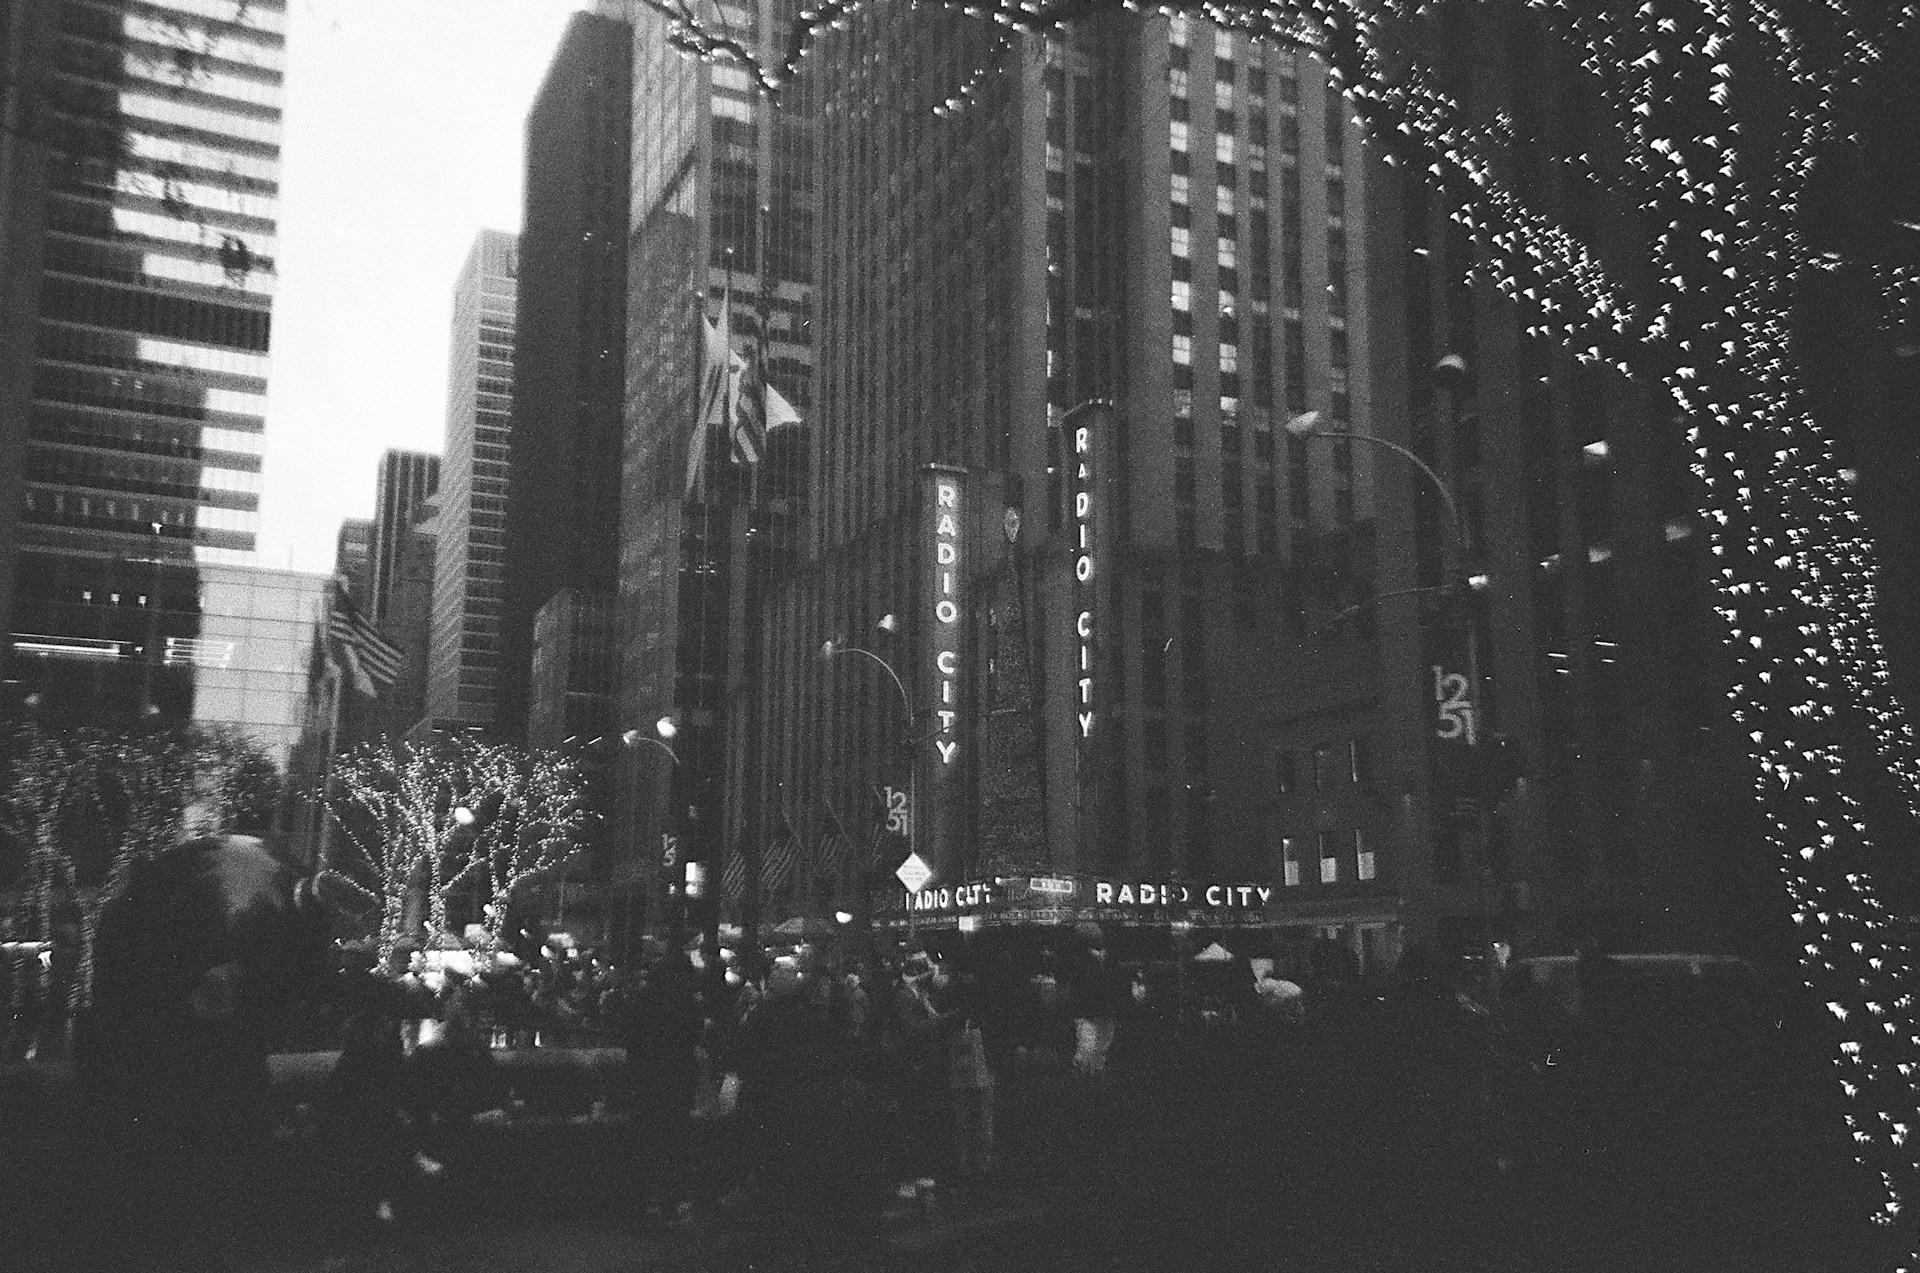
Black and white film is a classic choice beloved for its timeless elegance and versatility. With its rich tonal range and dramatic contrasts, black and white film is well-suited for capturing emotive portraits, striking landscapes, and atmospheric street scenes.
Color negative film offers vibrant and lifelike color reproduction, making it an excellent choice for capturing everyday scenes and events. Color negative film also boasts a wide exposure latitude, forgiving minor exposure errors and providing flexibility during the printing or scanning process.
Color reversal film, also known as slide film, produces positive transparencies that can be viewed directly or projected onto a screen. Known for its vivid colors and high contrast, slide film is favored by landscape and nature photographers seeking to capture breathtaking scenery and golden sunsets.
In addition to these traditional film stocks, photographers can also experiment with specialty films, such as infrared, high-speed, or cross-processed film, to achieve special and unconventional effects. Regardless of the film stock chosen, each type offers its distinctive aesthetic qualities, allowing photographers to express their artistic vision in new and creative ways.
Developing and Printing Your Film
Film photography doesn't end with capturing images. That's correct, it continues through the process of developing and printing your film! Multiple steps are involved in developing film, from preparing the chemicals to processing the film negatives, and different printing techniques exist for producing physical photographs.
Developing film requires careful attention to detail and adherence to proper procedures to ensure consistent and high-quality results. Whether you're using a home darkroom or relying on a professional lab, the process typically involves several steps, including developing, stopping, fixing, and washing, each important for bringing out the latent image and stabilizing it on the film base.
Once developed, film negatives can be printed onto photographic paper using an enlarger in a darkroom or scanned digitally for further processing. Darkroom printing offers a hands-on approach to image-making, allowing photographers to exercise creative control over every aspect of the final print, from exposure and contrast to dodging and burning.
Alternatively, photographers can opt for digital scanning and printing, which offers convenience and flexibility while retaining the aesthetic qualities of film photography. Whether printing in the darkroom or digitally, the goal is to produce high-quality prints that faithfully represent the photographer's artistic vision. Here's an article on how to develop your film photographs!
Mastering the art of using a film camera is a rewarding experience that offers endless opportunities for creativity, self-expression, and personal growth. By understanding the fundamental principles of film photography, mastering exposure and composition techniques, selecting the right film stock, and learning to develop and print your film, beginners can unlock the full potential of film photography and create photographs that resonate with their artistic views.
Photography is the beauty of life captured.
Tara Chisolm
Whether you're drawn to the timeless elegance of black and white film, the vibrant hues of color photography, or the ethereal beauty of alternative processes, film photography offers a rich and rewarding creative outlet for photographers of all levels. The possibilities are endless, and the adventure awaits! Would you like to start by following a film photography course?
Learn More About Film Photography with Superprof
Signing up with Superprof is a straightforward process that provides access to a large scale of experienced tutors who specialize in film photography. To get started, simply visit the Superprof website and search for film photography tutors near me. When browsing tutor profiles, you'll find detailed information about each tutor's background, qualifications, teaching style, and rates.
Take the time to read through reviews from previous students and reach out to potential tutors with any questions or concerns you may have. Once you've found a tutor who matches your preferences and learning goals, simply send them a message to discuss your availability, learning objectives, and any specific areas you'd like to focus on. Many tutors offer a free trial lesson or consultation to help you determine if they're the right fit for you.
Are you ready to learn and shoot some photos? Let's do it together!
Summarize with AI:
Did you like this article? Leave a rating!


