
Life is like a camera. Just focus on what’s important and capture the good times, develop from the negatives, and if things don’t work out, just take another shot.
Anonymous
From the anticipation of waiting for film to be developed to the tactile experience of handling negatives and prints, film photography offers a deeply immersive and rewarding creative process. In this article, we will explore the essential steps and techniques for developing film photos, from preparing the darkroom to processing the negatives and producing prints.
Whether you're a novice photographer looking to learn film development or an experienced enthusiast looking to refine your skills, this article will equip you with the knowledge and confidence needed to master the art of developing film photos!


Why Is Learning How to Print Film Important?
Mastering the skill of developing film is indispensable for any film photographer, as it brings forth a multitude of advantages that enrich both the artistic and technical dimensions of their photography skills. Firstly, understanding film development provides a profound insight into the little details of the photographic process.
By engaging in every stage from capturing images to processing film, photographers gain invaluable knowledge about how light interacts with film and how chemical reactions shape the final outcome. This immersive experience cultivates a deeper appreciation for the blend of artistry and science inherent in film photography, thereby enriching one's overall photographic experience.

Moreover, learning to develop film empowers photographers with a sense of creative autonomy over their work. Rather than depending on external labs or digital processes, photographers become the architects of their own images, capable of fine-tuning exposure, contrast, and tonality to achieve their desired visual expression. This level of control fosters experimentation with various techniques and styles, enabling greater freedom and personalization in photographic endeavors.
Additionally, the process of developing film establishes a profound connection with photographic work. Handling each roll of film and witnessing images materialize in the developing tank fosters an intimate relationship with the photographs. Film development creates a deeper sense of pride and fulfillment in one's work, which is often absent in digital photography.
Furthermore, film development offers a cost-effective and environmentally conscious alternative to traditional printing methods. By processing film at home, photographers bypass expensive lab fees and reduce their carbon footprint by minimizing chemical waste. This eco-friendly approach aligns with principles of sustainability and self-sufficiency, underscoring film photography as not just a creative pursuit but also a responsible one.
In conclusion, learning the art of film development is indispensable for every film photographer, offering a deeper comprehension of the photography process, enhanced creative autonomy, and a more profound connection to photographic work. Whether you're experienced or just starting to learn film photography, mastering film development promises a gratifying and enriching experience that elevates photographic practice to new heights.
Developing film at home allows photographers to have complete control over the entire photographic process, from shooting to printing. Home developing can also lead to unexpected and unique results due to variations in technique, temperature, and timing, adding an element of creative surprise to the final images.
Setting Up Your Darkroom
The first step in developing film photos is creating a suitable workspace or darkroom where you can safely handle light-sensitive materials. Ideally, your darkroom should be a light-tight space with adequate ventilation and access to running water. Begin by covering any windows or light sources with lightproof material to prevent unwanted light from entering the room.
Next, set up your work surface with a sturdy table or countertop and organize your equipment and supplies for easy access.
Essential items for your darkroom include:
- A film developing tank
- Measuring cylinders
- Stirring rods
- A timer
Additionally, you'll need a selection of chemicals for processing film, including a developer, stop bath, fixer, and photo-flo for wetting agents.
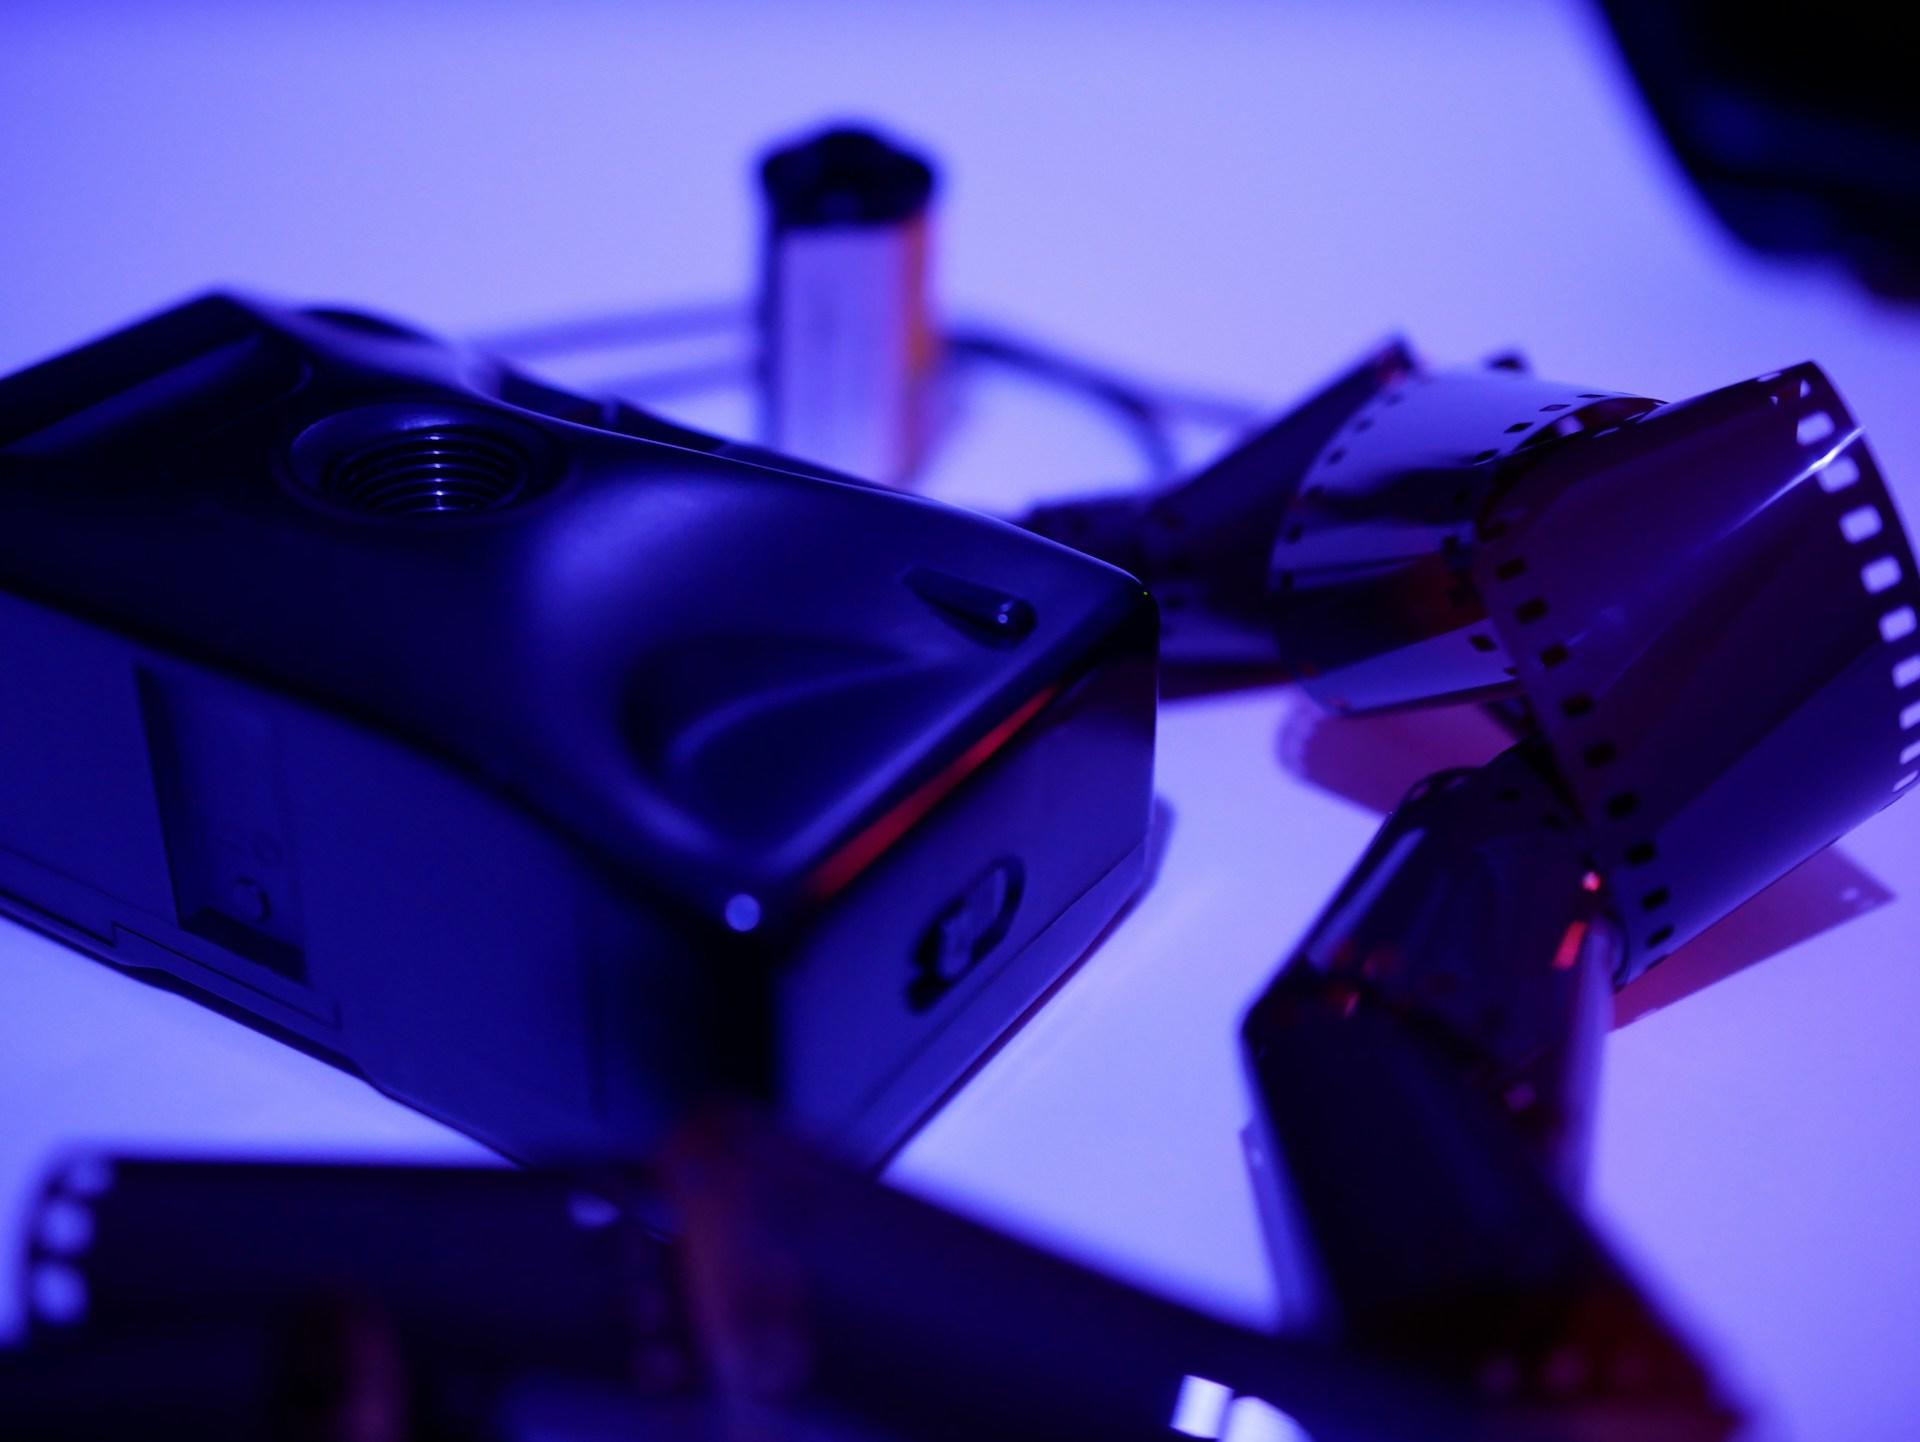
Step 1: Loading the Film into the Developing Tank
Once your darkroom is set up and ready to go, it's time to load the exposed film into the developing tank for processing. Begin by removing the film from the camera in complete darkness or using a changing bag to protect it from light. Carefully open the film canister and extract the film, being mindful not to touch the exposed surface.
Insert the film into the developing reel, ensuring it is securely seated and free from kinks or bends. Once the film is loaded onto the reel, carefully place it inside the developing tank and seal it tightly to prevent light leaks. With the film safely enclosed in the tank, you're ready to move on to the next step of the developing process.
Step 2: Mixing and Preparing the Chemicals
Before you can begin developing the film, it's essential to mix and prepare the necessary chemicals according to the manufacturer's instructions. Start by measuring out the required amounts of developer, stop bath, and fixer using a graduated measuring cylinder or scale.
Dilute each chemical with the appropriate amount of water to achieve the desired concentration, and ensure that the solutions are thoroughly mixed and dissolved. Additionally, prepare a separate container of water for rinsing and a tray or basin for washing the film after development. Once all the chemicals are prepared and ready to use, arrange them in order of use within easy reach of your work surface.
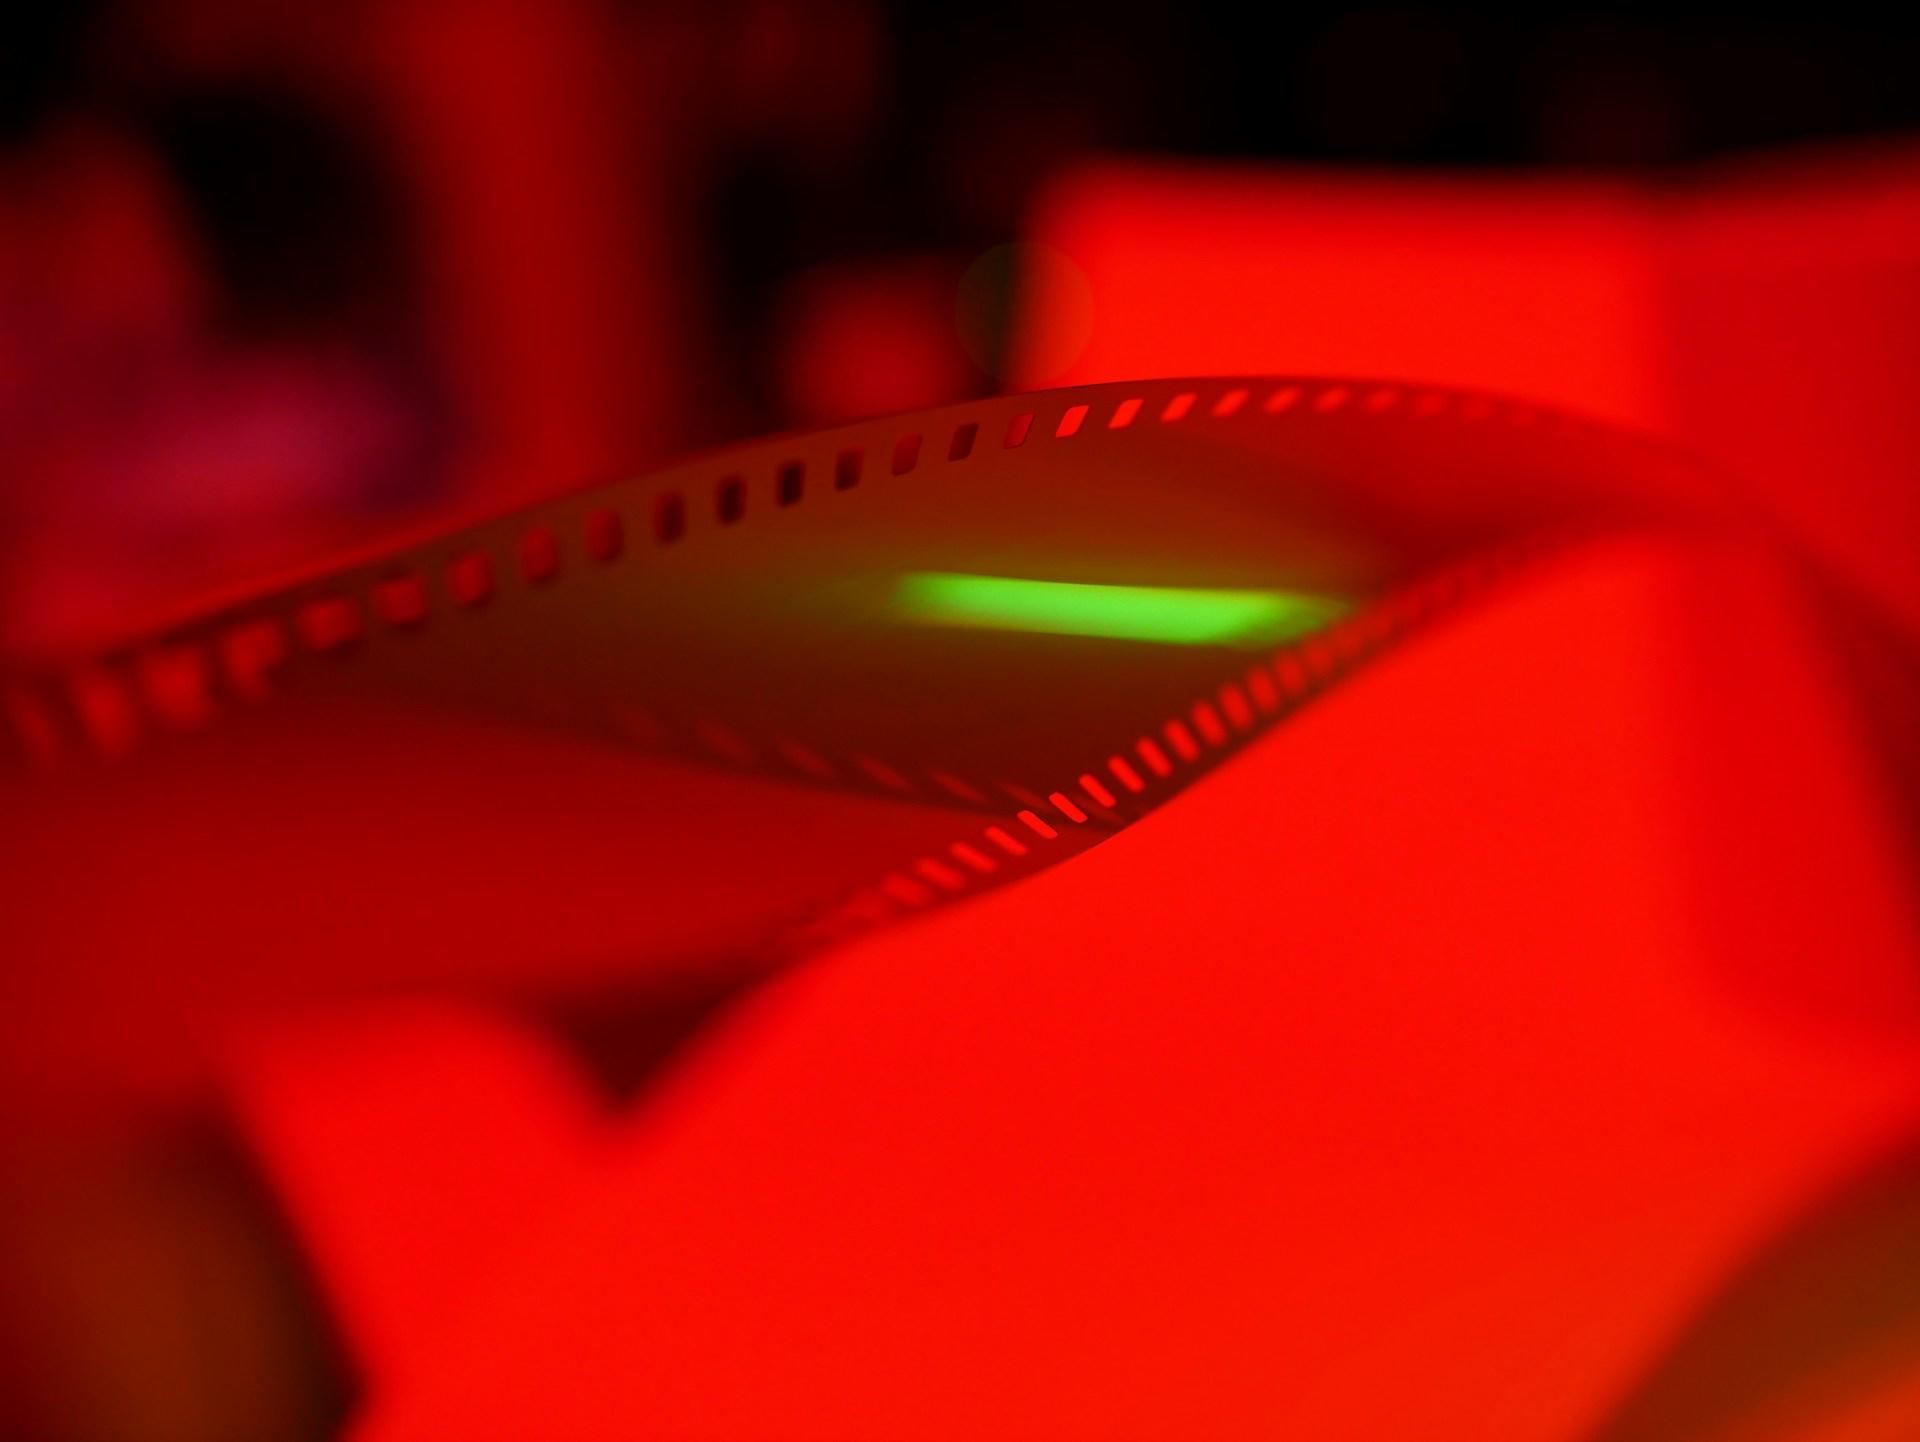
Step 3: Developing the Film
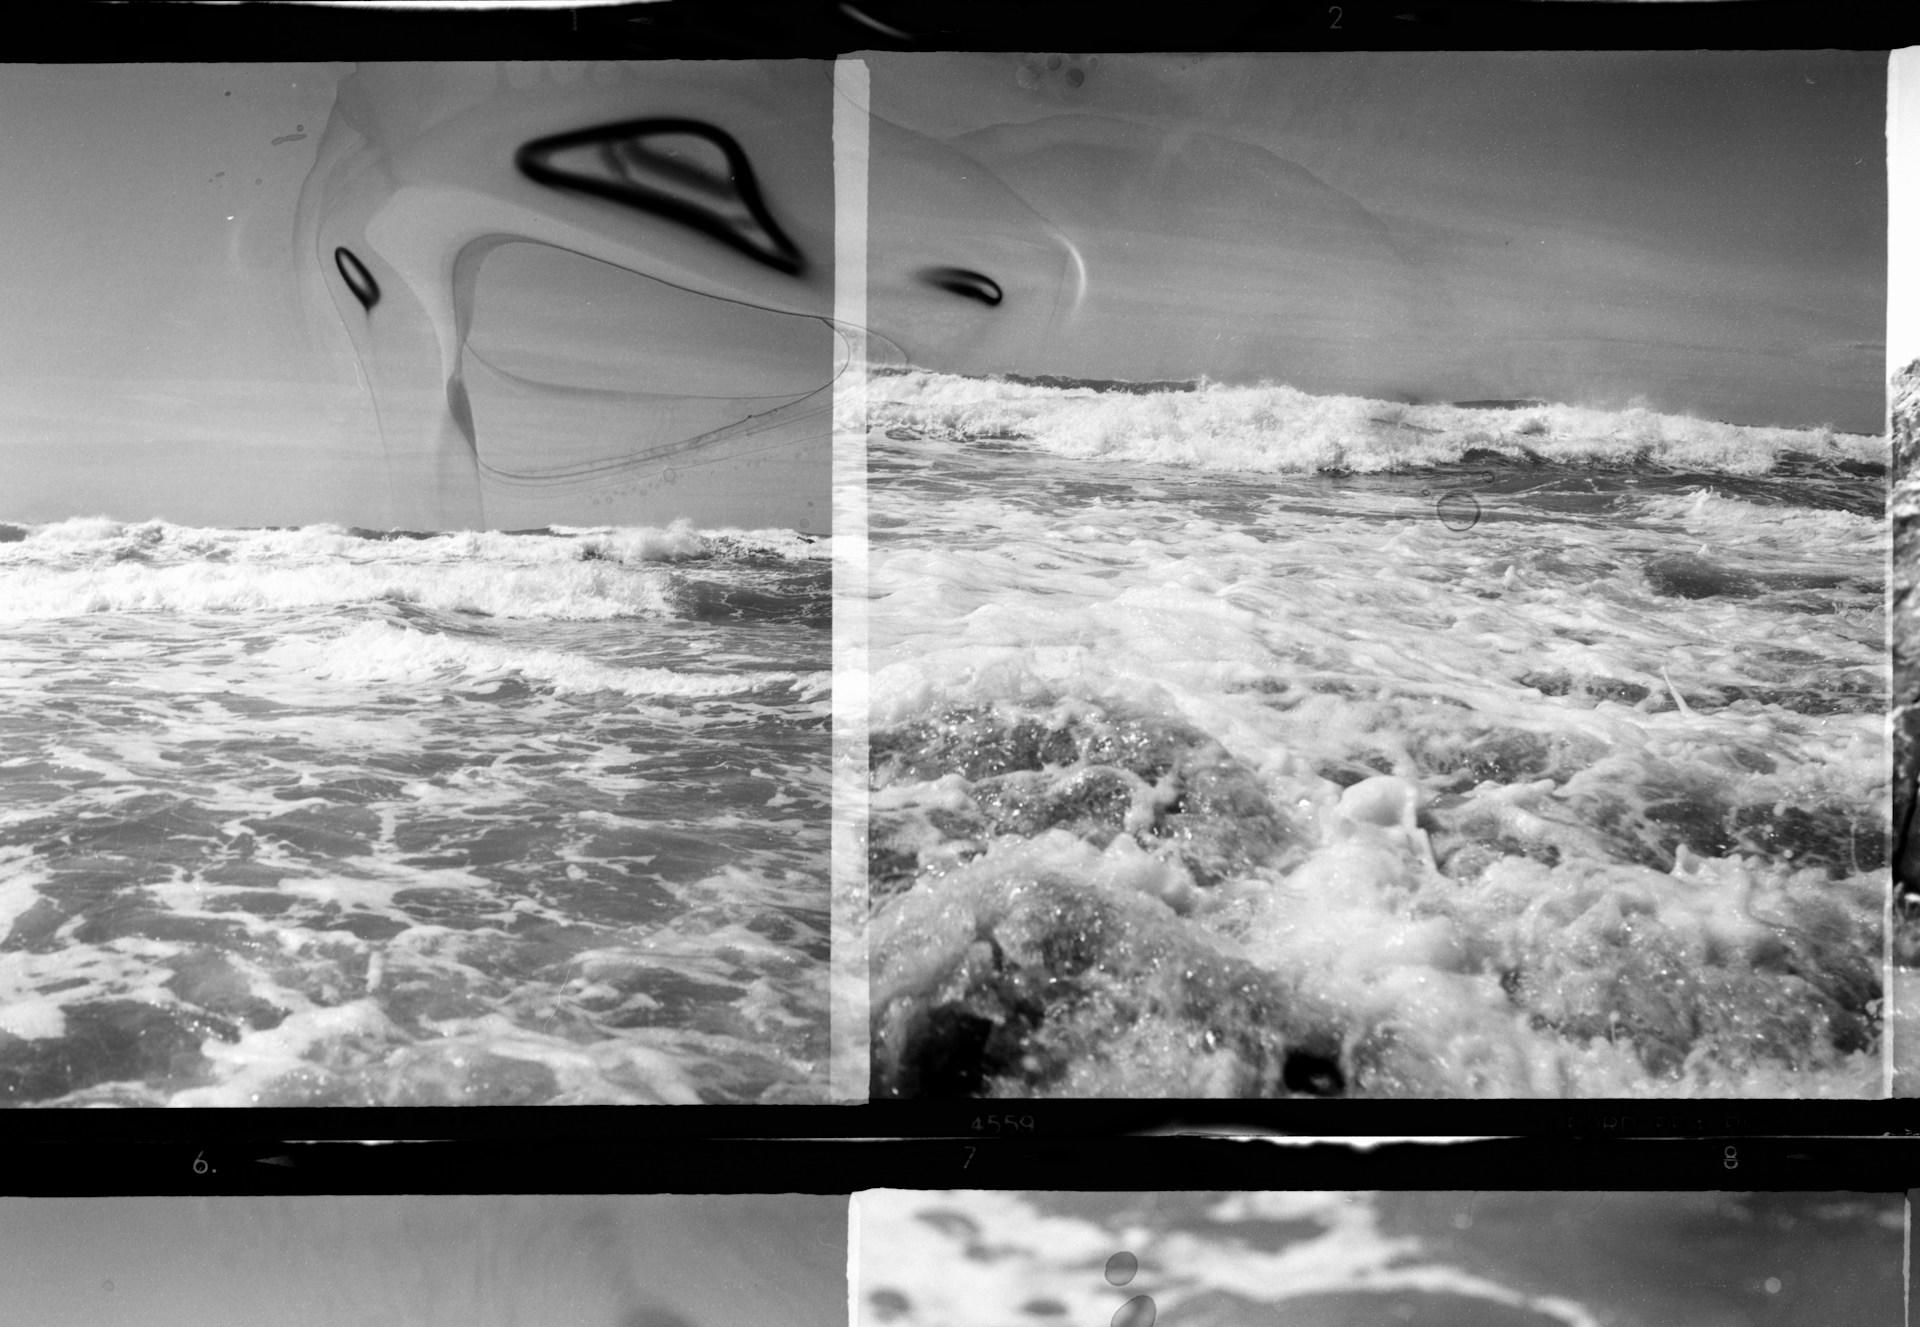
With your chemicals mixed and prepared, it's time to begin the development process. Start by filling the developing tank with the developer solution, ensuring that the film is completely submerged. Agitate the tank gently for the first few seconds to disperse any air bubbles and ensure uniform development.
Then, agitate the tank at regular intervals according to the recommended development time, typically every 30 seconds to one minute. As the film develops, you'll begin to see the images appear on the negatives, gradually increasing in density and contrast. Once the development time is complete, pour out the developer solution and rinse the film thoroughly with water to stop the development process.
Step 4: Fixing and Washing the Film
After the film has been developed, the next step is to fix it to make the images permanent. Fill the developing tank with the fixer solution and agitate it gently for the recommended fixer time, ensuring that all parts of the film are adequately covered.
Once the fixing process is complete, pour out the fixer solution and rinse the film thoroughly with water to remove any residual chemicals. Finally, fill the developing tank with a solution of photo-flo or similar wetting agent and agitate it gently to ensure even coverage. This will help prevent water spots and promote faster drying of the film. Once the film has been properly rinsed and treated, remove it from the developing tank and hang it up to dry in a dust-free environment.
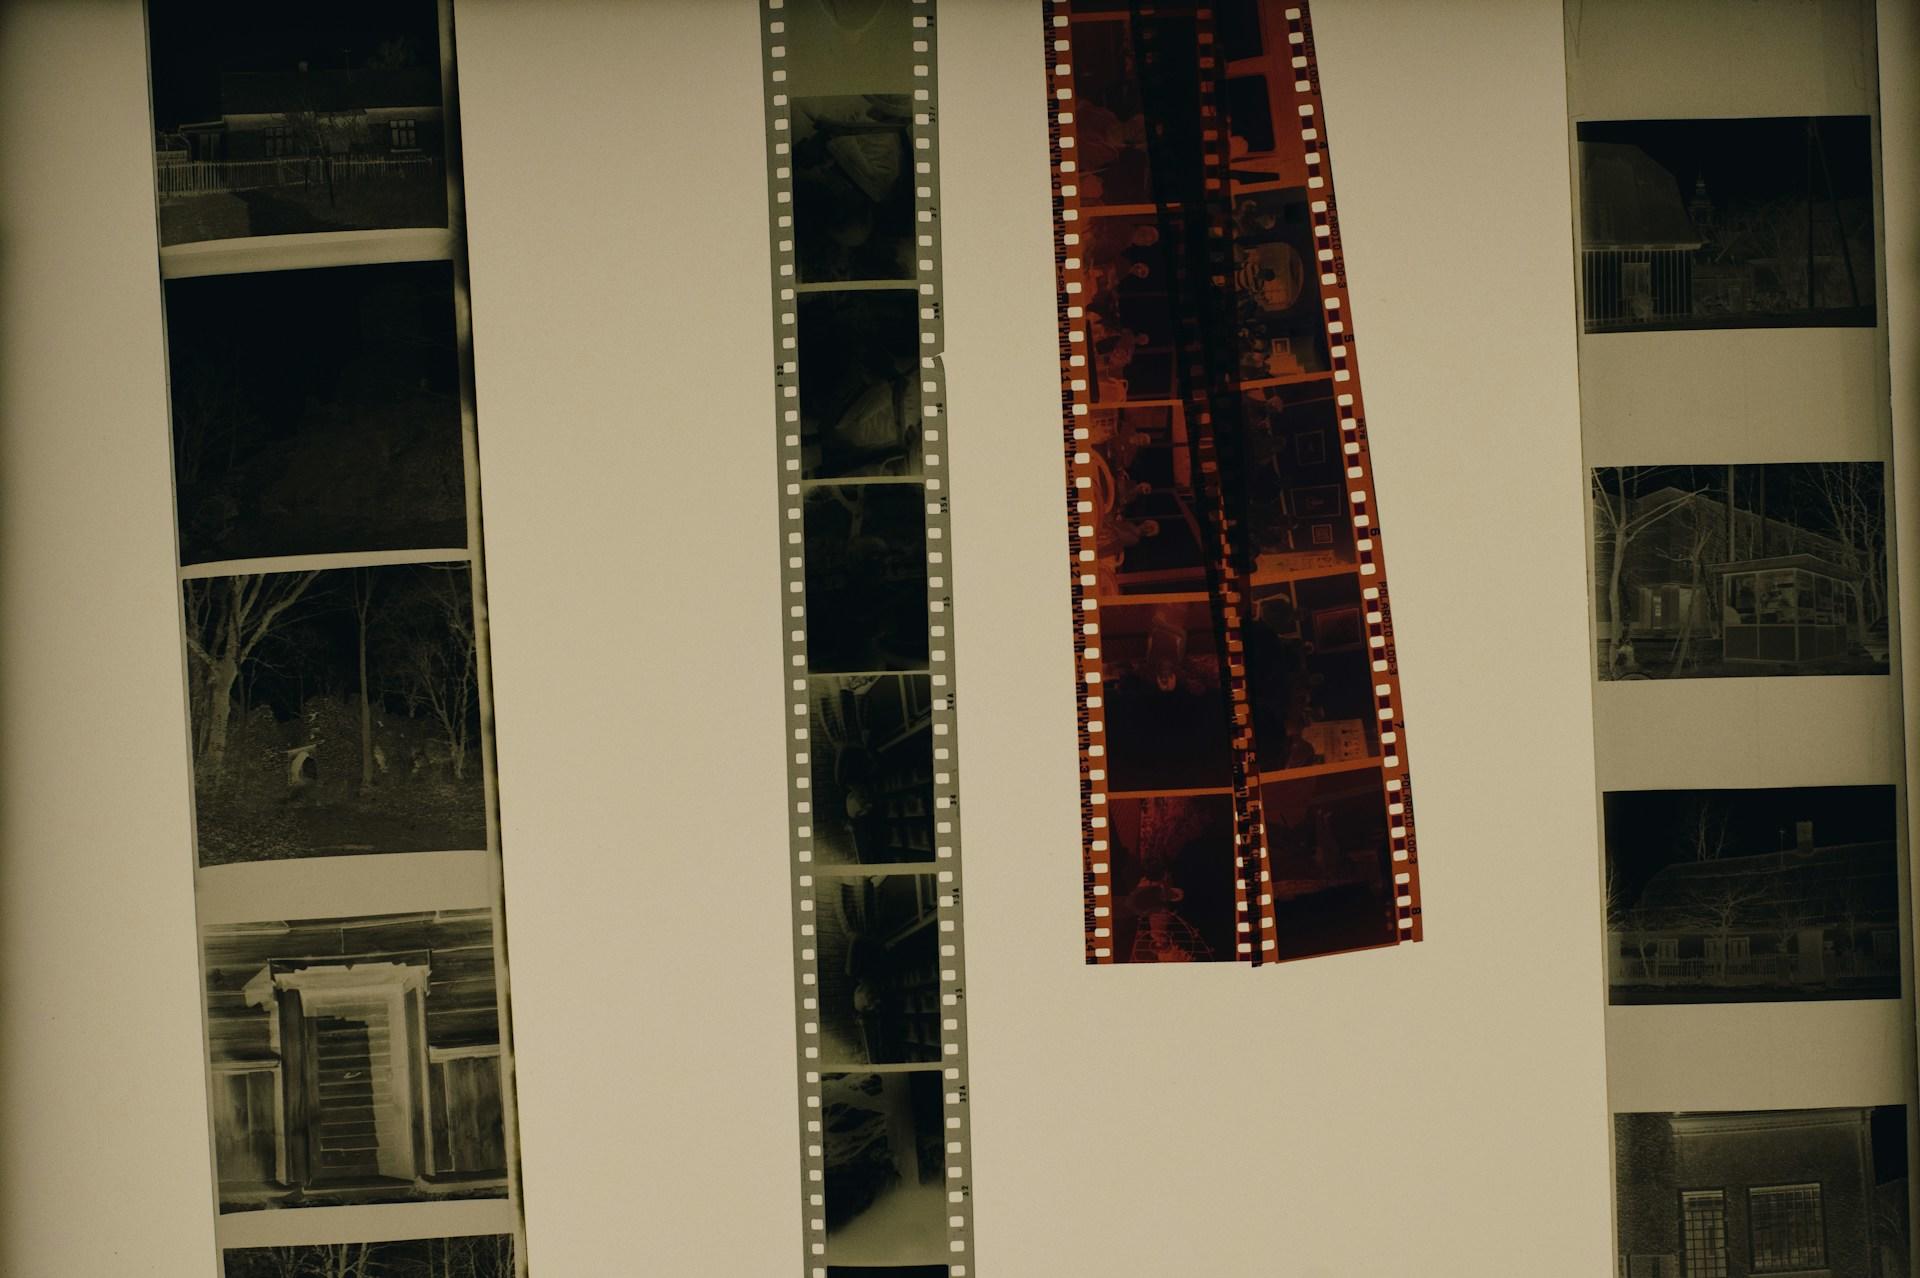
Step 5: Producing Prints From Negatives
Once the film has been developed and dried, you can move on to the final step of producing prints from the negatives. Begin by setting up your enlarger on a stable surface and adjusting the height and focus to achieve the desired image size and sharpness. Place a sheet of photosensitive paper in the easel beneath the enlarger and adjust the aperture and exposure time to achieve the correct exposure.
Then, expose the paper to light from the enlarger, making sure to cover the entire surface evenly. Once the exposure is complete, remove the paper from the easel and place it in a tray of developer solution, agitating gently to ensure even development. After the image has fully emerged, transfer the print to a tray of stop bath to halt the development process, followed by a tray of fixer to make the image permanent. Finally, rinse the print thoroughly with water and hang it up to dry before admiring your finished masterpiece.
Developing film photos is a rewarding and immersive process that allows photographers to exercise complete control over every aspect of the image-making process. From loading the film into the developing tank to producing prints from negatives, each step requires careful attention to detail and a commitment to your unique photographs.
By following the steps outlined in this guide and practicing regularly, photographers can master the art of film development and unlock new creative possibilities in their photography career.
How to Find a Film Photography Class in the United States?
When seeking a film photography class in the US, you have several accessible options. First, consider exploring online platforms like Superprof.
Superprof offers many advantages to online learning including the convenience of learning from home, with flexible scheduling to accommodate your needs. Alternatively, you can look into local community centers for classes. Many community colleges, art centers, and cultural institutions across the country offer classes in film photography. These classes often provide hands-on instruction in a supportive environment, making them ideal for beginners or those looking for a more traditional learning experience.
Another option is to consider enrolling in a photography program at a specialized school or university. These institutions offer comprehensive training and access to top-notch facilities, providing a structured approach to learning film photography.
Additionally, you may want to explore photography meetups and workshops in your area. Joining local photography clubs, meetup groups, or online forums can connect you with like-minded individuals and experienced photographers. These groups often organize group outings, photo walks, and workshops focused on film photography techniques, providing opportunities for hands-on learning and networking.
So why not roll up your sleeves, gather your equipment, and dive into the fascinating world of film photography? Let's do it!
Summarize with AI:
Did you like this article? Leave a rating!


