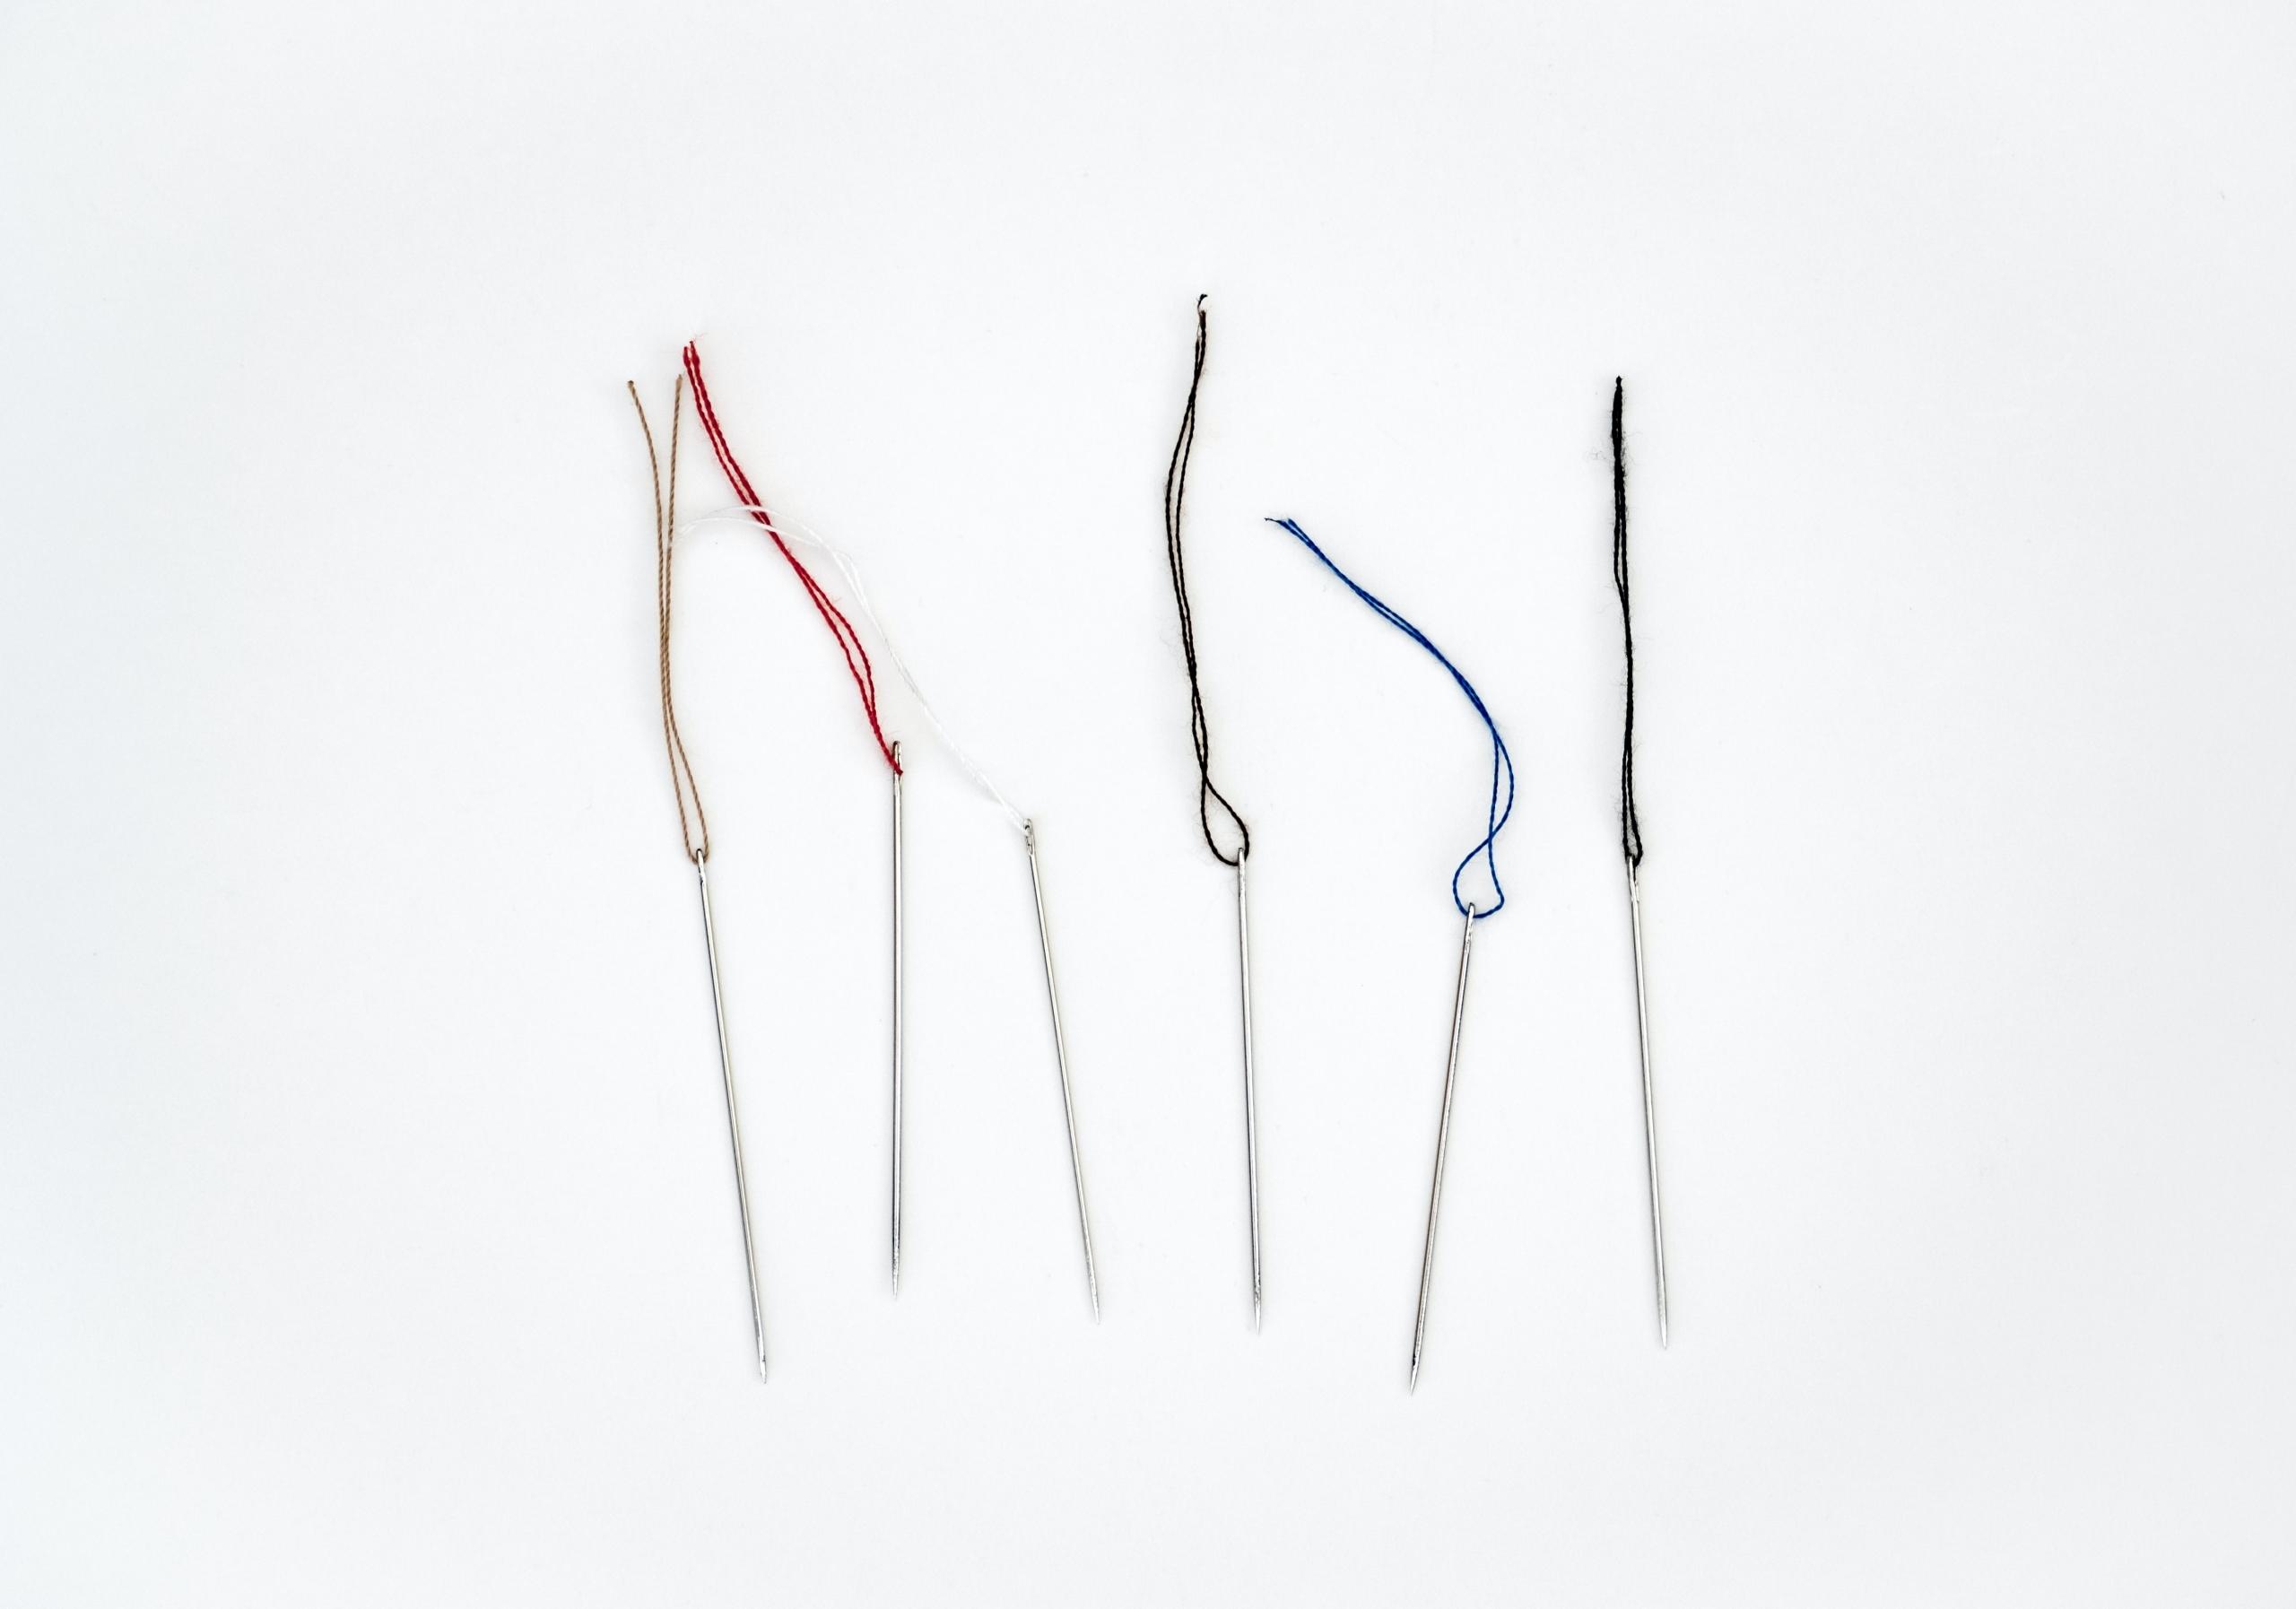

Sewing is a craft that involves fastening or attaching objects using stitches, created with a sewing needle and thread. This practice has evolved through the history of sewing but remains an essential do-it-yourself (DIY) activity or hobby. Getting started is easy; you only need to master these six basic stitches.
| 🪡 Type of stitch | 🧵 What to use it for | 🙋🏼♀️ How to make it |
|---|---|---|
| Running stitch | The standard stitch for practically every sewing project. | Push your needle in and out of the fabric, keeping the stitches relatively short. Use longer stitches to baste two pieces of fabric together (remove the basting stitch once the piece is sewn). |
| Slip stitch Ladder stitch | For closing inward facing seams on pillows, dolls, etc. | Start from the inside to keep the stitches hidden. Bring the two fabric sides together at the same point. Continue stitching tightly until you close the gap. |
| Catch stitch | For sewing hems For sewing a lighter material or knit. | Grab a bit of fabric just a bit over the folded edge. The second stitch starts from the folded side, catching a bit from the folded side. Note: sew this stitch from left to right. |
| Blanket stitch | Used in felting and to finish blanket edges | Start from the underside to hide the knot. Pull the thread halfway through, creating a loop. Pass your needle through the loop and tighten the thread. |
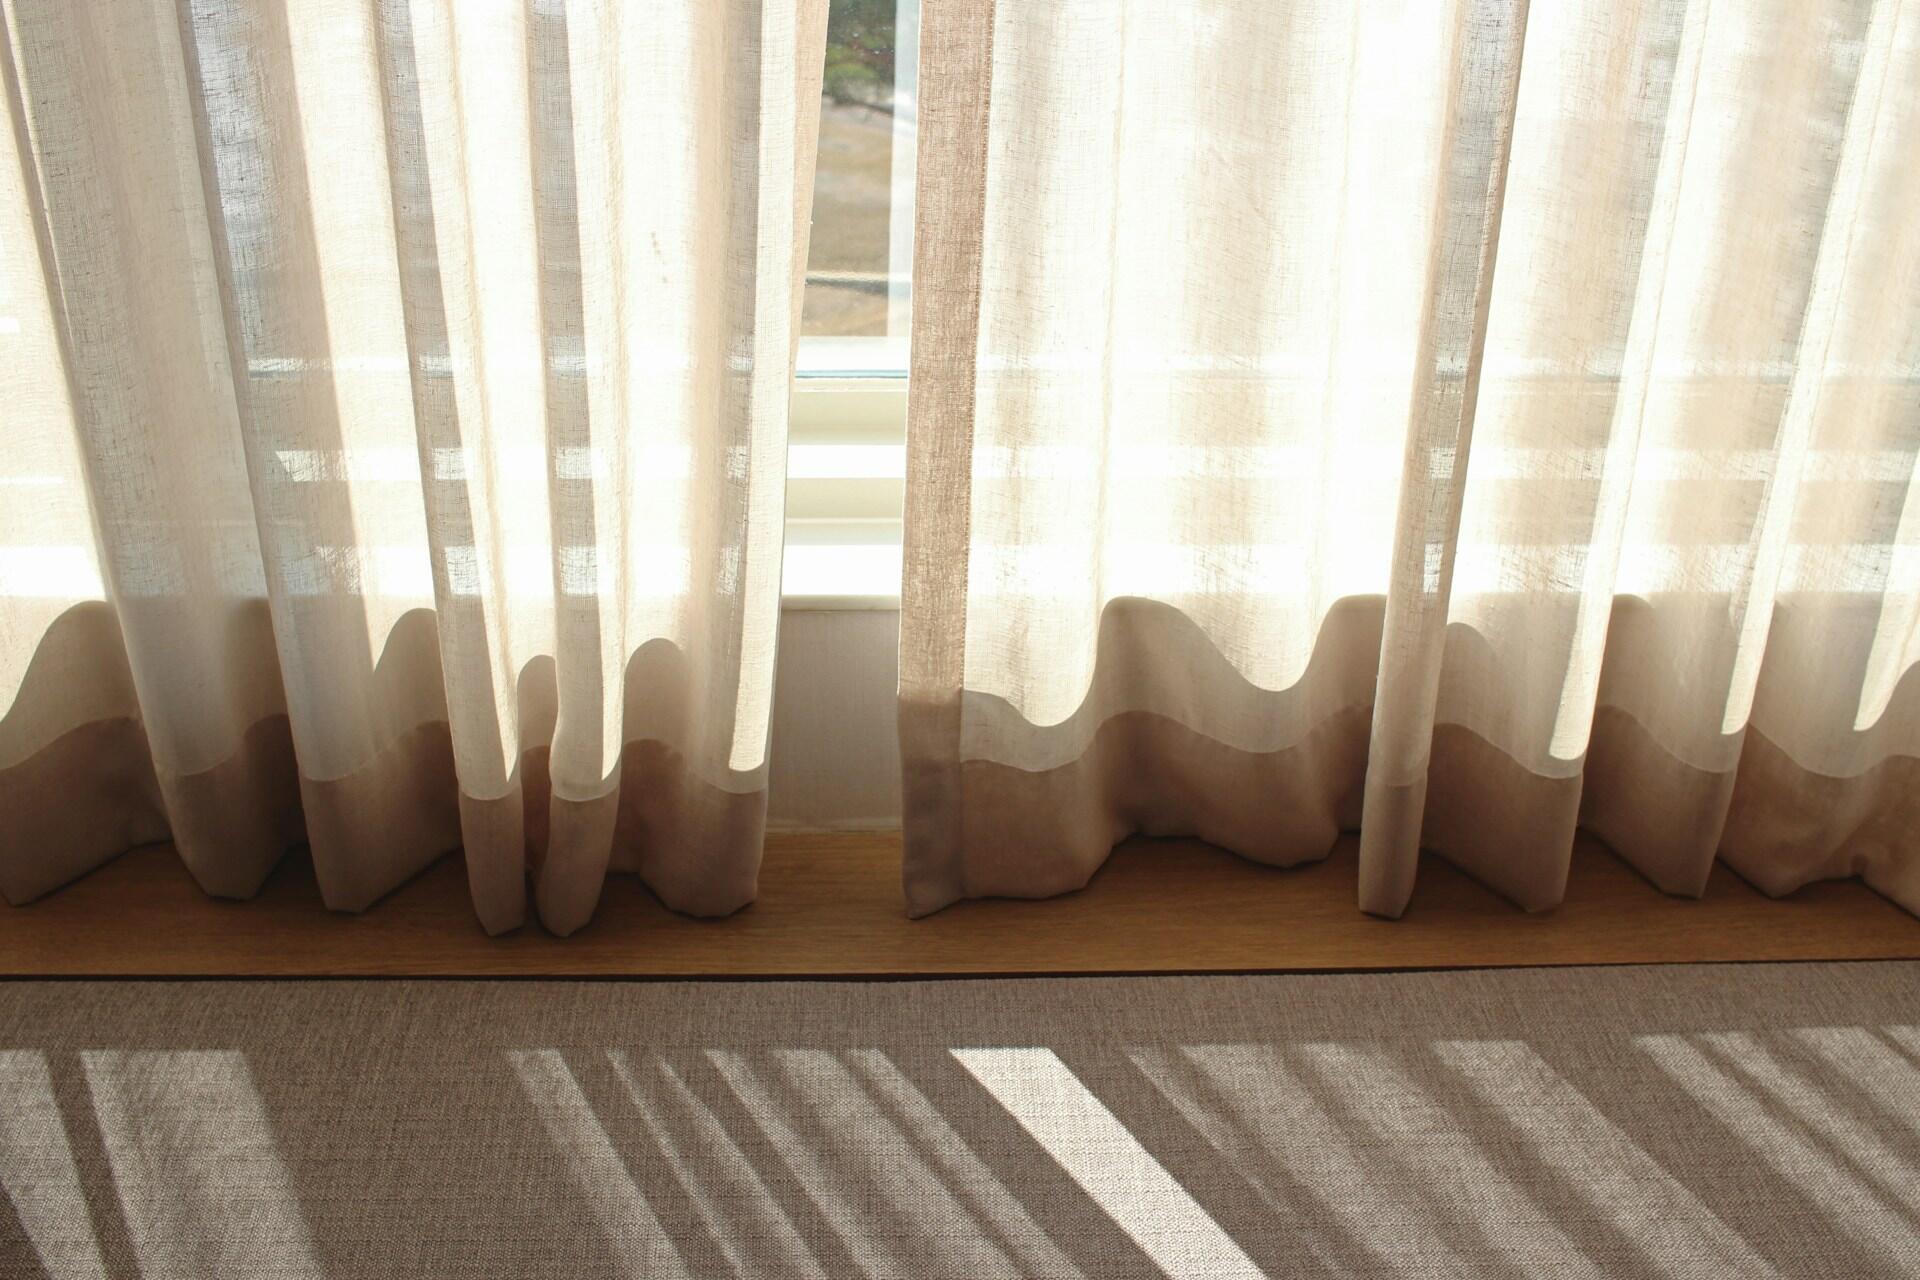
| Whipstitch | Hemming trousers and window treatments | Take a few millimeters of the end of the material. Use your needle to snag the wrong side of the garment's material. Move along the cuff and repeat the stitch. |
| Backstitch | To create strong seams | Start as though you were sewing a running stitch. Your second stitch midway along your first stitch. |


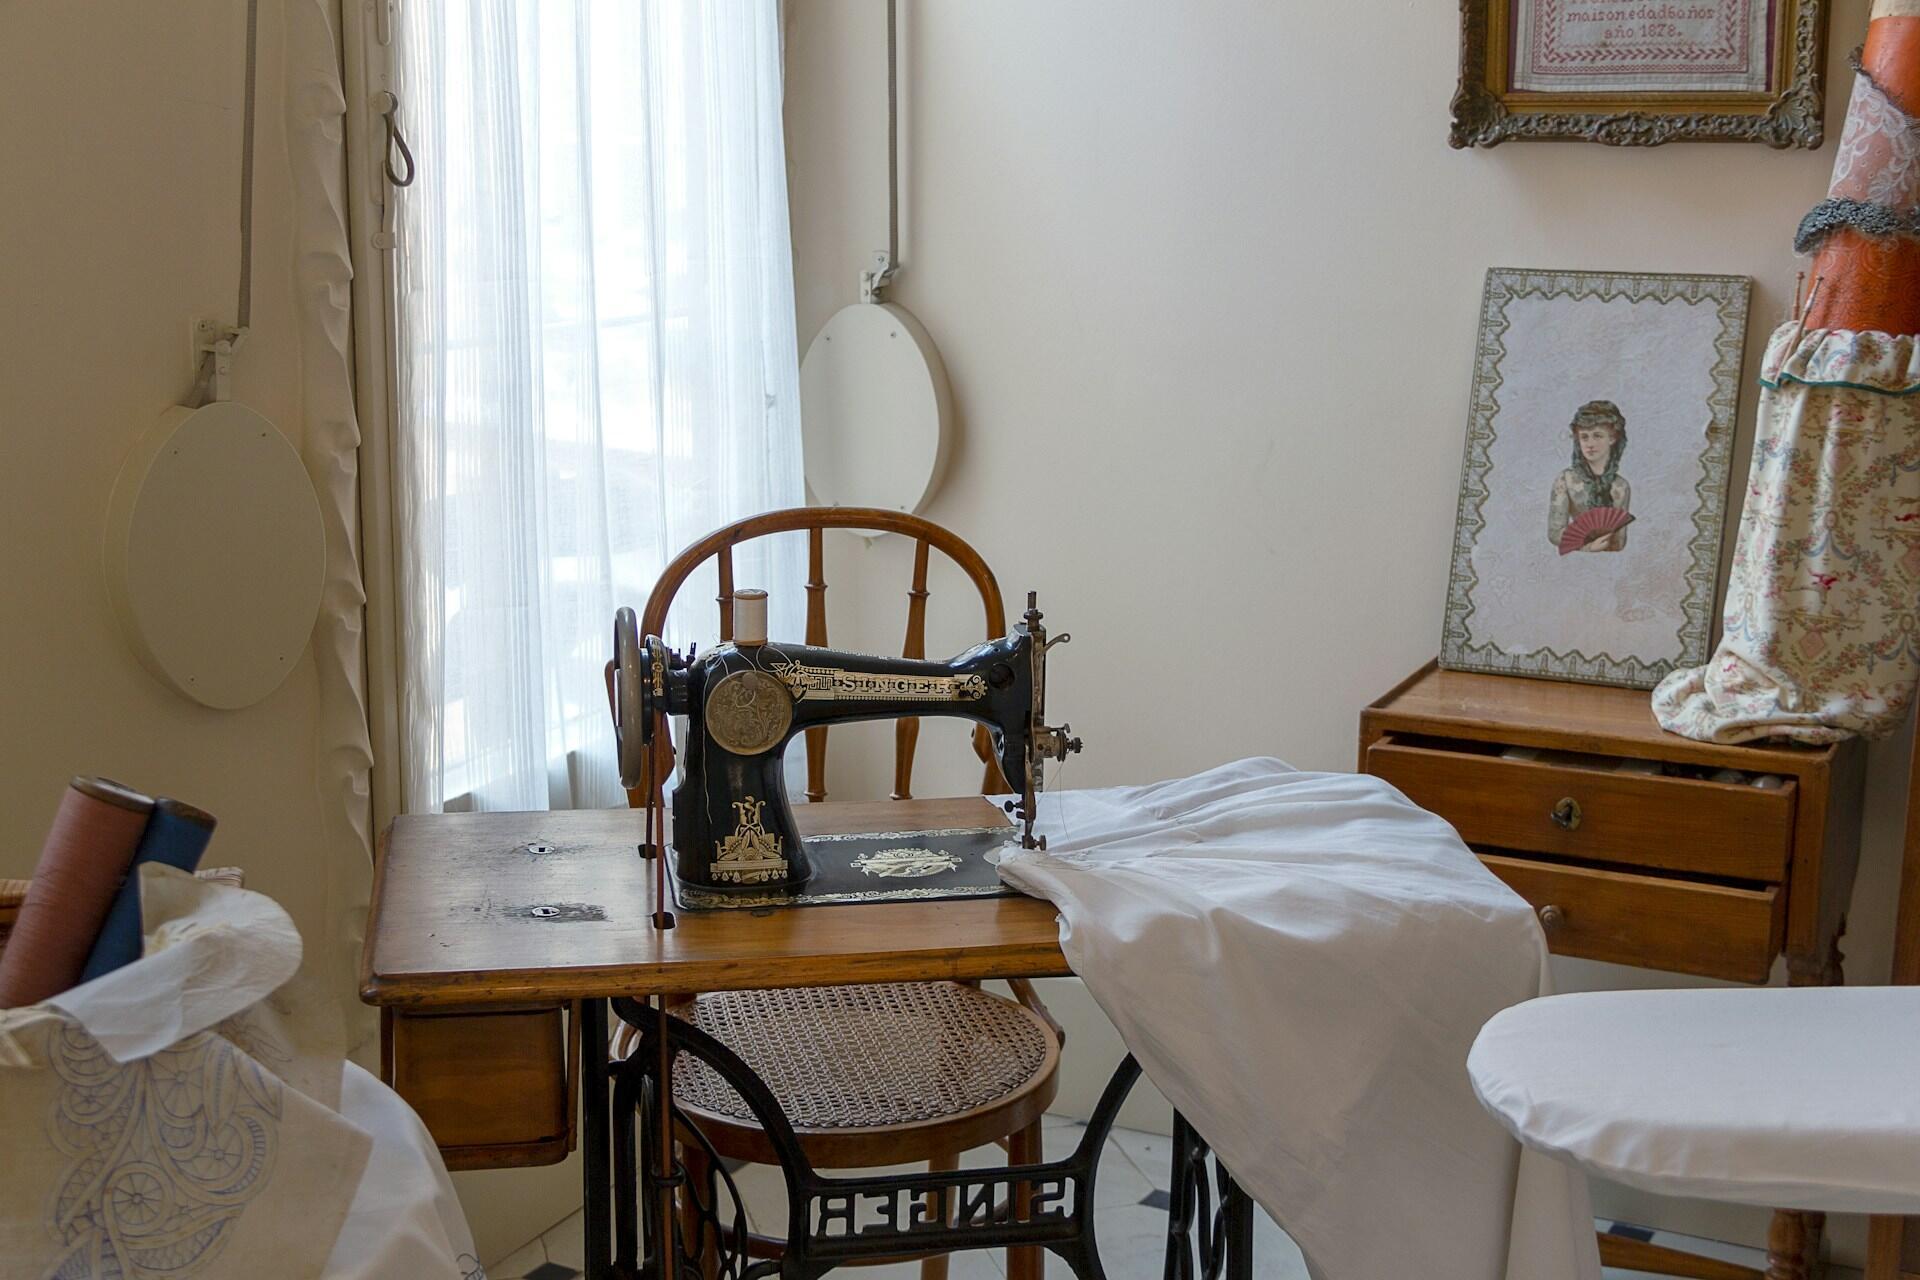
Do You Need a Sewing Machine?
You might have several DIY projects that require a bit of sewing, but that does not mean that you must have a sewing machine. Most sewing machines can do different types of stitches, but not all of them.
A lot can be done by hand, with hand with basic sewing stitches.
You should decide which kind of sewing you would like to start with. For example, embroidery is a beautiful art, but it can count up to 300 stitches! This does not mean that you have to learn all the different types of hand stitches.
However, knowing what you want to do and learn will make better use of your time as a beginner. We recommend that you start with these 6 basic hand sewing stitches.
Different Types of Hand Sewing Stitches
Learning how to sew can be tricky because it is a manual activity, and it is very helpful to have a visual example to reproduce a stitch. We strongly recommend you look out for the types of hand stitches with pictures later, when you start your project.
Here we will go through the basic sewing stitches and their specific hand sewing techniques. You can use them to sew a myriad of projects including home decor, clothing repair and more.
Always start your stitch from the fabric's back side, so your thread's end knot stays hidden.
Running Stitch
What is this stitch used for? When sewn in longer lengths, this stitch can be used as a basting stitch to temporarily hold two pieces of fabric in place. If you need a stronger seam, stitch shorter stitches.
How is it done?
Slip Stitch or Ladder Stitch
What is this stitch for? This stitch is perfect for closing up a handmade pillow. It’s invisible, which makes it great for finishing hems. Use a thread that matches your fabric, and all you’ll see is a tiny amount of ticking.
How to do it?
1. As always, bring your needle in through the back to hide the knot. Position the needle directly across from the exit point of the first stitch so that it goes back through to the inside of the opposite fold.
The point is to bring the two sides of the fabric together at exactly the same points on each side to hide the stitch.
2. To progress, move your needle a 1/8 of an inch or so forward, and bring it back up along that same side.
3. Pull the thread through that stitch and move the needle across to the other side of the fabric, entering at the exact same point you did on the other side.
4. Pull the thread through and repeat step 4, moving to the opposite side of the fabric.
5. Once you’ve closed the gap, the thread closing your seam will resemble the rungs of a ladder.
6. To make the stitch invisible, pull the tail of your thread taut, while smoothing out your seam.
Remember to always use a matching thread to make your stitch truly invisible!
Catch Stitch
What is this stitch best for? This stitch allows the hem a bit of giving and is a great option when working on circular items like tablecloths. This sewing technique is also great for keeping thick facing attached to the hemline, like on a sofa cover. Also, this stitch is also great for sewing a lining into your curtains.
How do you sew a catch stitch?
- If possible, press your fabric before you start, it will be much easier to work with. Thread your needle and tie a knot at the end of the thread. Working from the left side of the fabric, send your needle through to the top from the underside of your hem to hide the end knot.
- Pull the thread through and bring it just up over your hem to the top section, and to the right about 1/8 of an inch.
- Place the needle in the fabric, pointing back towards the left. Send it under the fabric about 1/8 of an inch, and bring it back out through the top layer.
- Direct the needle back down towards the bottom section, crossing over the last stitch in a downward diagonal.
- Point the needle towards the right side of the fabric and send it through 1/8 of an inch of fabric on the lower section. Pull the thread taut to reveal your first stitch.
- Continue the steps until your seam has been completely stitched, following the zigzag motion, working from the left side of your fabric to the right.
Blanket stitch
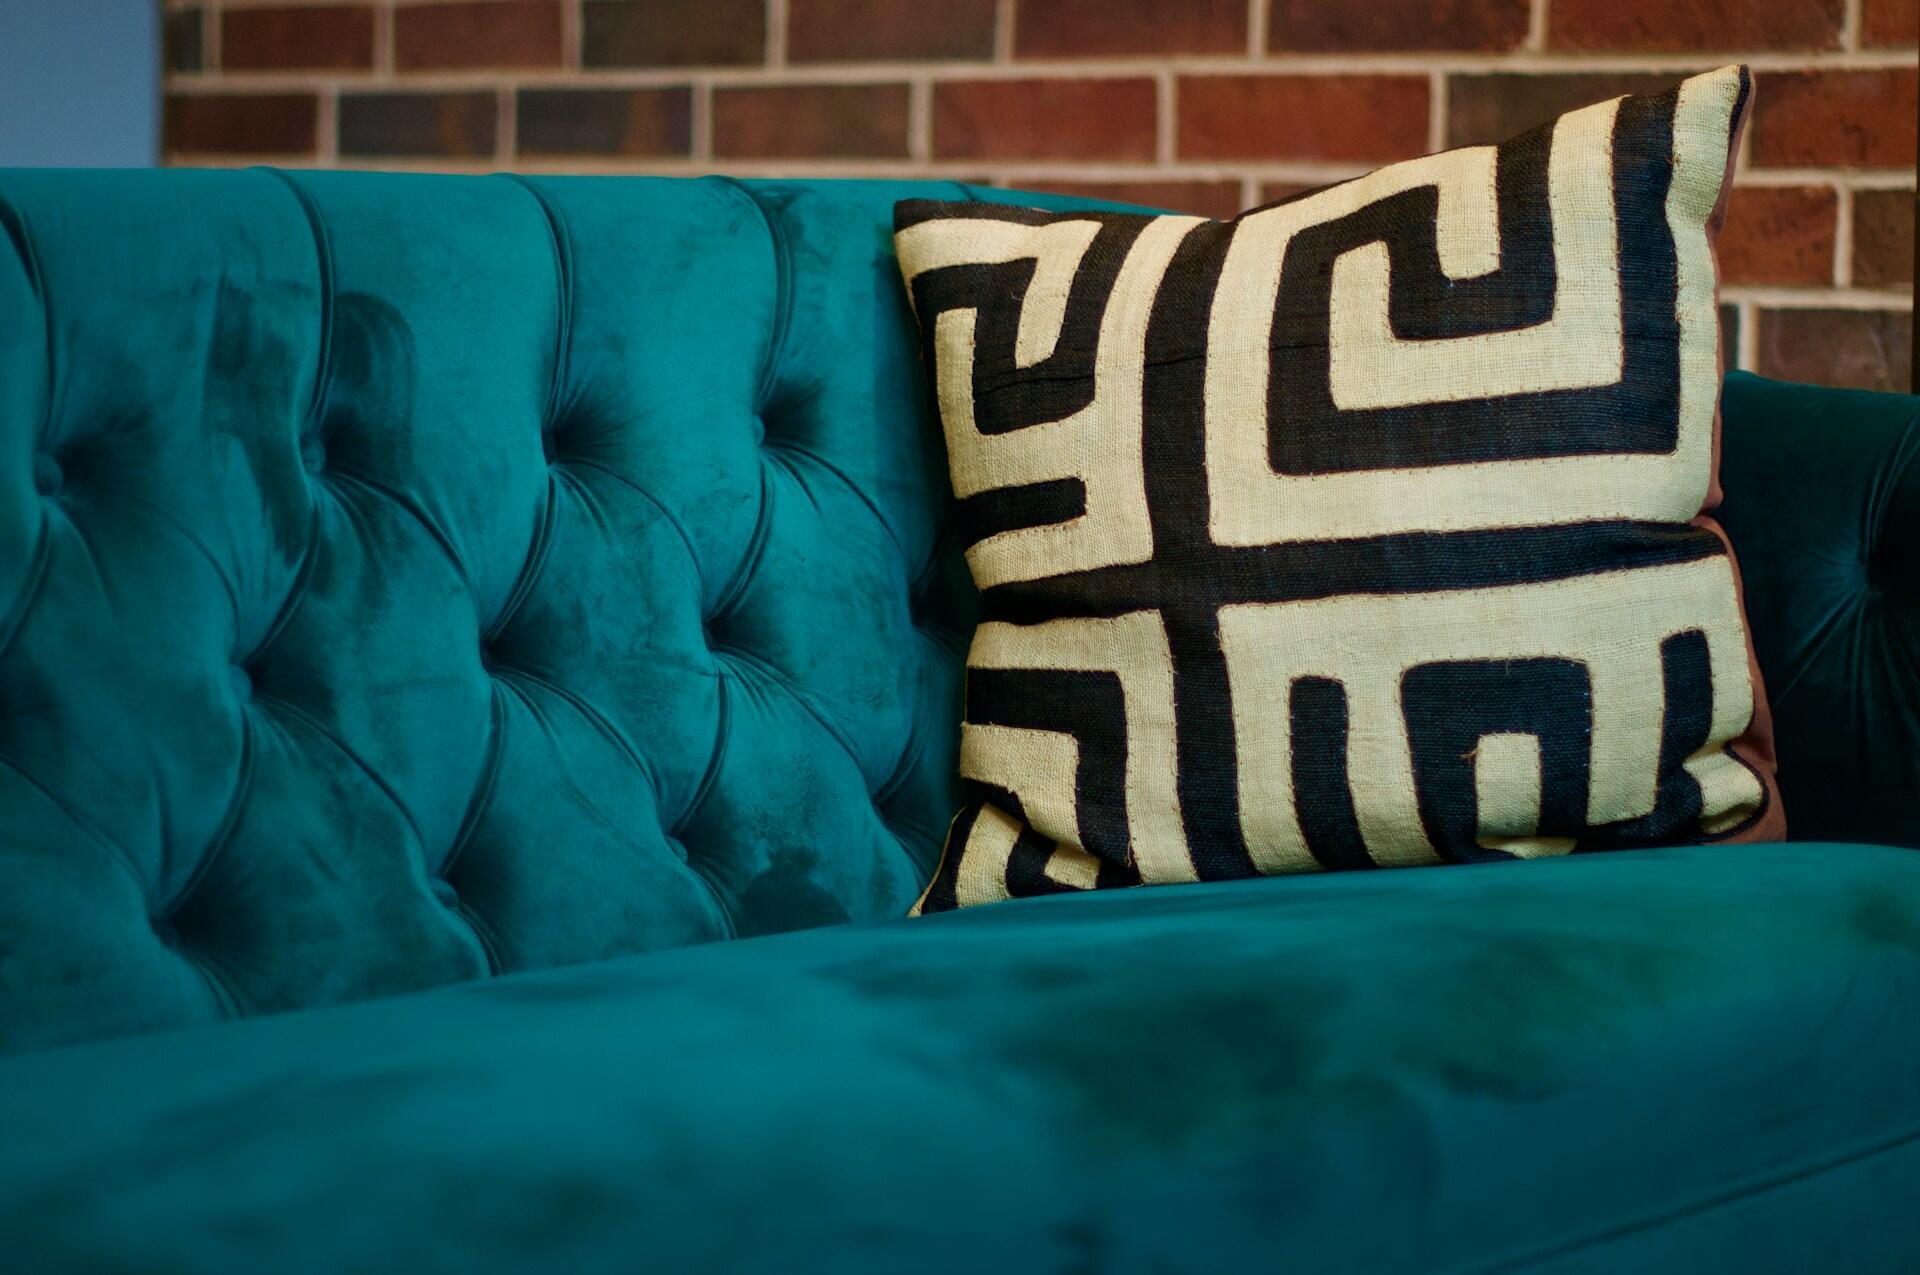
The blanket stitch is a decorative way of joining fabrics together. You’ve most likely seen this stitch before, as it’s commonly used to sew appliqué and to finish the edges of blankets and felted toys. This stitch is meant to be seen, so use whatever thread color.
How to sew the blanket stitch?
Repeat until your project is complete. Remember to start from the wrong side to keep your knot hidden!
Whipstitch
This simple technique is made up of short, diagonal stitches. It's great for hemming window treatments. When used on a hem, whipstitches are usually invisible, fast, and easy to execute.
How to sew a whipstitch?
Step 1
- Start from the inside
- Engage the top layer of fabric
Step 2
- Move your needle forward about a half-inch
- Loop it around the edge
- Bring the needle up through the bottom side of the fabric.
Step 3
- Repeat until you complete your project
- Stitches should appear like a series of diagonal slashes.
Backstitch
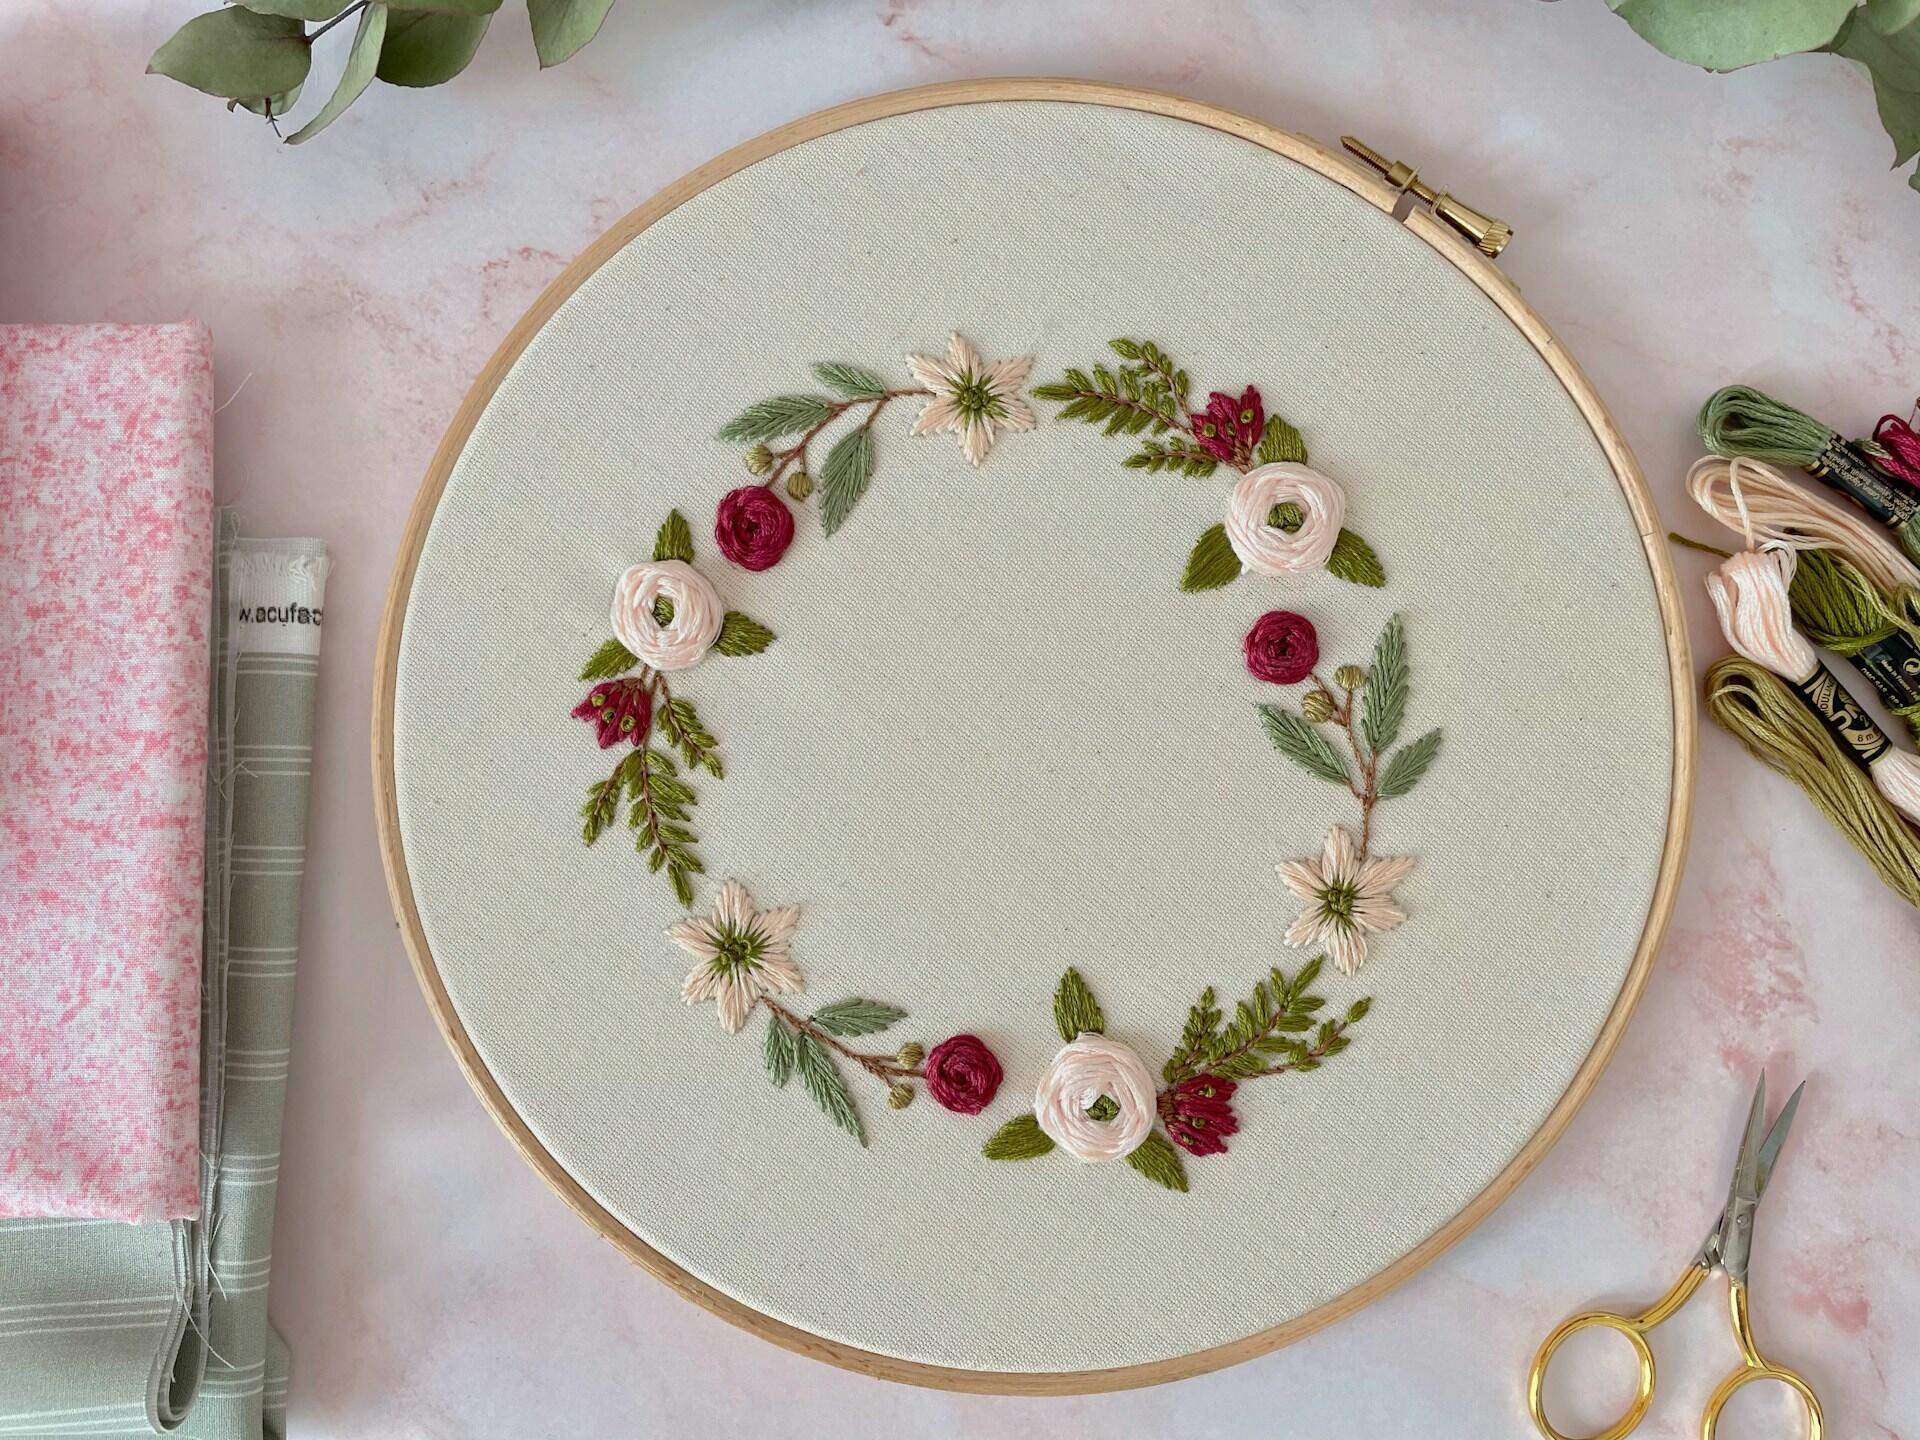
This stitch is a small, very strong stitch that is great for sewing together seams that need lots of strength. You can also use this stitch for basic embroidery- it’s useful when embroidering typography or other illustrations for home decor.
How to do it?
1. Thread the needle and tie a knot at the end of the thread. Send the needle up to the top from the backside of the fabric to hide the end knot.
2. Send the needle back down into the fabric (following in a straight line) about a half-inch from the first stitch. You’re essentially making a running stitch at this point.
3. Pull the thread taut from the underside of the fabric.
4. Bring the needle back up through to the top of the fabric, equidistant from the first stitch.
5. Instead of moving forward another half inch (as you would in a running stitch), bring your needle back to the left, and tag up with the end of the previous stitch.
6. Push the needle back down towards the underside of the fabric and pull it taut.
Don't Be Afraid to Start!
Starting a new hand-sewing project can be intimidating, but practice and fun should be the main goals when you start a new project.
You can get organized as you set up your sewing room. This will help you gather the tools and materials for your projects.
At first, you will need a needle, thread, and scissors. You can always add more supplies later, as you build your sewing skills.
Some stitches will be easier than others at first, find what feels more comfortable for you. There are a great number of people who do various types of stitching and are eager to share their knowledge, find a friend with whom you can share your passion or find a Superprof tutor who can help you get started!
Summarize with AI:
Did you like this article? Leave a rating!