
At first, it might be intimidating to tackle your first sewing project. However, once you master basic sewing stitches, the job becomes much easier. This article gives you a good starting point, as it covers various types of sewing tools, stiches, and how to choose the right stitch for the job at hand.
Key Takeaways
- Top hand sewing stitches: the running stitch, the backstitch, the herringbone stitch and others
- The best machine stitches: the zigzag stitch, the overlock, the blind hem stitch
- The prettiest decorative stitches: embroidery stitches, quilting stitches, a top stitch
- How to choose the right stitch every time: depends on the pressure on the stitch, its visibility, and the type of fabric you're working with.


Sewing Tools to Start
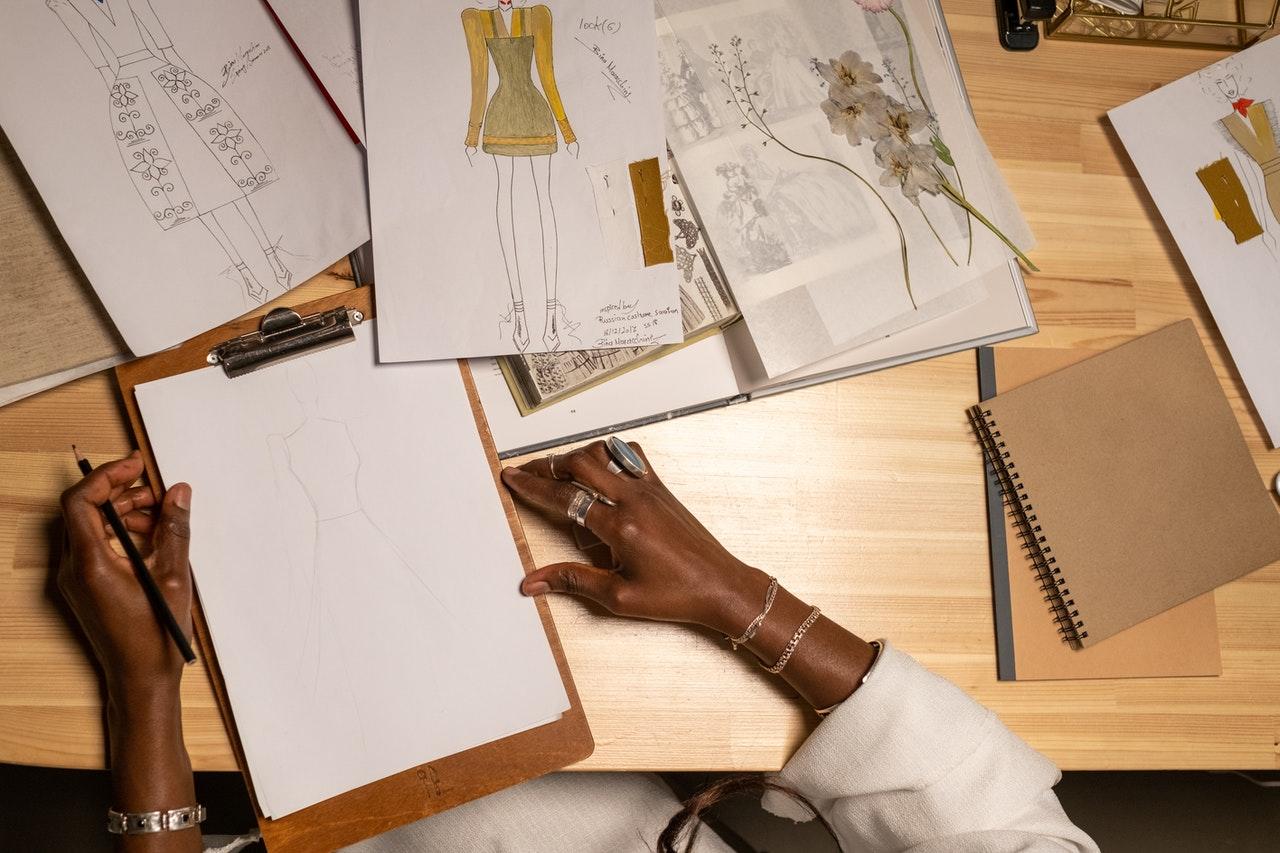
Sewing can be a rewarding hobby, whether sewing with a machine or by hand. So engaging is this creative craft that you might turn it into a long-term project to create your own brand.
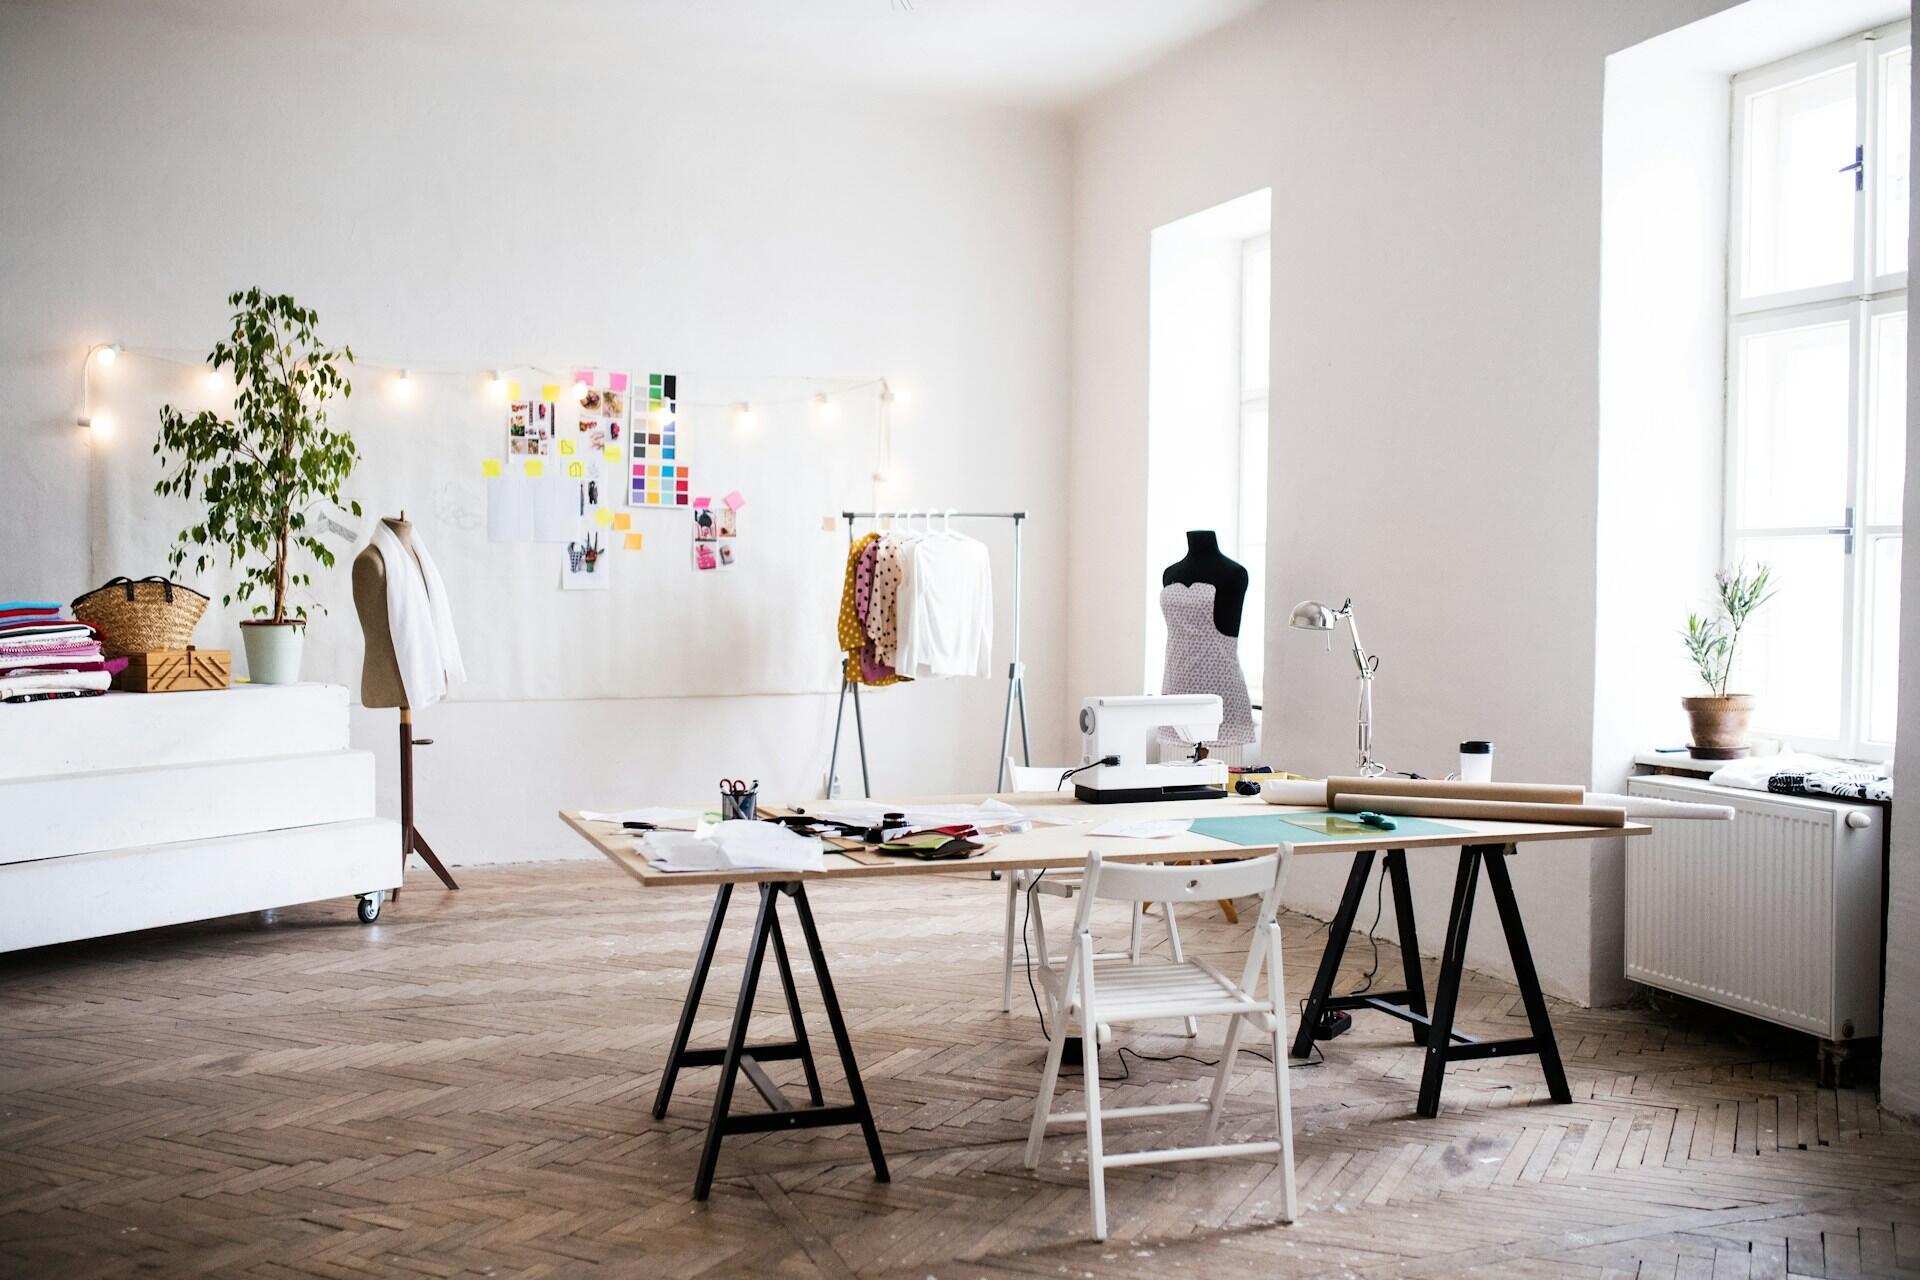
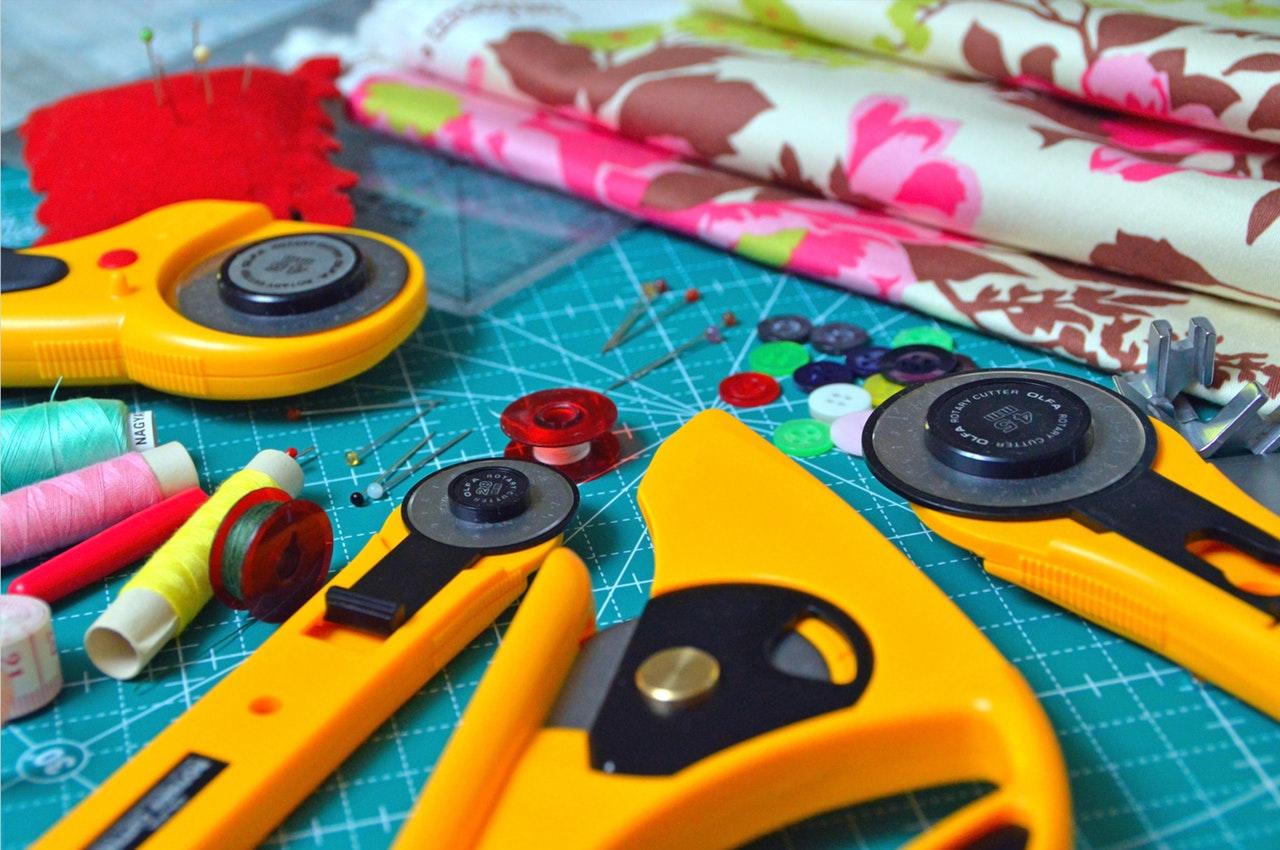
When starting any sewing project, you must have all the necessary tools. Equipping your sewing room is a good start to being more organized and enjoying your new craft. Your space needn't be as airy and spacious as this one, but you should give yourself enough room to work comfortably.
For instance, you might consider including a credenza, as pictured above, to store your fabrics and lesser-used items. Among the most important tools, you will at least need the following to get started:
Basic sewing tools
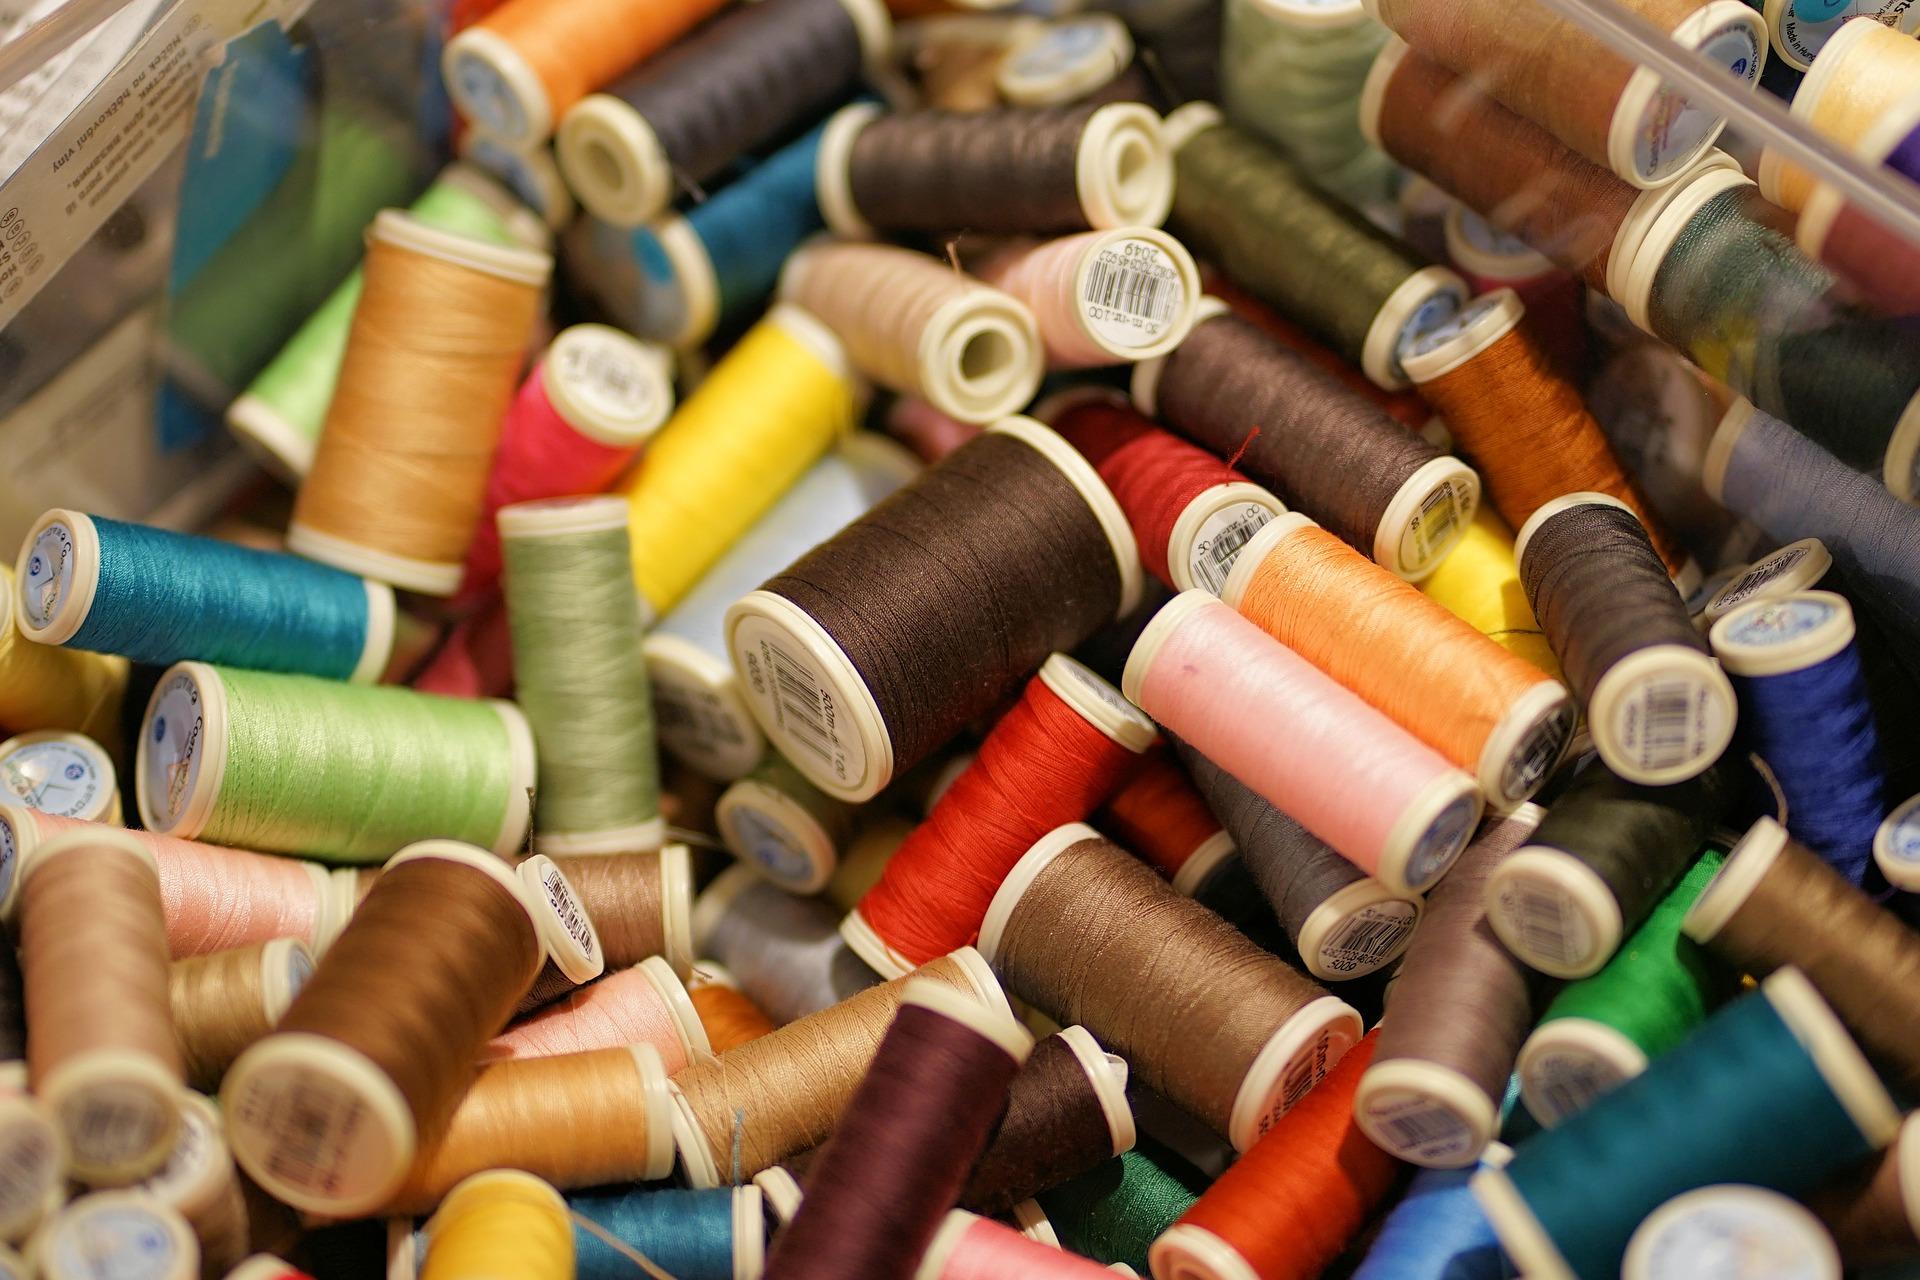
- needles of various sizes
- thimbles
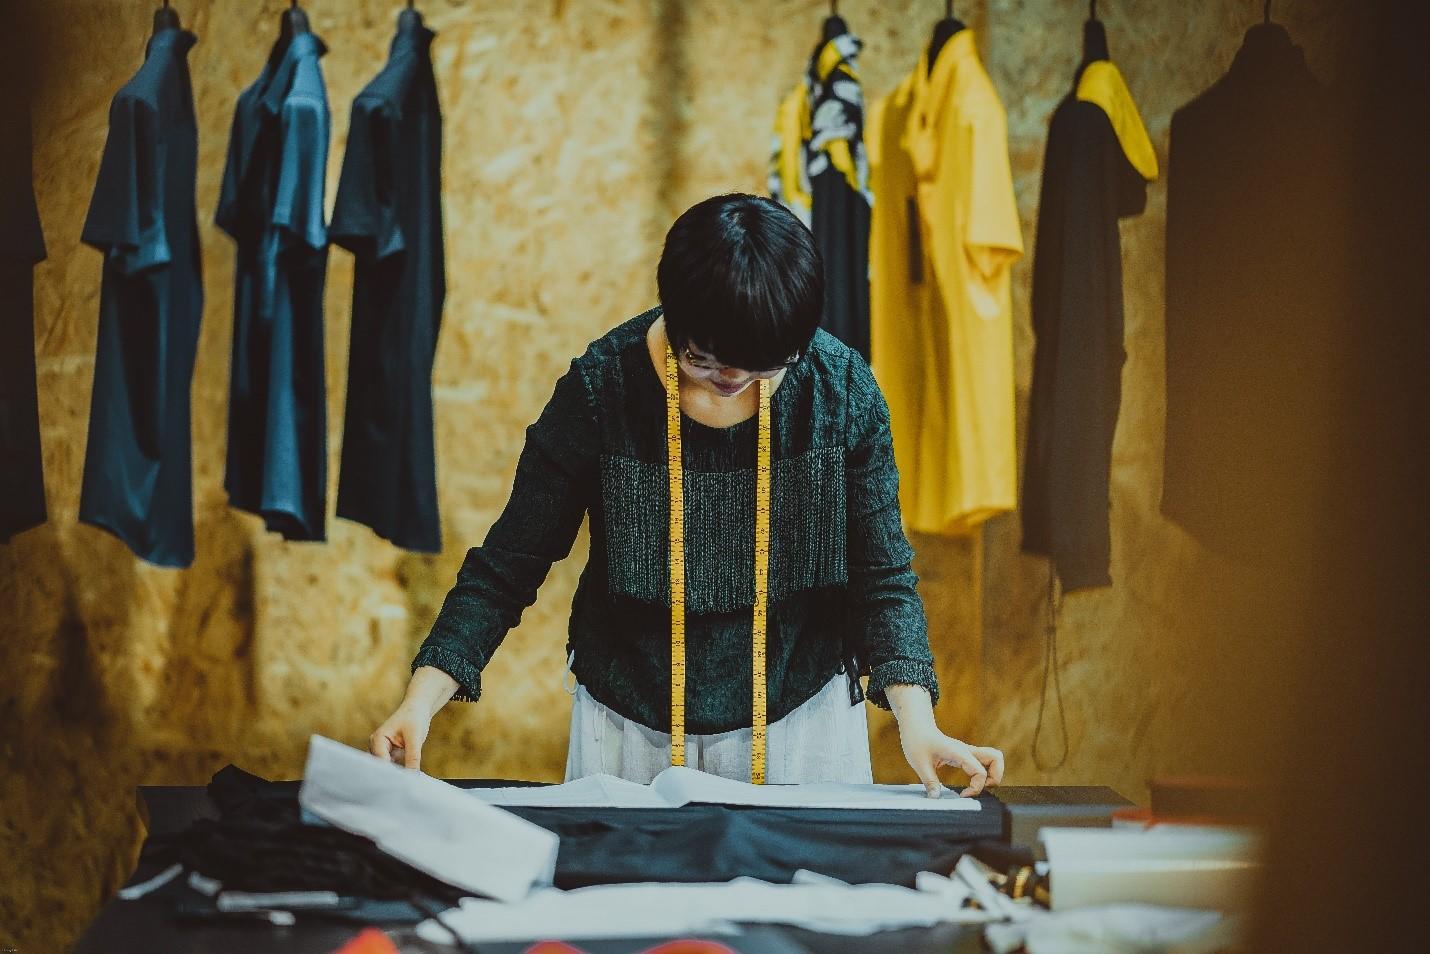
- measuring tapes
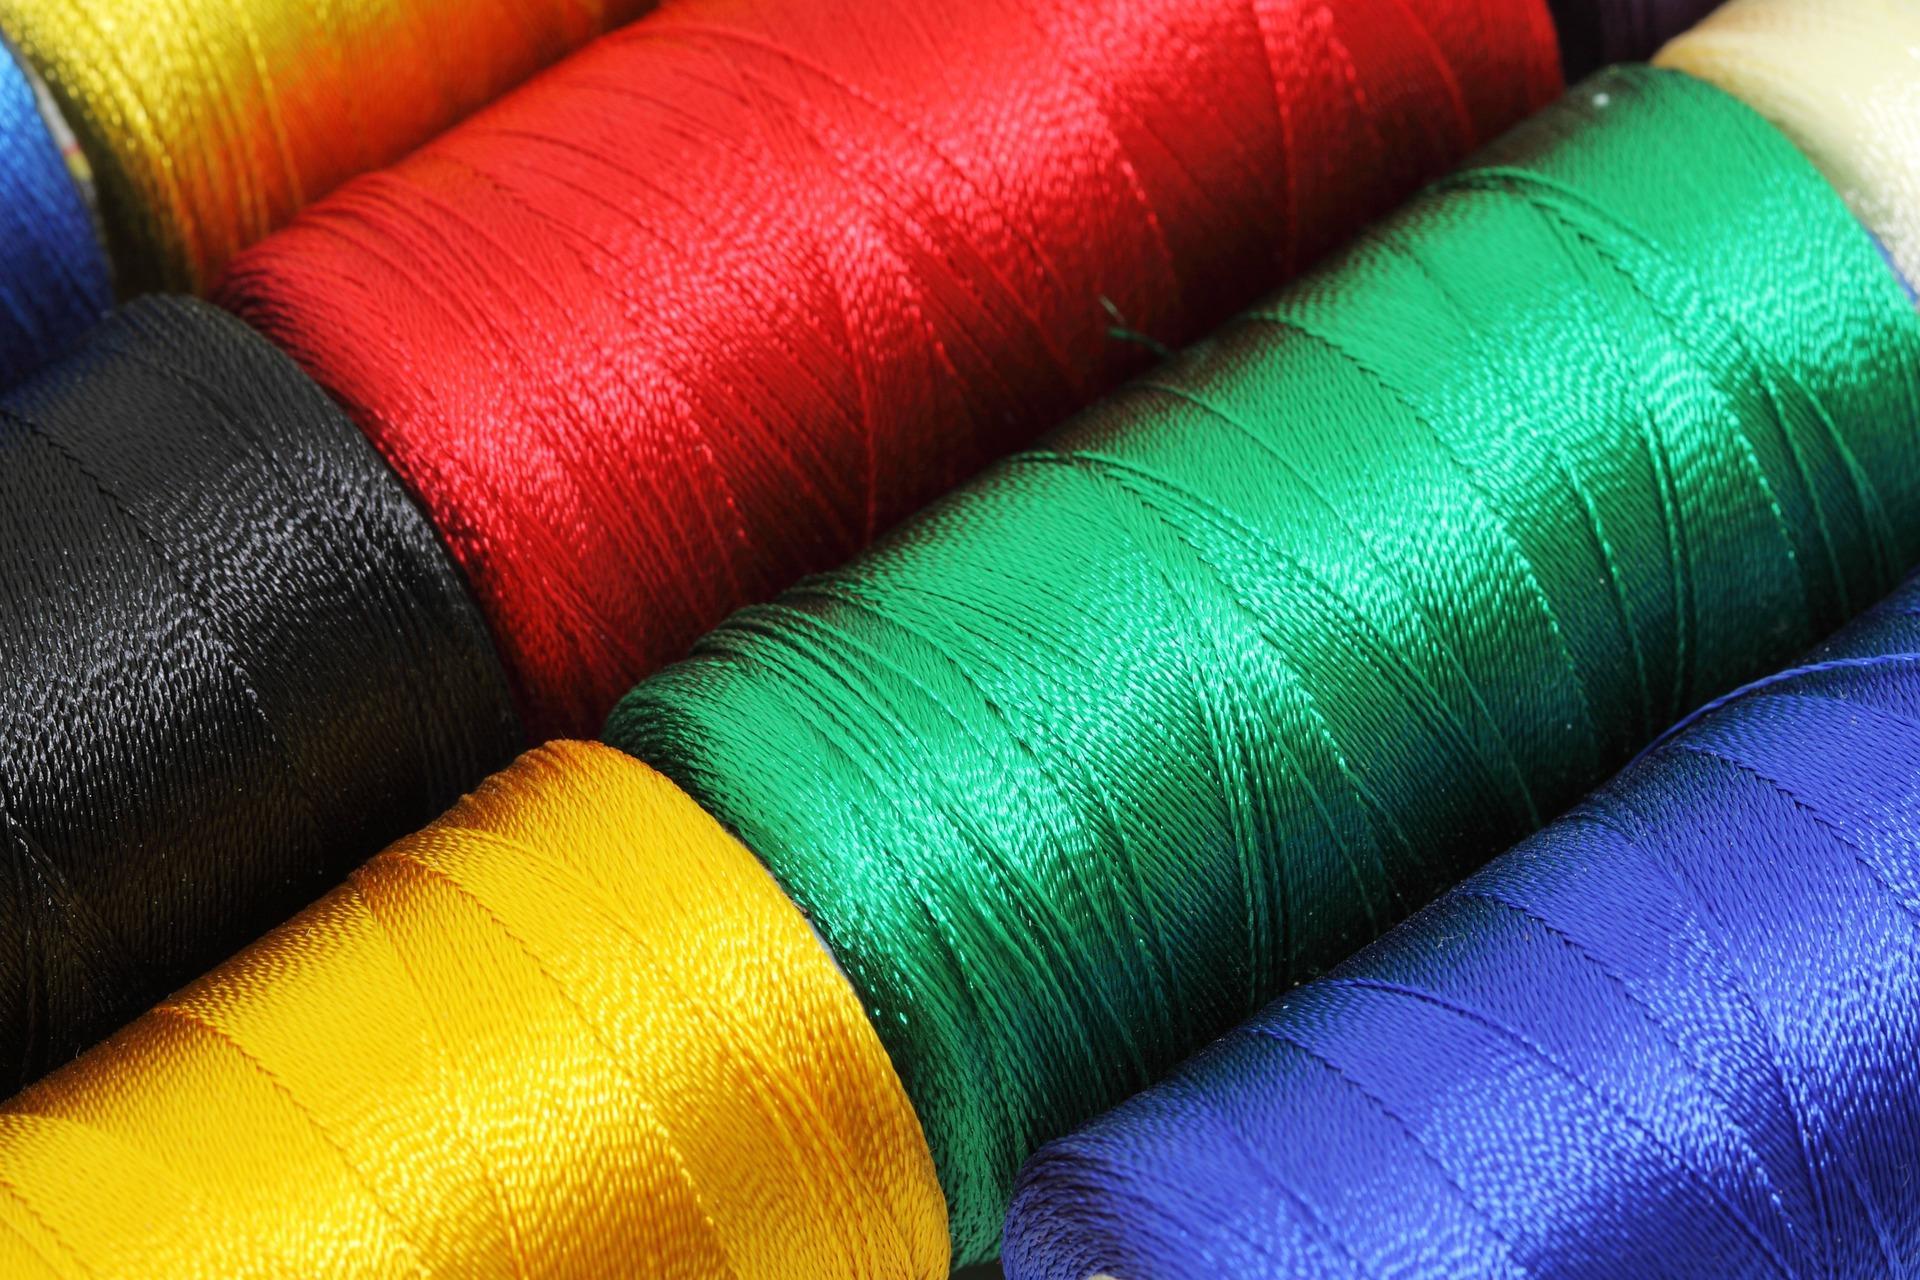
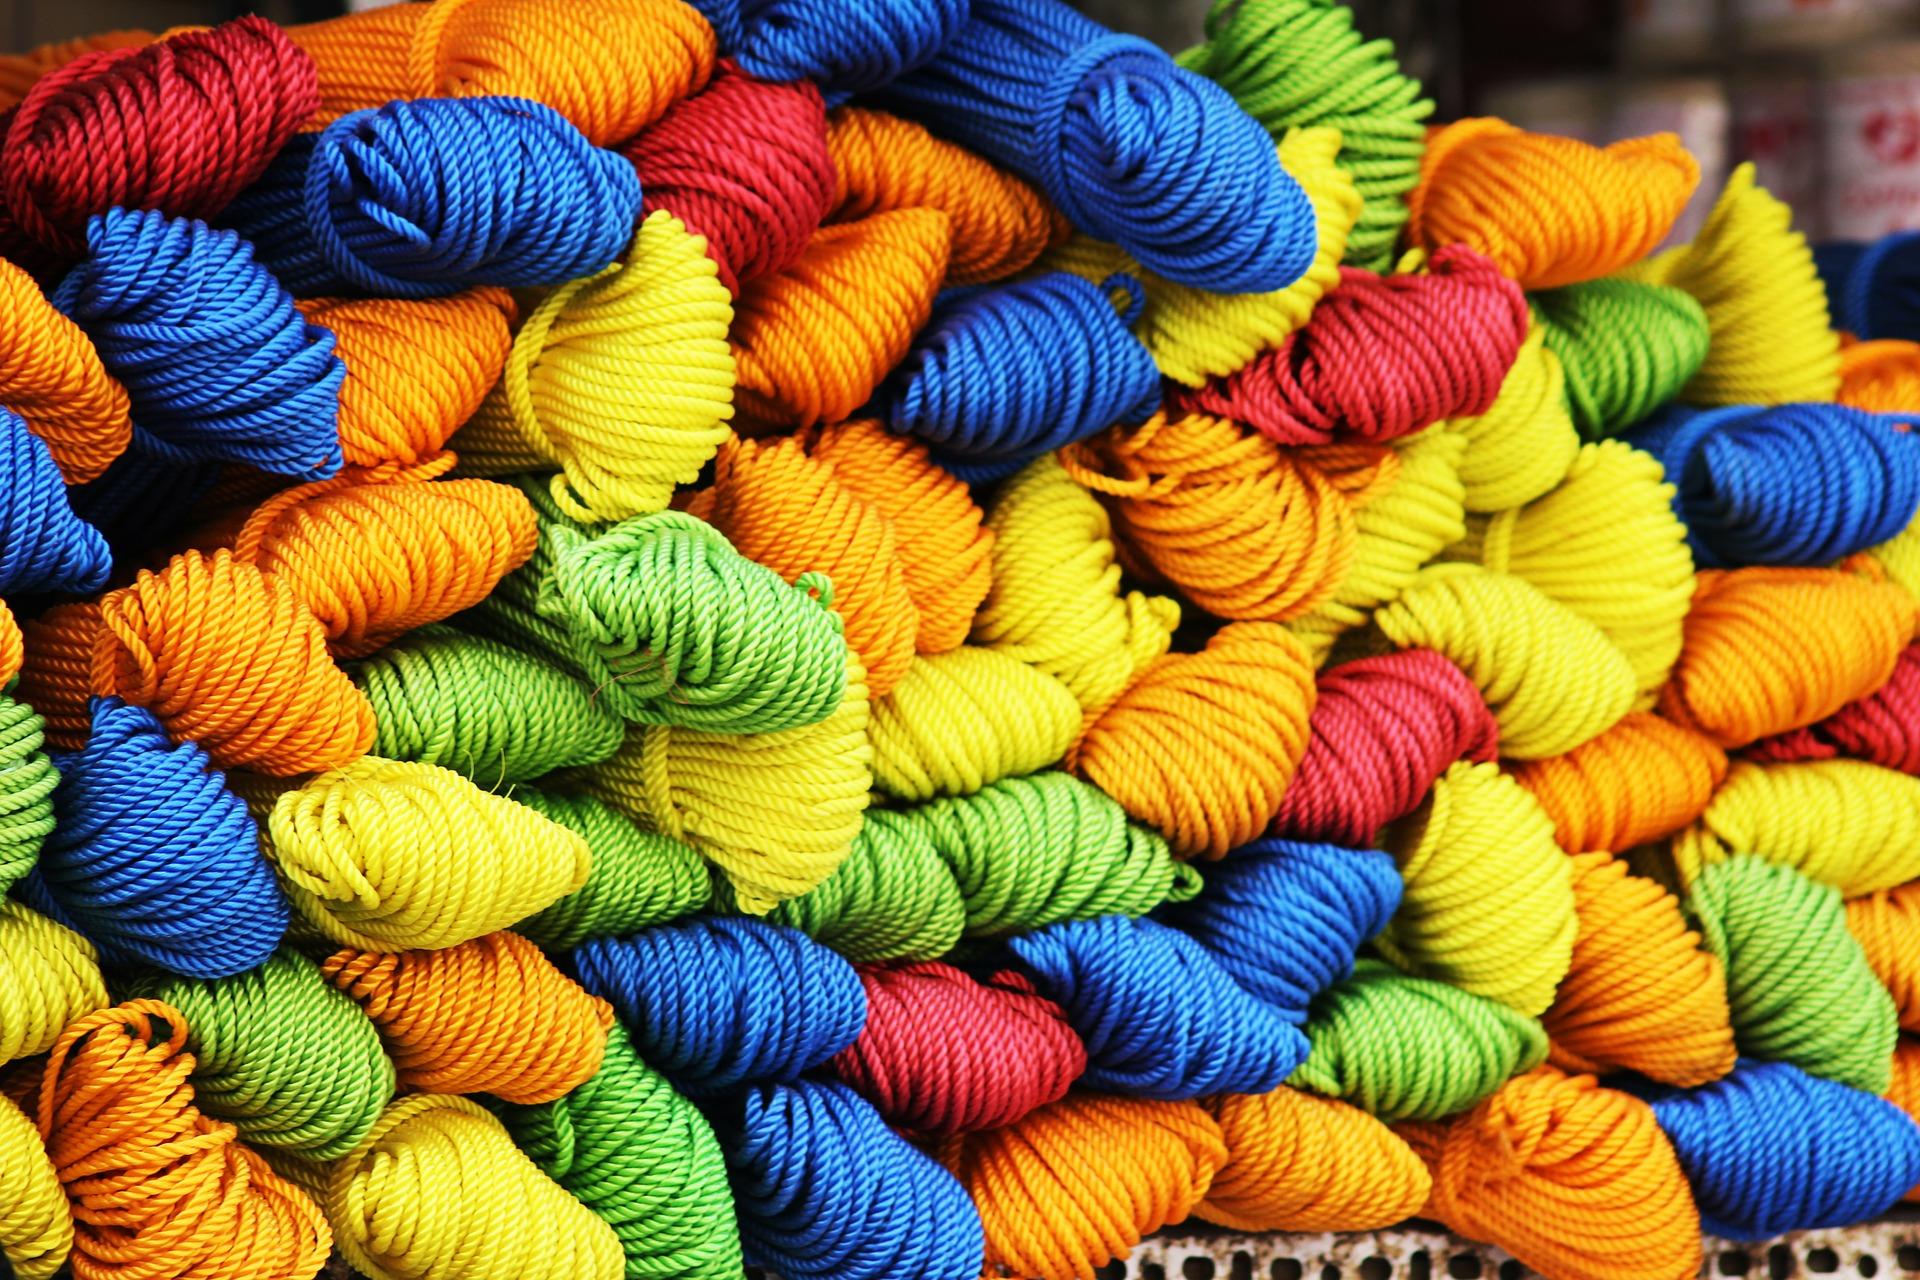
- thread
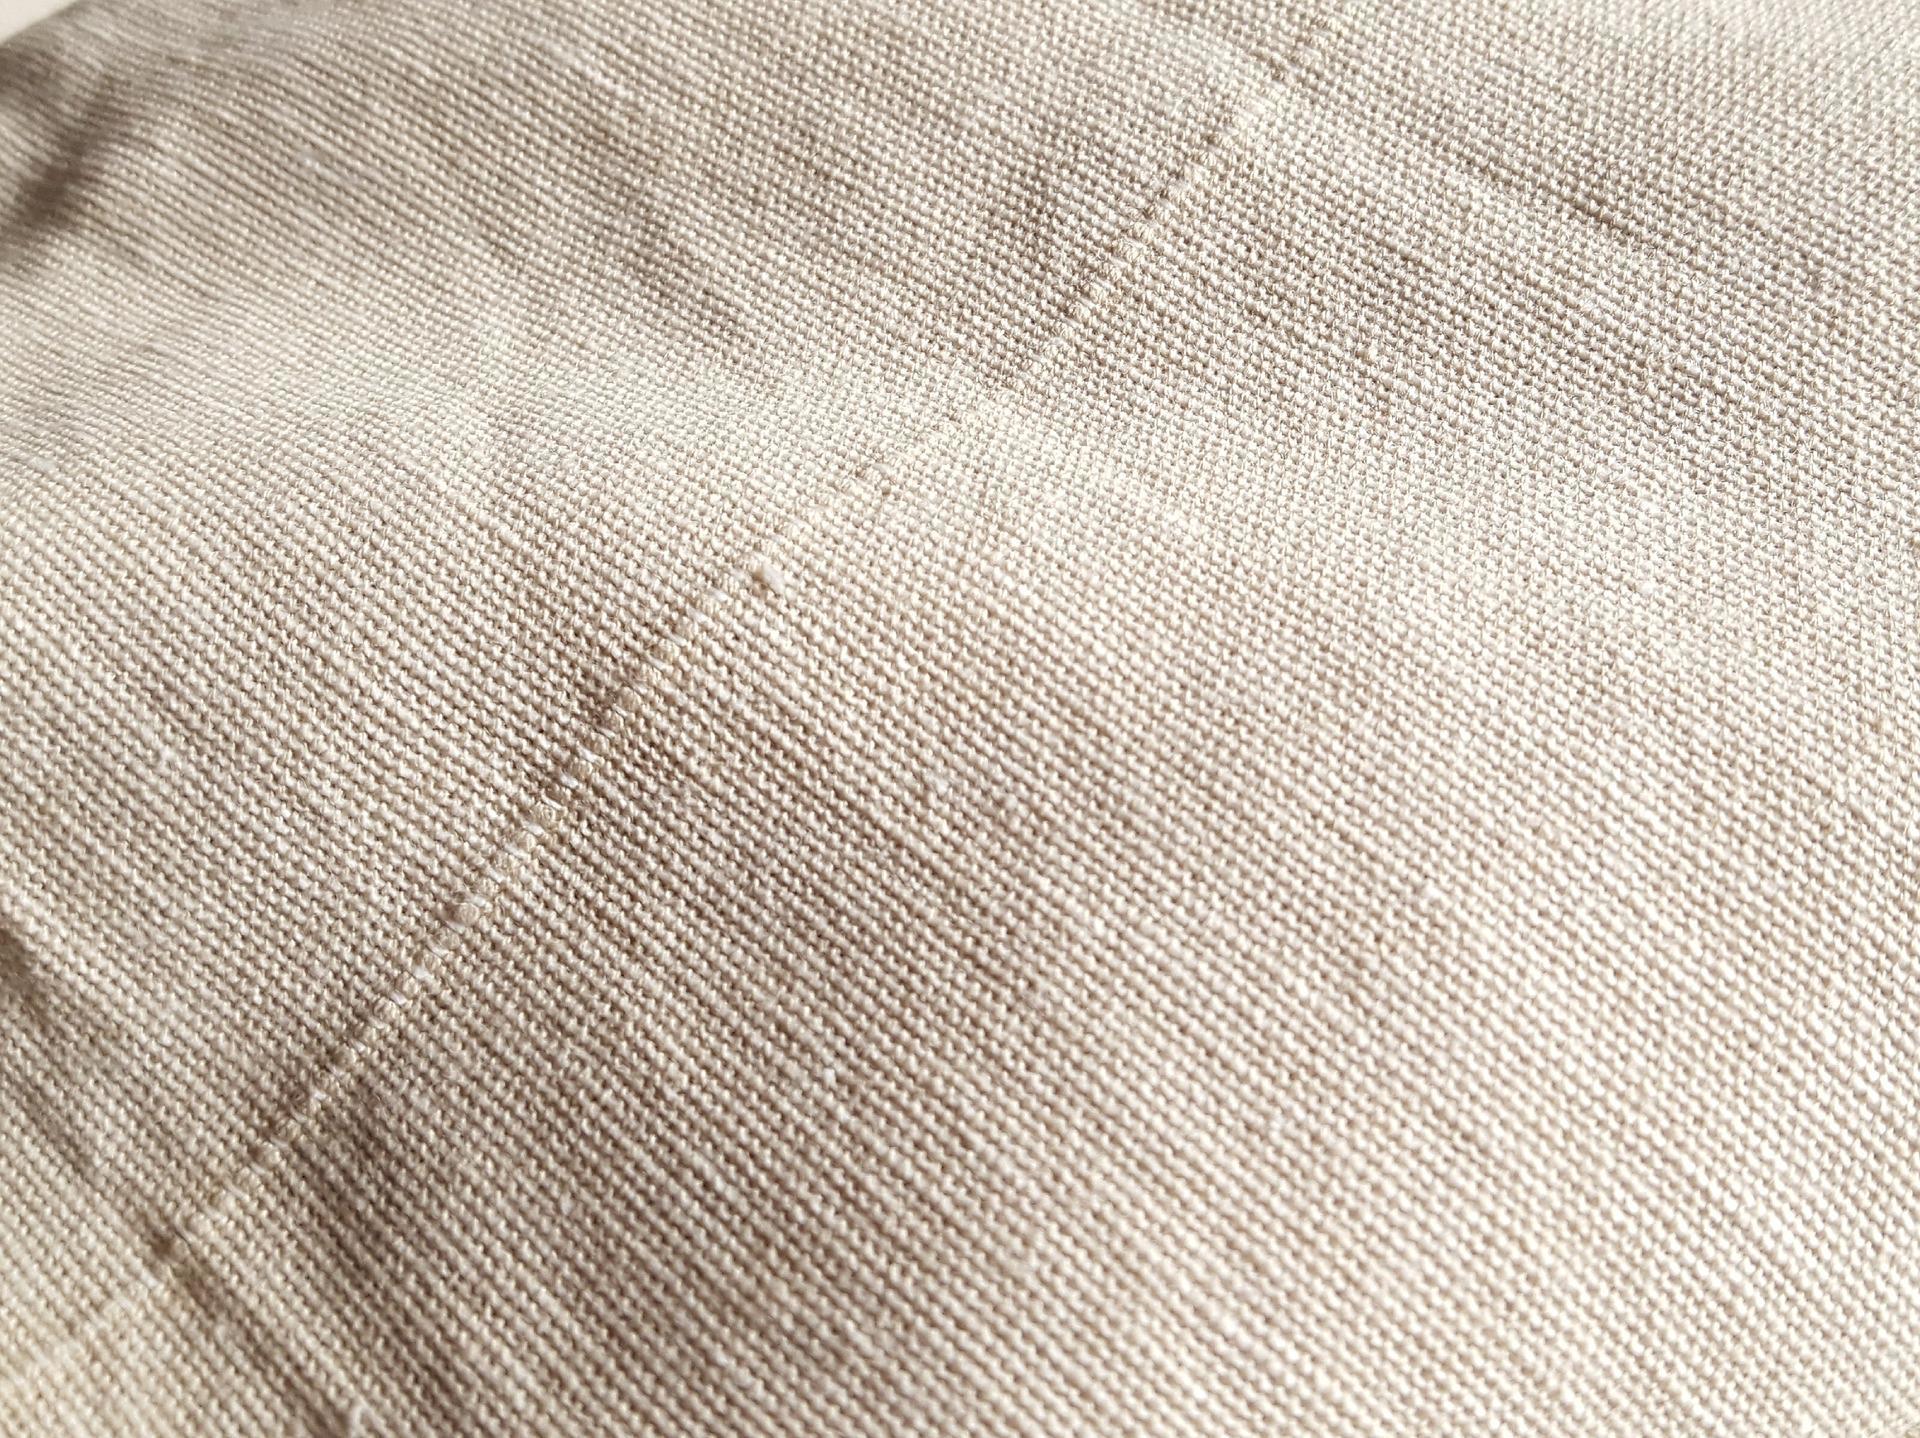
- cloth
- sewing shears (to cut cloth)
- nippers (to snip threads)
- seam rippers: used to remove bad stitches
Optional sewing tools
- a crafts or sewing table
- a dressmaker's dummy
- sewing gauges
- buttonhole cutters
- grading rulers
- rotary cutters for cutting fabric
- marking pens and chalk to mark the fabric
- pressing, steaming and ironing tools
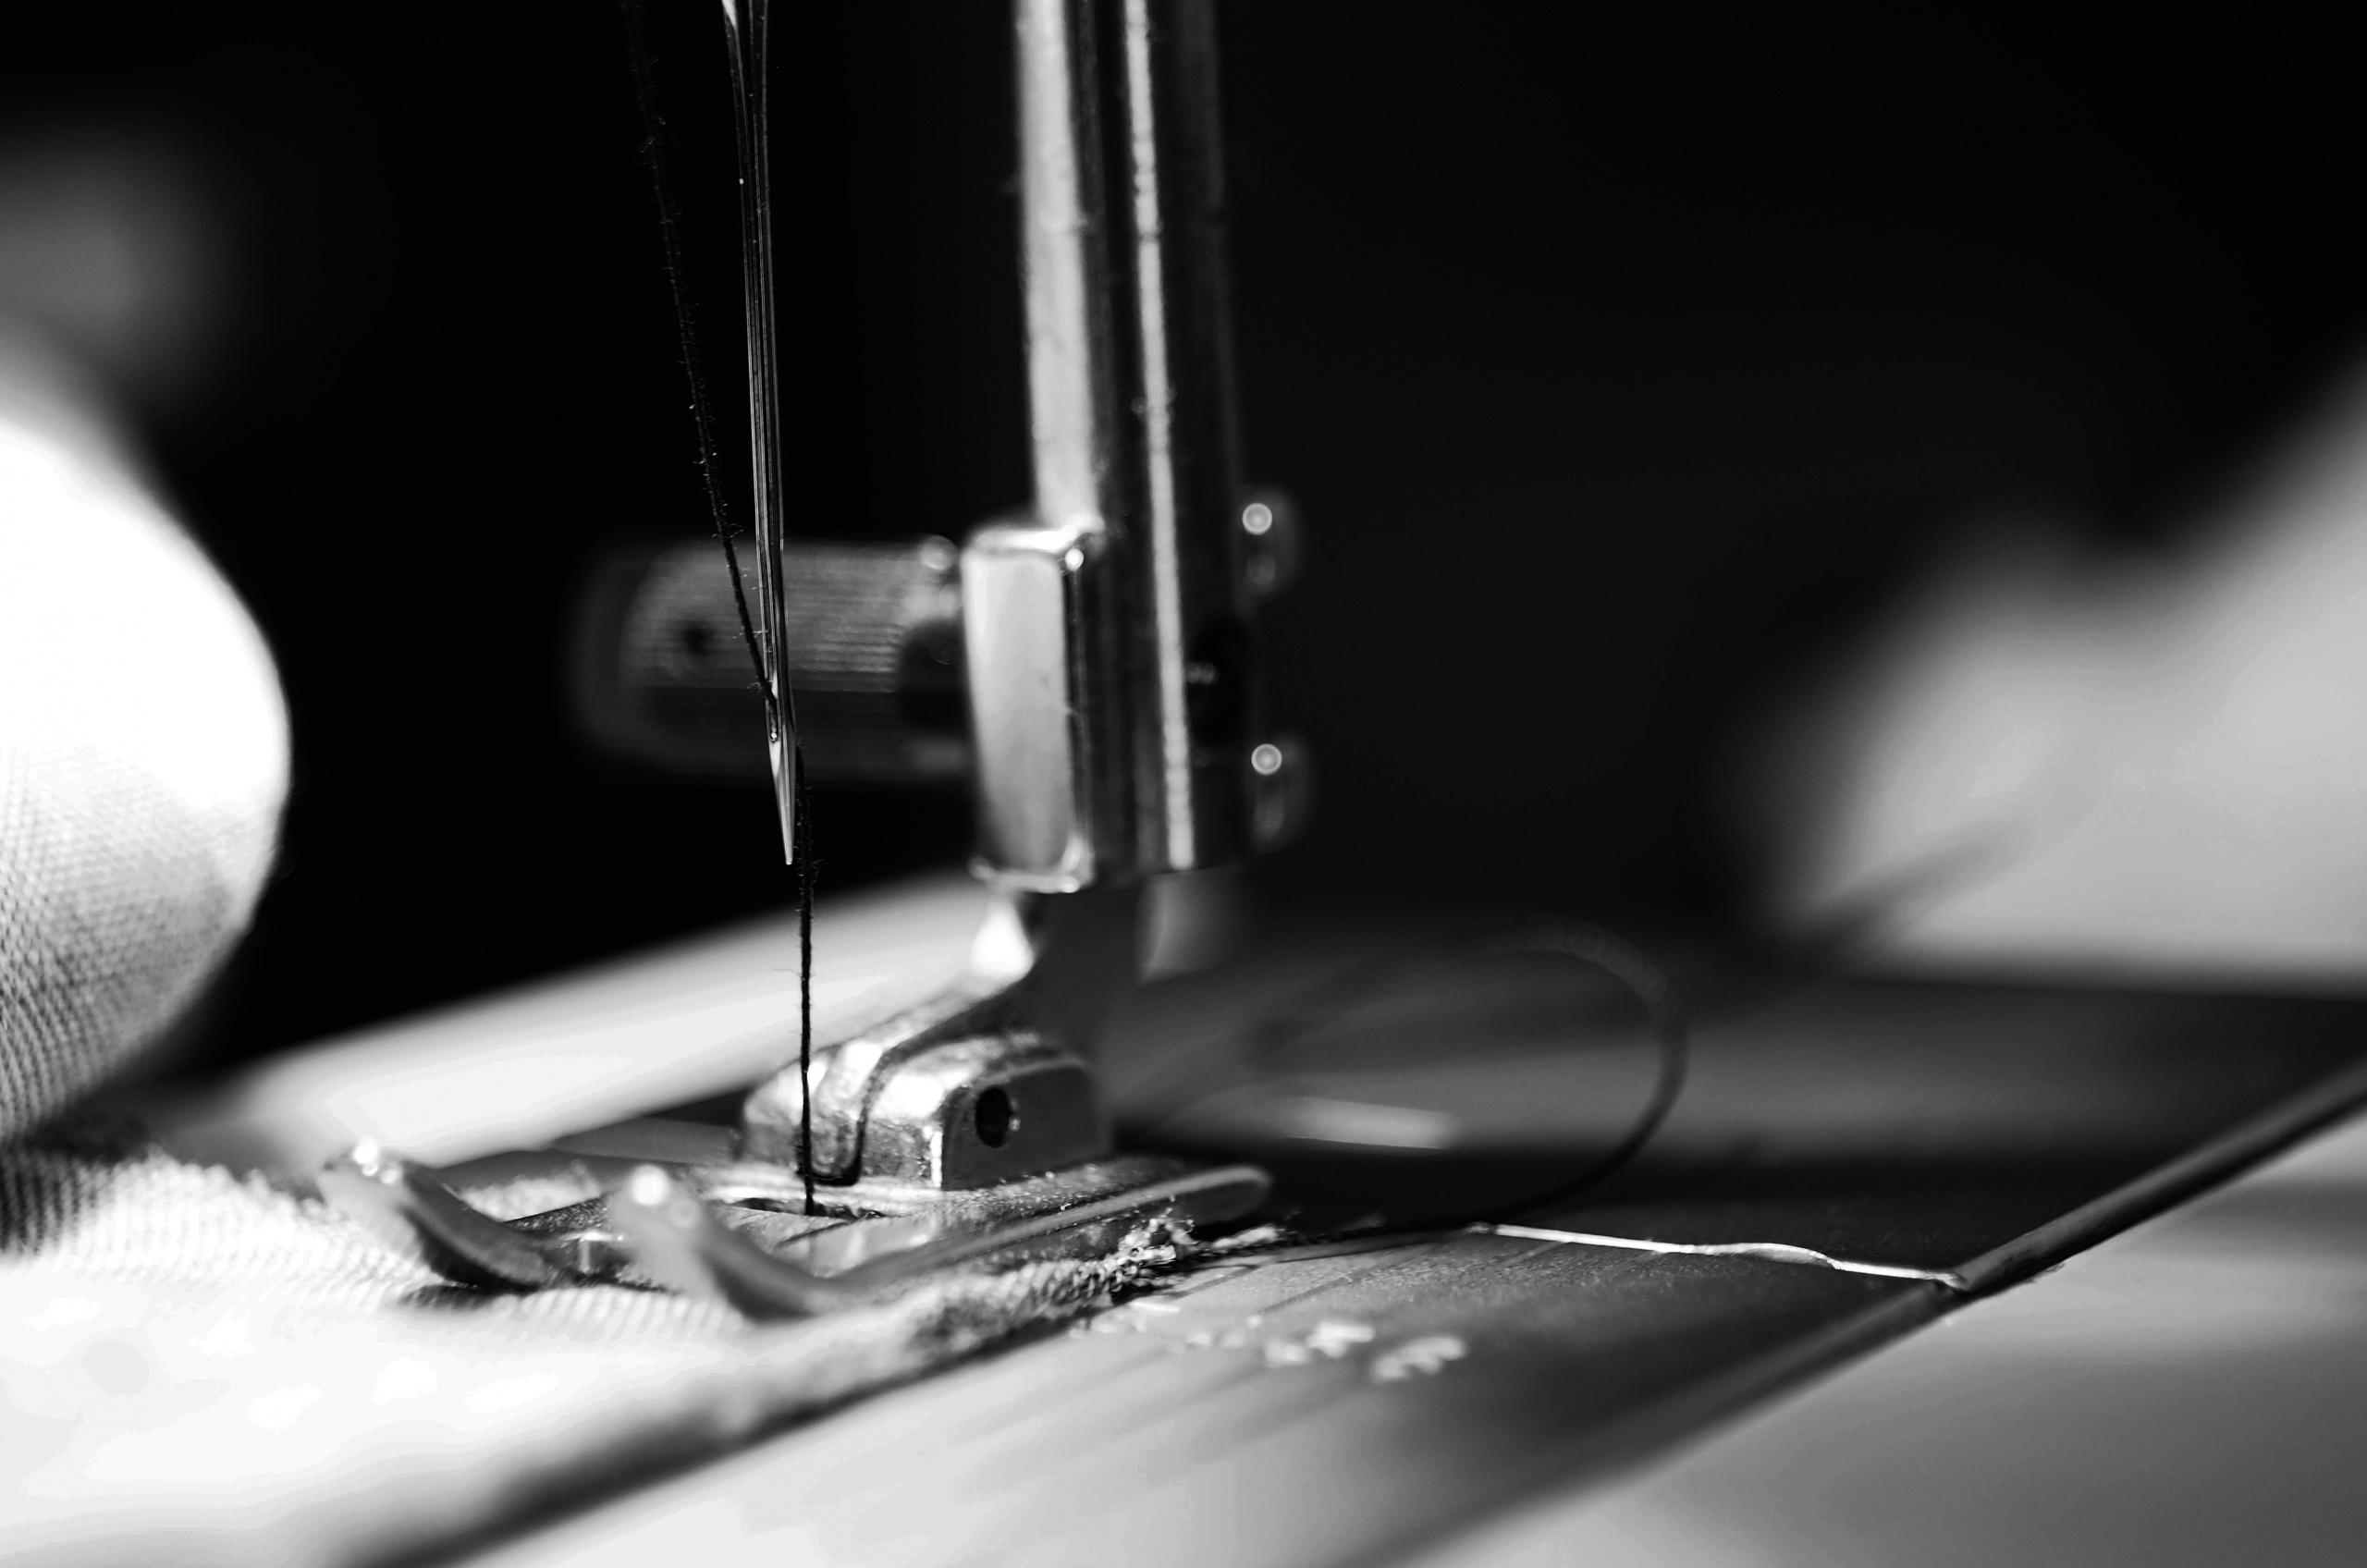
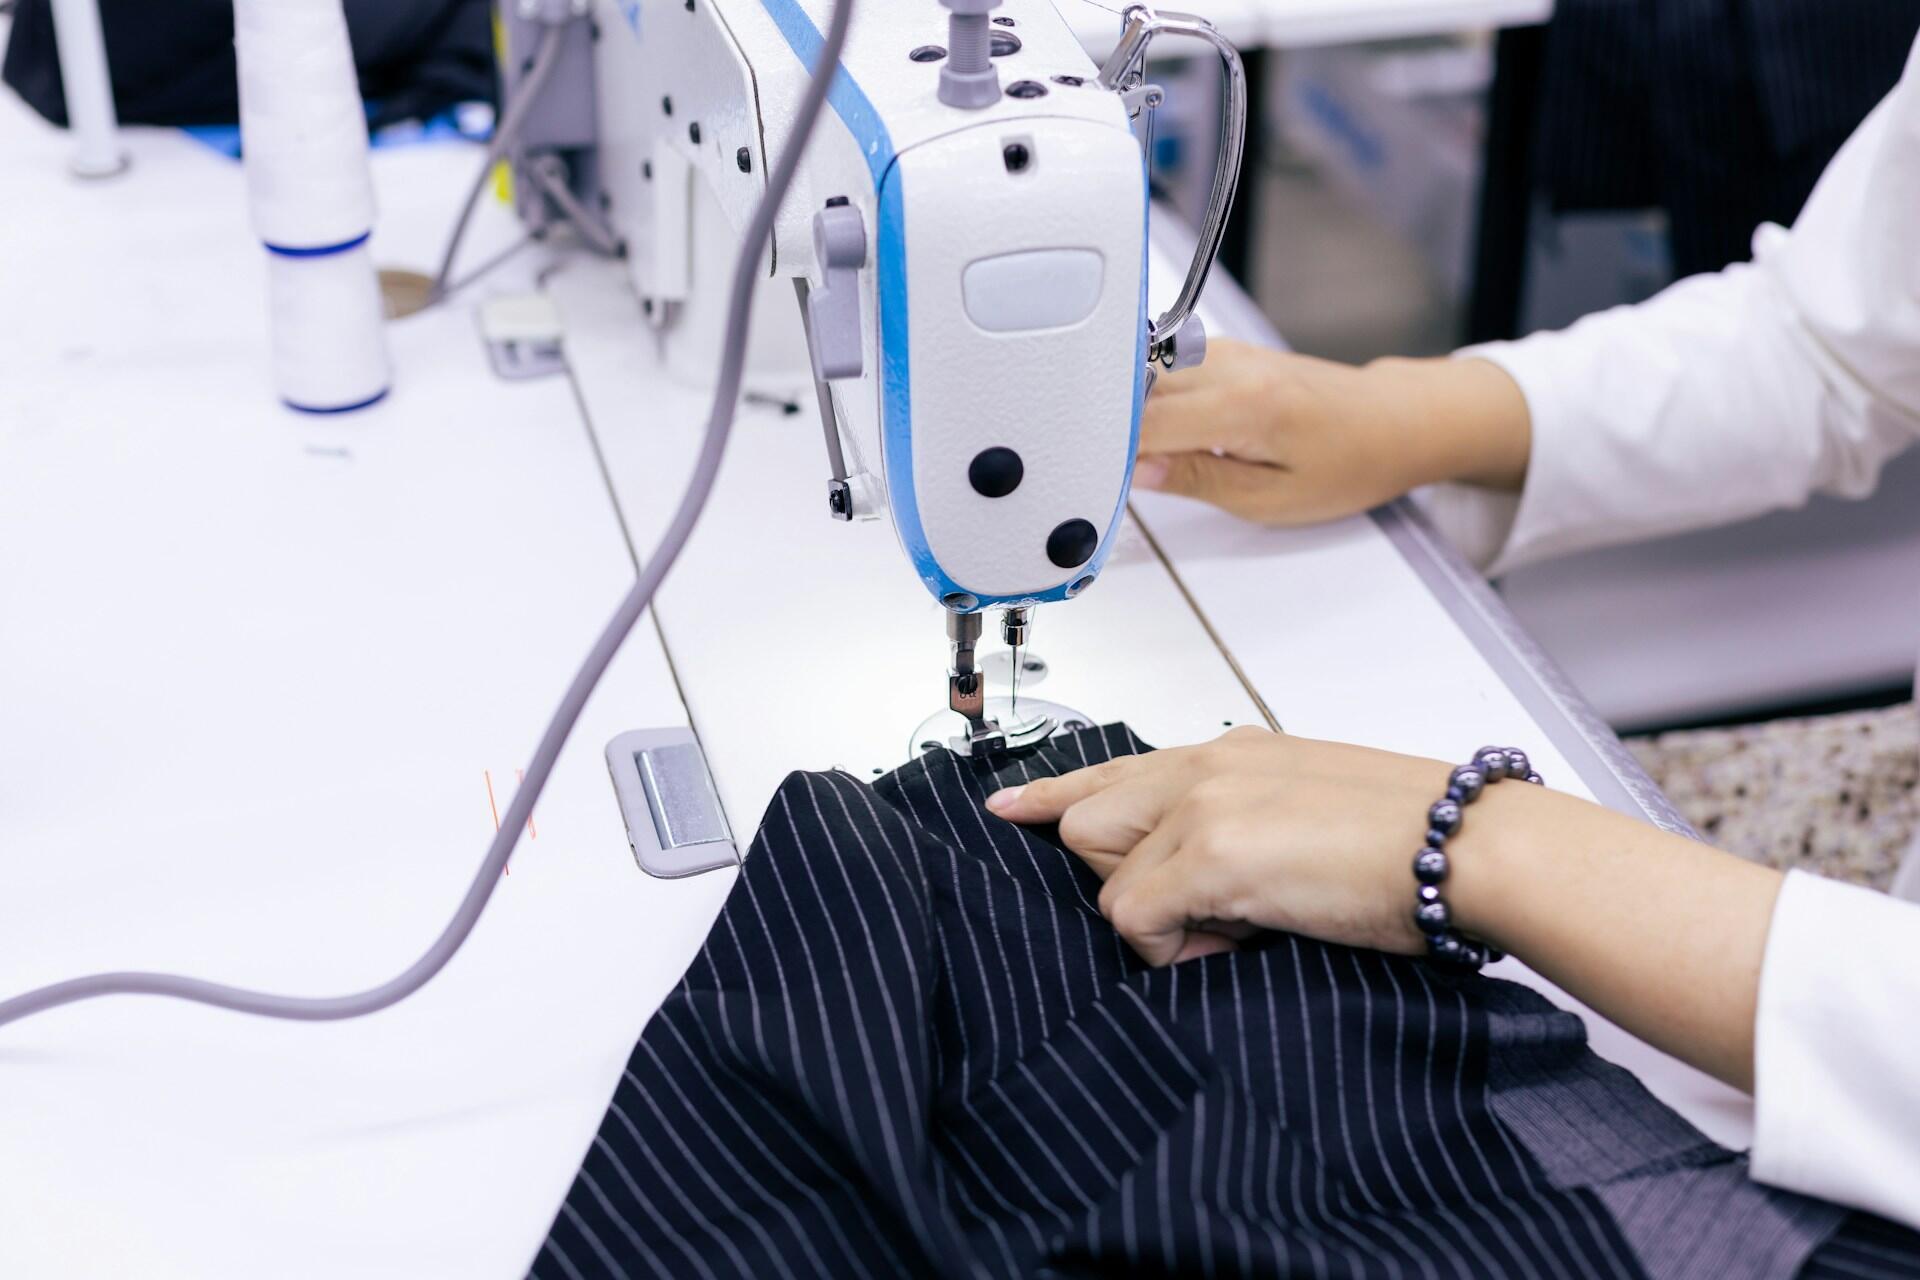
Larger, more complex projects are easier and faster when you use a sewing machine.
Such projects include making whole outfits, dresses, suits and formalwear.
Using a sewing machine makes stronger, more regular and more durable stitches. Furthermore, it’s easier to work heavier fabrics with a sewing machine. Still, you should know various types of sewing stitches - hand and machine, so you can create better designs.
Hand Sewing Stitches
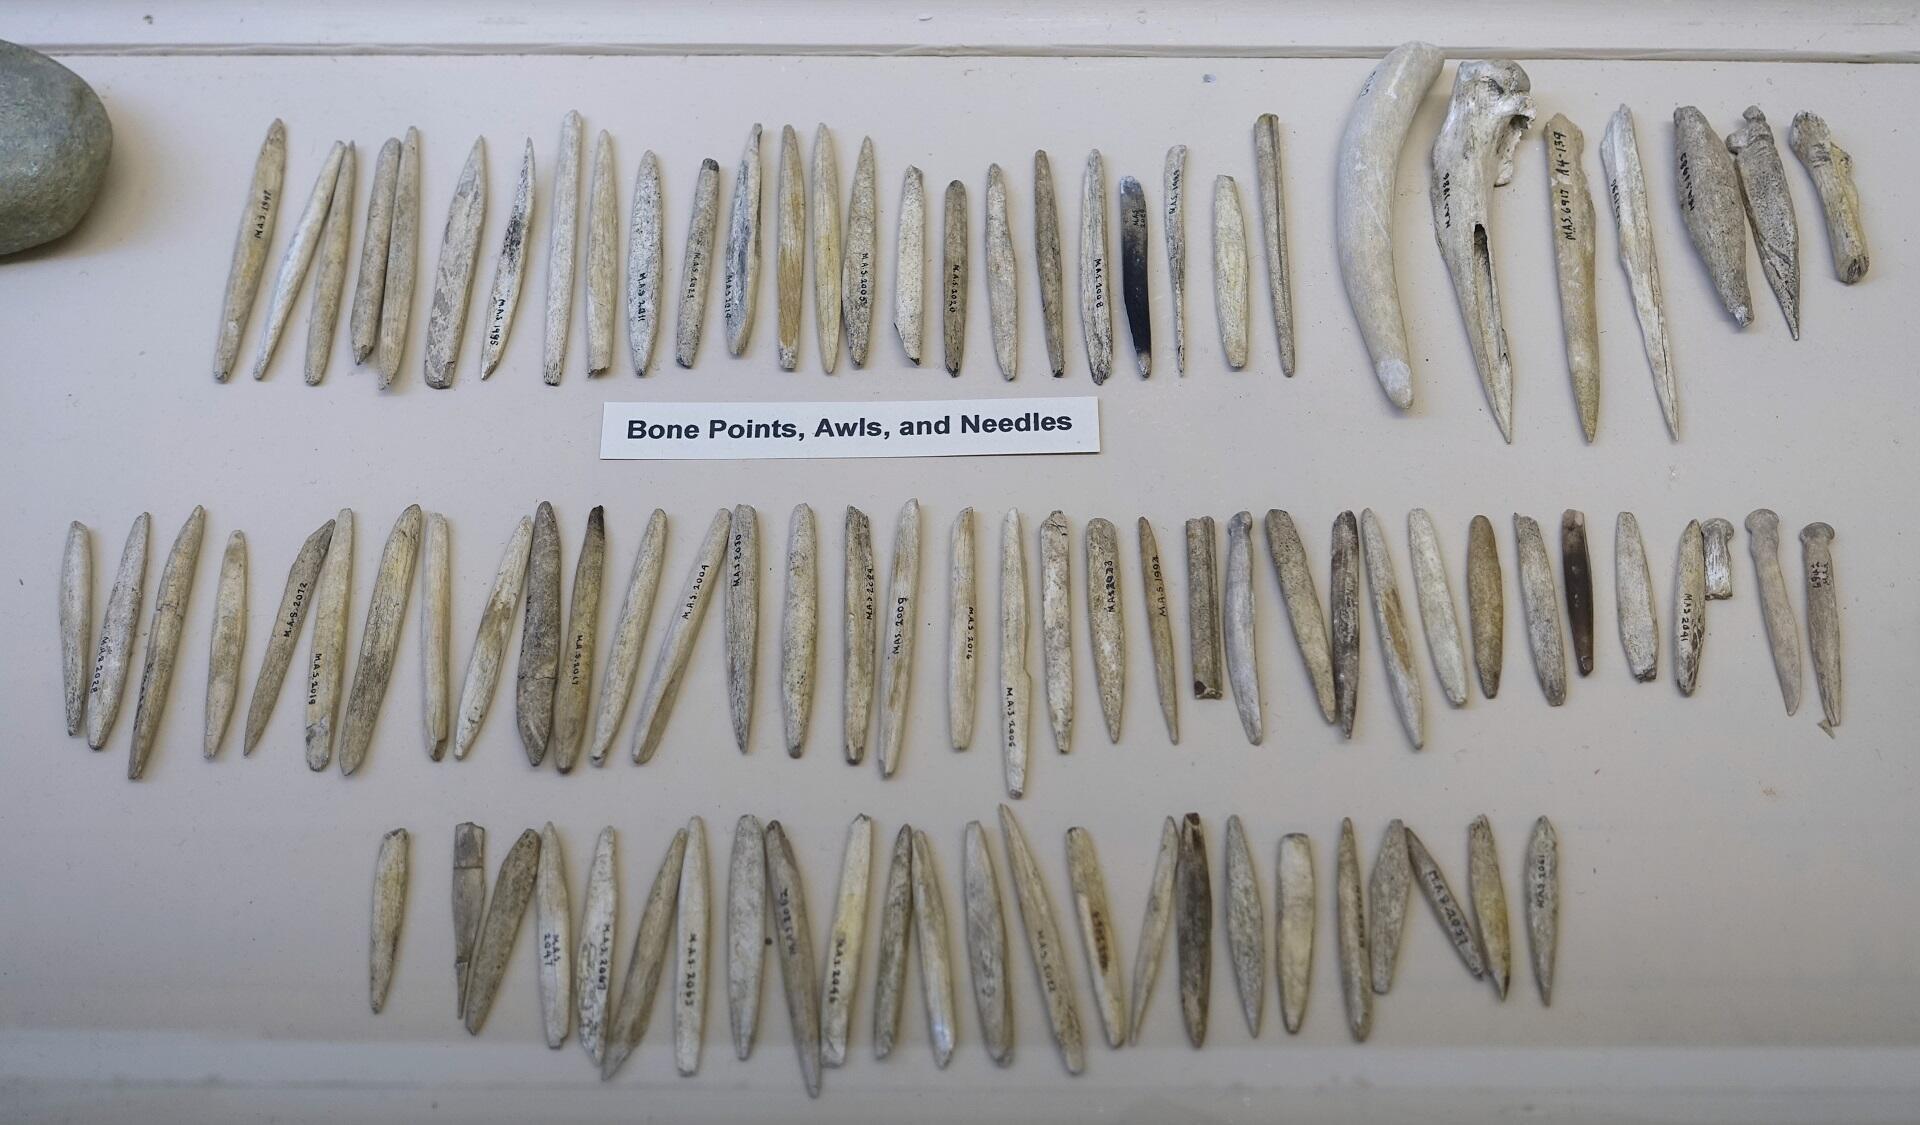
Needlework an ancient craft. Archaeologists around the world have dug up primitive sewing needles made of bone that our ancestors used to join animal pelts, so they could fashion clothing and shoes. Since then, the art of hand sewing hasn't changed much. You might get to know the history of sewing before you discover these stitches, so you can recognize them all.
The Running Stitch
This is one of the most basic sewing stitches. Once you thread your needle and knot the thread's end, engage your needle from the cloth's back side and pull the thread all the way through. Allow no more than 0.5cm of space before urging the needle back through the cloth, pulling the thread through to the back side.
If your stitches were much bigger, you would be creating a basting stitch.
The basting stitch is a temporary stitch, meant only to hold pieces of cloth together until a lasting seam can be made. Basting stitches are removed once the lasting stitch is complete.
The Backstitch
The backstitch is a variation of the running stitch, but it's much stronger and more durable. Follow the steps above but, instead of advancing with each new stitch, you backtrack over the last stitch you made. It creates a solid line of sewn thread, with no gaps.
The Slip Stitch
This stitch is meant to stay hidden, so you need a relatively small needle to make them. Once you thread your needle and tie the thread's end, pick a small bit of fabric from the first piece, and an equally small bit from the second (the visible part of the fabric).
This stitch is ideal for hemming pants, dresses and skirts. You can also use it to repair suit and dress linings.
The Catch Stitch
We find this stitch hemming heavy or stretchy fabrics. You can make it the same way as the slip stitch. Properly done, it will appear as a series of diagonal stitches on the fabric's reverse side.
The herringbone stitch is the same as the catch stitch, but with a different purpose.
The catch stitch is meant to be hidden; it keeps clothing together.
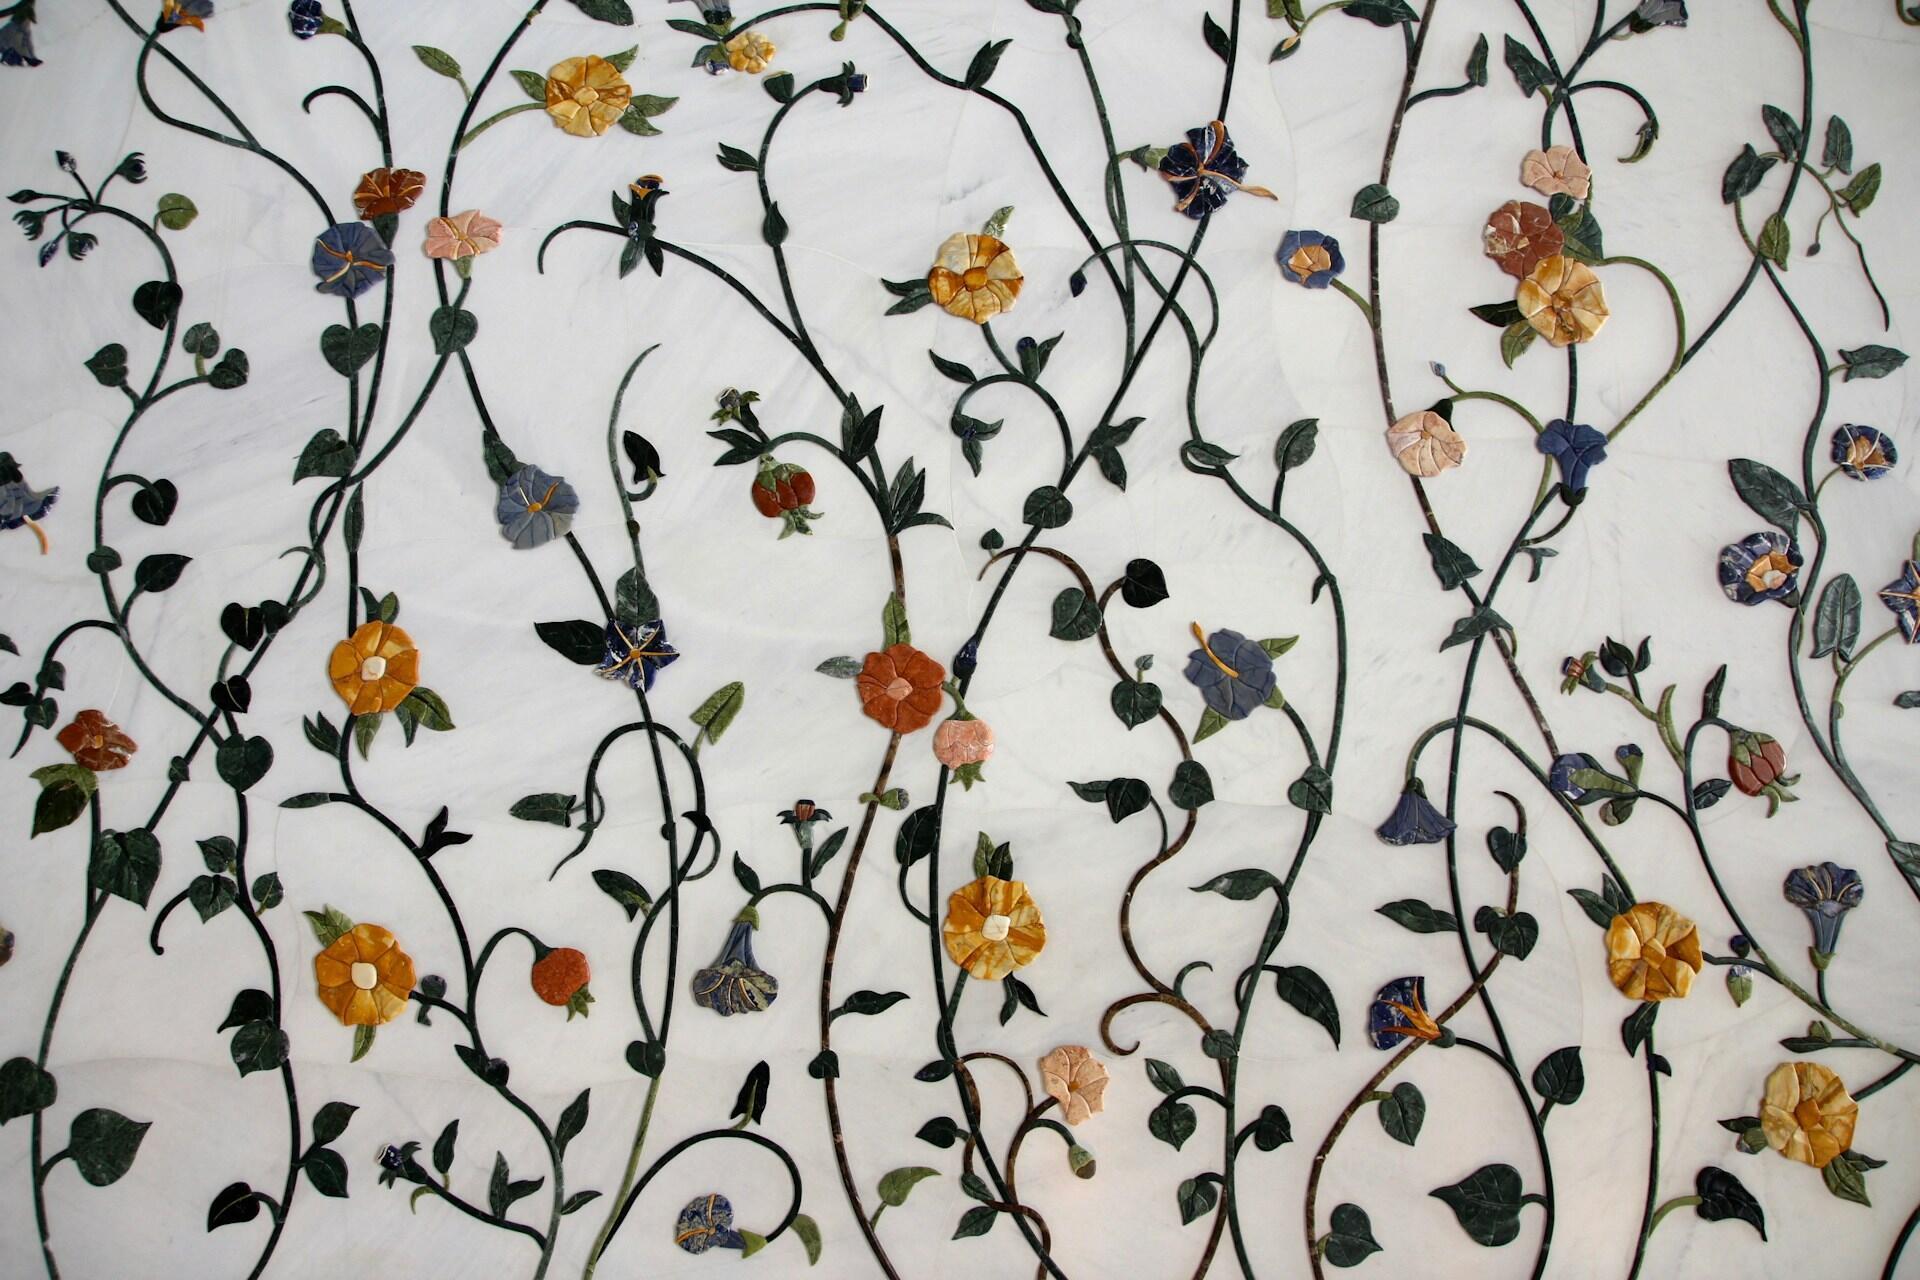
The herringbone stitch is decorative; it's meant to be seen.
Hand Overcast
The hand-overcast seam finish is used as an alternative to the zigzag stitch in small areas or on very thick fabrics. Taking very loose stitches, overcast the raw seam edges by hand.
Isn't it fascinating to know that these stitches were used thousands of years ago? We're so lucky to have modern sewing tools: sharp needles, fine threads, thin cloths, and cutting tools. This short clip shows you how best to use them.
Machine Sewing Stitches
Using a sewing machine will save you time and allow you to create different designs. Machine sewing also makes for more durable stitching, as the device maintains consistent thread tension throughout its operation. That consistency is an aspect of hand sewing that's much harder to manage.
To make the most of this efficiency and convenience, you have to know the different types of machine sewing stitches. Which ones are best for specific fabrics and the style you are trying to replicate? And which ones are your machine capable of?
Your machine’s operations manual details its range of possible stitches it's capable of. It will also tell you how to set them, and the best applications for each type of stitch.
Standard Forward / Backward Stitching
This is every sewing machine's basic stitch. You can use the straight stitch for seams, under stitching, stay stitching, and simple topstitching.
Begin straight stitching 1/8-3/8 inch from the fabric edge.
Backstitch the forward stitch over the pinned or basted seam.
Repeat the reverse stitch to finish.
ZigZag Stitch
You can use a zigzag finish on most types of fabric as it provides a clean finish to raw edges. You can adjust both the width and length of this stitch to fit the needs of your project. The stitch's width and length can vary depending on the fabric weight. For example, you should use this stitch if you are hemming jeans with a sewing machine.
Overlock Stitch
If you study the edge of any finished fabric, you'll likely see a series of triangle threads based on a running line of thread. That's the outcome of the overlock stitch, designed to keep cut fabric edges from fraying.
This stitch is best done with a serger, but you can use an ordinary sewing machine.
Set the zigzag stitch and sew close to the seams' edges.
Trim the excess fabric away, so that the stitching forms the fabric's border.
Buttonholes
Most sewing machines can make buttonholes. Some machines have a fully-automatic buttonhole attachment, while most computerized machines feature a pre-programmed buttonhole setting.
Blind Hem Stitch
This sewing machine stitch consists of two or three straight stitches, and then one wide zigzag or catch stitch. Just as in the hand-stitched version of the blind hem, the fabric is folded under and away, with the hem edge just projecting.
Note that these stitches are just those basic sewing machines can make.
More elaborate machines - programmable ones, and sergers have more stitching capabilities.
Decorative Sewing Stitches
Functional clothing is all fine and well, but how about some embellishment? With just a bit more time and know-how, you can decorate blouses, shirts and skirts with some fancy stitching.
Turn and Stitch
This is mainly used on crisp cotton. Fold and press the seam, allowing a 1/4 inch, and machine stitch along the folded edge to finish. The seams are then pressed open, or to one side, depending on the pattern’s directions. This creates a tidy finish and wears quite well.
Top Stitch
The top stitch creates a hard hemline and can be used to strengthen a seam or as a decorative finish. Press the seams open and then stitch in place from the wrong side. The seam is often pinked beforehand, sometimes with a contrasting bobbin thread.
Embroidery Stitching
The straight stitch and backstitch are standard embroidery stitches. The Running stitch is, too. Other, more elaborate embroidery stitches include:
- stem stitch
- chain stitch
- satin stitch
- feather stitch
- split stitch
- blanket stitch
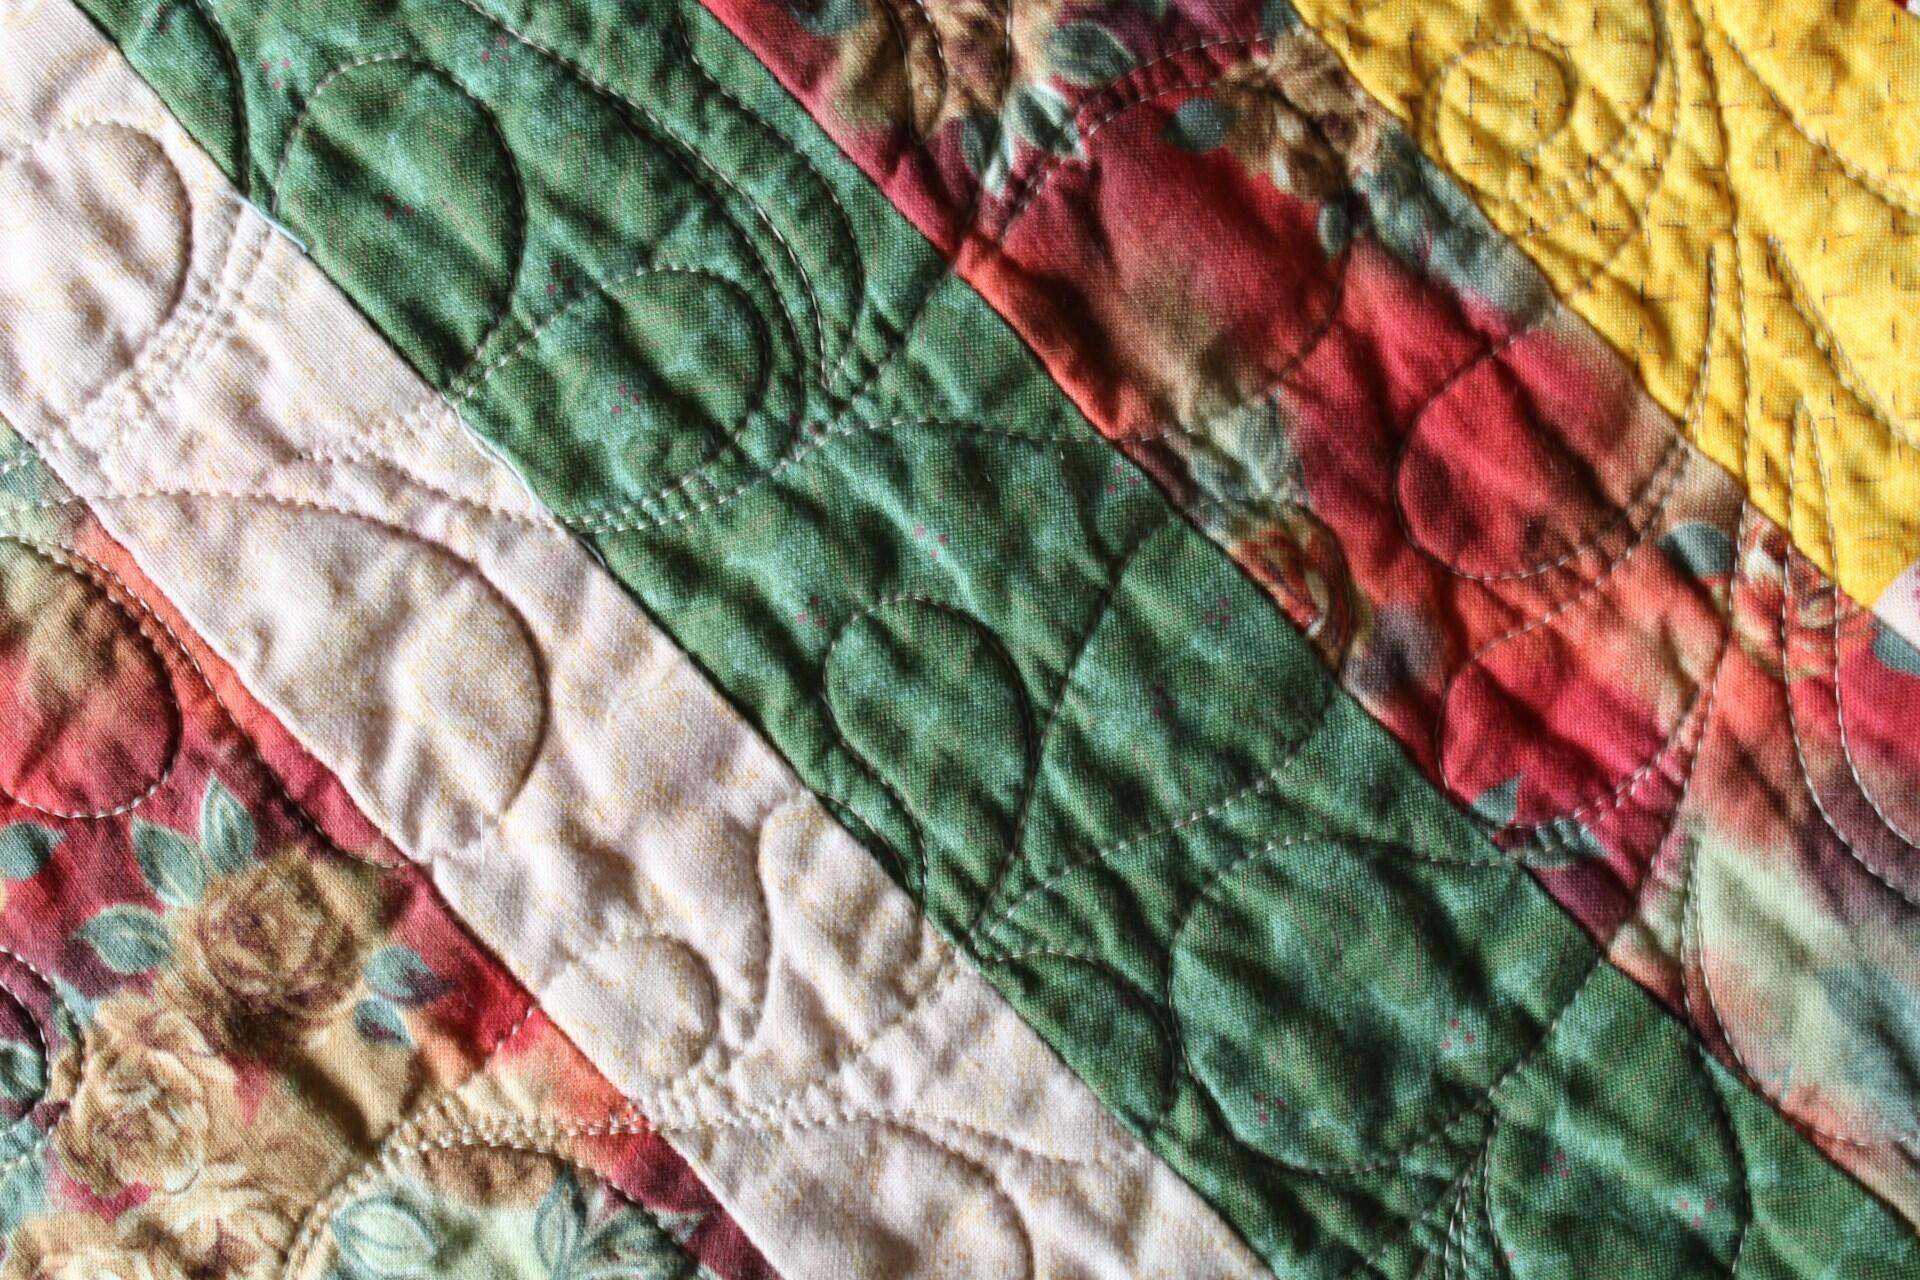
Quilting Stitches
Quilting calls for longer, stronger needles and, often, thicker thread, as it will hold two layers of material plus the quilt's batting into place. Once you're used to working with these more durable supplies, try your hand at:
- traditional Western stitching - nearly invisible
- modern stitching: deliberately visible stitches
- traditional eastern stitching: kantha or sashiko stitches that create long, colorful lines
Choosing the Right Stitch
Having a helpful guide for sewing stitch examples may be hard to refer to when you want to look up information. So, this chart summarizes all of the above. You might print it and post it in your sewing room for a quick reference.
| 🧵 Stitch Name | 🪡 Hand or machine? | 👗 How to do it |
|---|---|---|
| Running stitch | Hand | Thread the needle; knot the end. Push the needle from the cloth's back side. Pull the thread all the way through. Push the needle back through the cloth; repeat. |
| Backstitch | Hand | Same as the running stitch, but start your next stitch slightly behind where you ended the last one. |
| Slip stitch | Hand | Pick a small bit of fabric from the first piece, and an equal portion from the second piece. |
| Catch stitch | Hand | Made the same way as the catch stitch; ideal for hemming heavy fabrics. |
| Hand overcast | Hand | Like a zigzag stitch; to finish fabric edges. |
| Forward and backward stitching | Machine | Set fabric on the feed dog. Drop the foot. Activate the machine. Press the reverse button for the backward stitching. |
| Zigzag stitch | Machine | Set your machine to zigzag. Set the zigzag's size. |
| Overlock stitch | Machine | Use the zigzag setting on an ordinary sewing machine. Or use an overlock machine (a serger). |
| Buttonholes | Machine | Set your machine to 'buttonholes'. Adapt its buttonholing device. Use a buttonhole cutter to clear the fabric. |
| Blind hem stitch | Machine | Set your machine to 'buttonholes'. Adapt its buttonholing device. Use a buttonhole cutter to clear the fabric. |
| Turn and stitch | Machine | Use your machine's running stitch to make tidy fabric edges. |
| Top stitch | Machine | Complete the seam. Fold the pieces so that the seam is not visible. Create a visible running stitch to conceal the seam. |
| Embroidery stitching | Hand or machine | Running stitch Backstitch Straight stitch Stem stitch Chain stitch and others can be used to embroider. |
| Quilting stitches | Hand or machine | Calls for stronger, longer needles |
With such a variety of sewing stitches to practice, you must be anxious to return to your sewing room.
Summarize with AI:
Did you like this article? Leave a rating!