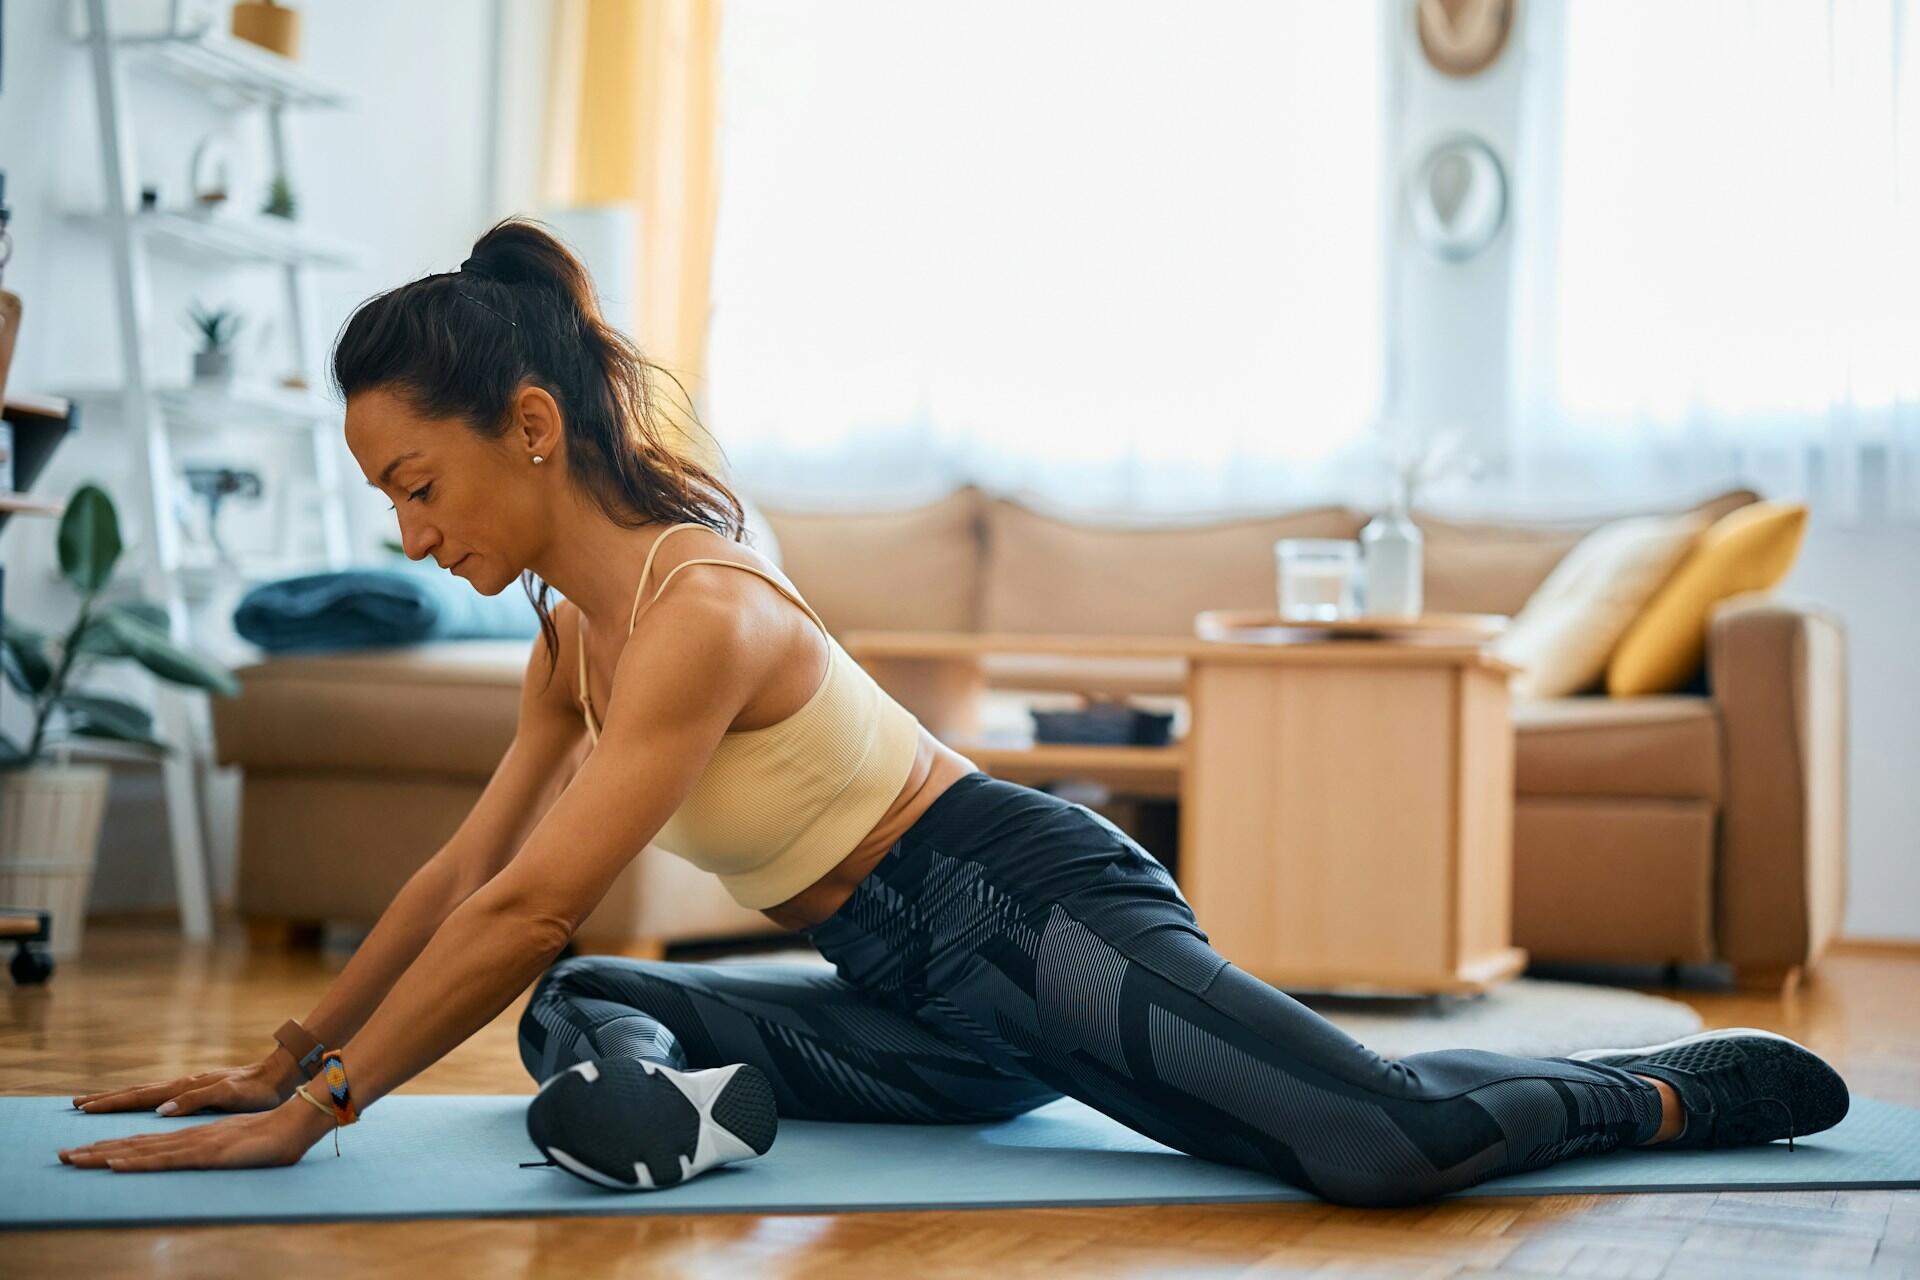
Extended Side Angle Pose, or Utthita Parsvakonasana, is a standing pose that stretches your whole side body. From a wide stance, you bend your front knee to 90 degrees and bring your lower hand to the floor or a block. Then you reach your top arm over your ear, making one long line from your back heel to your fingertips.
Yoga Journal calls it a fundamental pose to practice regularly, because it builds the strength that supports a long spine. Here are the steps, props, variations, and cautions you need to practice it well.

Bend your front knee to about
90degrees, so your front thigh is parallel to the floor, as Yoga Journal advises


What Does the Sanskrit Name Mean?
The name joins three Sanskrit words, according to Yoga Journal. Each one describes part of the shape:
- Utthita: extended
- Parsva: side or flank
- Kona: angle
Yoga Journal gives the pronunciation as “oo-TEE-tah Parsh-vah-cone-AHS-anna.” You’ll also see the spelling Utthita Parshvakonasana. The goal is simple: stretch both sides of your body as much as you can.
At a glance
The Pose in Brief
| Detail | What to know |
|---|---|
| Pose type | Standing balance and side stretch |
| Stance | Feet about 4 feet apart, front knee bent to 90 degrees |
| Hold | 30 to 60 seconds per side |
| Useful props | Yoga block, wall, chair, strap |
| Get advice first if | You have high or low blood pressure, a knee injury, or neck problems |
Sources: Yoga Journal, The Art of Living, and NCCIH, checked Sept 28, 2026. Full references in the Sources section.
How to Do the Pose, Step by Step
These five steps take you from a standing start into the full pose on your right side. Move slowly, and back off if anything hurts.
Step One: Set Up a Wide Stance
Stand tall at the top of your mat in Mountain Pose, or Tadasana. If you need a refresher, see how to do Mountain Pose. Breathe in. As you breathe out, step or jump your feet about 4 feet apart.
Stretch your arms out to the sides at shoulder height, palms down. Turn your right foot out 90 degrees and your left foot slightly in. Your right heel should line up with your left heel or arch.
Step Two: Bend Your Front Knee
Press your left outer foot and heel into the floor. Then bend your right knee toward a 90-degree angle, until your right thigh is parallel to the floor. If your knee moves past your ankle, walk your left foot farther back.
Keep your right knee pointing the same way as your toes. Yoga Journal notes that a full 90-degree bend shares the work between both legs.
Step Three: Lower Your Hand
Hinge at the hips and bring your right fingertips to the floor outside your right foot. A block works just as well. Move your right armpit close to your outer right knee, so your arm and shin run parallel.
Step Four: Reach and Open Your Chest
Reach your left arm up, then over your left ear, palm facing the floor. Press down through your left heel as you reach, so your whole left side lengthens in one line. Turn your chest and belly toward the ceiling.
Keep your head in line with your spine instead of letting it drop toward your shoulder. If your neck allows, turn your head to look past your left thumb. Draw your shoulder blades in toward your spine to keep your chest open.
Step Five: Hold, Then Switch Sides
Breathe freely and stay for 30 to 60 seconds. To come out, inhale, press through your feet, and lift your torso as you straighten your right leg. Repeat on the left side for the same time.
beenhereBeginner’s tipYour back heel keeps you steady, so keep it anchored as you bend your front knee. To train this, practice with the outer edge of your back heel pressed against a wall. If the floor feels far away, rest your lower hand on a block.
Who Should Avoid or Modify the Pose?
Most healthy adults can practice this pose with a few adjustments. The Art of Living suggests extra care, or skipping the pose, in these cases:
- High or low blood pressure: practice under the guidance of a teacher
- Severe spondylitis: avoid the pose
- Headache: skip it until the headache passes
- Insomnia: avoid it late in the day, because it energizes the body
The National Center for Complementary and Integrative Health (NCCIH) adds wider guidance. Knee or hip injuries, lumbar spine disease, severe high blood pressure, balance issues, and glaucoma may call for modified poses. If you’re pregnant, older, or managing a health condition, talk with your doctor and your teacher first.
If you have neck problems, don’t turn your head up. Yoga Journal suggests looking straight ahead or down at your front foot instead.
Modifications and Props
If you can’t easily reach the floor, rest your lower forearm on your front thigh. Press the forearm into your thigh so your bottom shoulder doesn’t crowd your neck. You can also place your hand on a block, inside or outside your front foot, at any height.

A chair makes the pose even more accessible. Sit down, carefully turn your hips and thighs into position, and rest your bottom forearm on your bent-knee thigh. Then reach your other arm up and over into the side stretch.
Use a Wall to Find the Right Knee Angle
A wall can also help you find the 90-degree bend. Stand with your back against it, set up your wide stance, and turn your hips and torso to face your right foot. Lift your left heel so your weight rests on your right foot and the ball of your left foot.
Bend your right knee until it sits over your ankle, with your thigh parallel to the floor. Keep that front leg still as you turn your left leg out and lower your left heel. Then lean back against the wall and reach your left arm over to the right.
What Are the Benefits of This Side Stretch?
Yoga Journal says the pose improves balance, boosts energy, and helps counter long hours of sitting at a computer. It strengthens your core, glutes, hip flexors, inner thighs, shins, and ankles, and it works the muscles around your shoulders. The Art of Living adds that it stretches the hamstrings and tones the belly muscles.
Anatomy
What Each Muscle Group Does
| Muscle group | Role in the pose |
|---|---|
| Back-leg quadriceps and tensor fasciae latae | Contract to straighten the back knee |
| Lower-side obliques, erector spinae, quadratus lumborum | Contract to bend the trunk toward the front leg |
| Serratus anterior | Contracts as the bottom hand presses down, straightening the arm |
| Front-leg gluteus medius | Contracts as the knee presses into the arm, keeping the knee from drifting in |
| Upper-side back and trunk muscles, back-leg adductors and calf | Stretch along the whole top side of the body |
Based on orthopedic surgeon Ray Long’s anatomy notes, published by Yoga Journal. Checked Sept 28, 2026.
The Art of Living also describes the pose as a remedy for back pain and constipation. Research on yoga as a whole is more measured. NCCIH reports that yoga programs may give a small benefit for low-back pain, based on studies of full routines rather than single poses.
Yoga teaches you to align your body to be vertical and upright. But it’s equally important to expand horizontally so that your awareness can move from your inner space toward universal space.
Nikki Costello, certified yoga therapist, in Yoga Journal
In an earlier Yoga Journal article, Costello explains that the side stretch firms the obliques while the rib cage widens. That extra room lets in a deeper, fuller breath.
How Can You Deepen or Vary the Pose?
If your weight drifts into your front foot, lift the ball of that foot for a moment and anchor through the heel. Then lower the ball of the foot again, keeping more weight in your back leg. Yoga Journal recommends this cue to rebalance the pose.
Hand Inside the Front Foot
For a deeper chest opening, place your lower hand on the floor or a block inside your front foot. Press the back of your right shoulder gently into your inner knee. That contact gives you leverage to turn your chest up and draw your top shoulder back.
Half or Full Bind
If your alignment holds, bend your top elbow and reach that hand behind your back for a half bind. For a full bind, thread your lower arm under your front thigh and clasp your top wrist. Only go as far as your shoulders allow.

Partner Strap Assist
A partner can help you balance weight between your legs. Loop a strap around the top of your right thigh, just below the hip crease, while your partner stands behind you and holds both ends.
As you bend into the pose, your partner pulls the strap gently back. That light resistance stops your hips from collapsing toward the front leg. Press your back heel down against the pull to lengthen through your hips.
Sources
- "Extended Side Angle Pose: How to Practice Utthita Parsvakonasana," Yoga Journal, 2025. Available at: https://www.yogajournal.com/poses/extended-side-angle-pose-2/. Accessed 28 Sept. 2026.
- "Whole-Body Wake-Up Call: Extended Side Angle," Nikki Costello, Yoga Journal, 2013. Available at: https://www.yogajournal.com/practice/beginners/how-to/extended-side-angle-pose/. Accessed 28 Sept. 2026.
- "Parsvakonasana (Extended Side Angle Pose)," The Art of Living, 2024. Available at: https://www.artofliving.org/in-en/yoga/yoga-poses/parsavokasana-extended-side-angle. Accessed 28 Sept. 2026.
- "Extended Side Angle Pose," Yoga International. Available at: https://yogainternational.com/article/view/extended-side-angle-pose/. Accessed 28 Sept. 2026.
- "Yoga: Effectiveness and Safety," National Center for Complementary and Integrative Health, National Institutes of Health, 2023. Available at: https://www.nccih.nih.gov/health/yoga-effectiveness-and-safety. Accessed 28 Sept. 2026.
Summarize with AI:
Did you like this article? Leave a rating!

 Loading...